
iPod 5th Generation (Video) Side Bumpers Replacement

Miroslav Djuric and 2 other contributors
Last updated on Mar 25, 2024
Views: 25K
View statistics:
- Past 24 Hours:
- 3
- Past 7 Days:
- 25
- Past 30 Days:
- 130
- All Time:
- 25,312
Comments: 148
146 comments on steps, 2 guide comments.
Go to guide commentsCompleted: 14 15
14 people have marked this guide "completed." Will you be next?
15 people have marked this guide "completed." Including you — great job!
Favorites: 16 17
16 people have favorited (and subscribed to) this guide. Will you be next?
17 people have favorited (and subscribed to) this guide — including you!
Introduction
Go to step 1 ↓This guide shows how to re-install the hard drive rubber side bumpers for an iPod Video.
What you need


-
-
-
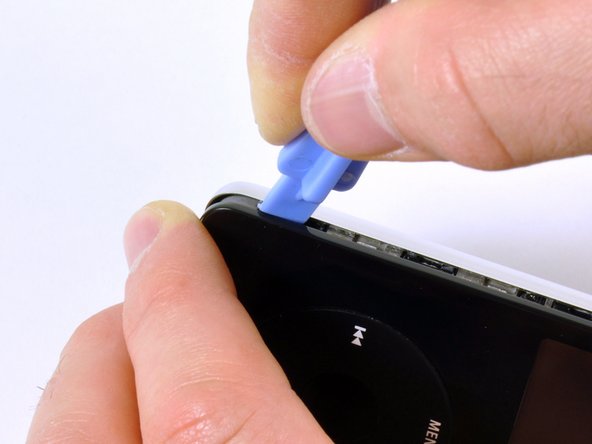
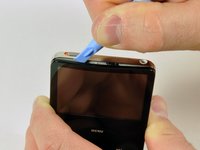
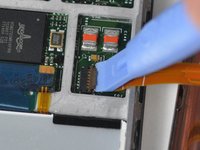
Free the first retainer clip on the bottom of the iPod using the iPod opening tool. The tool's edge should point towards the metal back case to prevent scratching the plastic front.
-
-
-
Use this photo of the OPENED iPod for the reference, in order to locate the areas where the retaining clips are - 4 per side, one on top and two at the bottom. It should save you a lot of frustration and help avoid scratching the plastic cover.
-
-
-
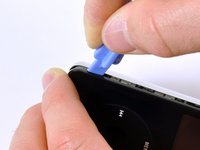
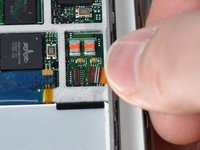
Insert the iPod opening tool into the left side of the iPod, with the edge of the tool pointing towards the metal back.
-
A small guitar pick can be extremely helpful in opening the iPod. Simply insert it and slide the pick around the case to free the clips to streamline the process.
-
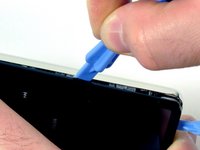
Gently enlarge the existing crevice by wiggling the iPod opening tool and moving it to the left.
-
Continue doing so until the entire side of the iPod is loose.
-
You can then insert an iPod opening tool to the right of the Hold button. Be very careful while inserting the tool, as the display is very fragile.
-
-
-
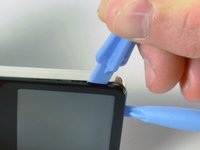
Gently glide the iPod opening tool on the top of the display, making sure to free the retaining clips.
-
The other sides of the iPod should now easily come loose. If they do not, use iPod opening tools on the right side of the iPod in the same way as on the left side of the iPod.
-
Separate the front of the iPod from the back about an inch (or a couple of centimeters).
-
-
Tool used on this step:Tweezers$3.99
-
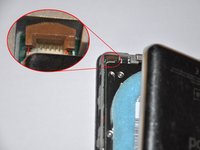
Use angled tweezers or an iPod opening tool to slide up the brown connector latch, holding the orange battery ribbon cable in place. Make sure you pull from both sides of the latch. You only need to lift the brown connector latch up about 1-2mm to free the cable. Do not lift more or remove the latch, or you might pull the white connector with it!
-
Remove the cable from the connector.
-
-
-
You should now have one orange ribbon cable still attaching the front case to the back.
-
At this point you are able to remove and replace the blue rubber bumpers, or continue with separating the case.
-
-
-
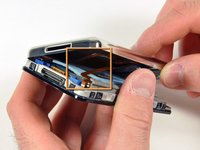
Lift up the hard drive to expose the headphone jack ribbon connector (indicated by the yellow box).
-
-
-
-
With the iPod opening tool, gently lift the brown tab of the headphone ribbon cable connector. The tab will rotate up 90 degrees, releasing the ribbon cable.
-
Using your fingers, pull out the headphone jack ribbon cable.
-
-
-
-
Use a small iPod opening tool to release the black hinge holding the hard drive ribbon cable. The tab will rotate up 90 degrees towards the logic board, releasing the ribbon cable.
-
Use your forefinger to hold the ribbon cable in place; disconnect the drive from the ribbon cable.
-
-
-
-
-
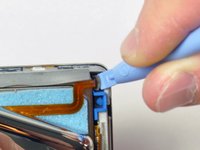
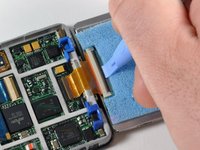
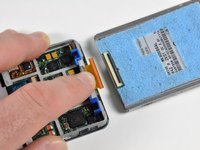
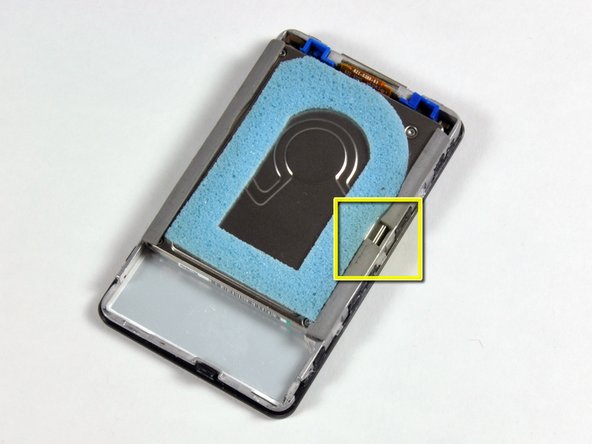
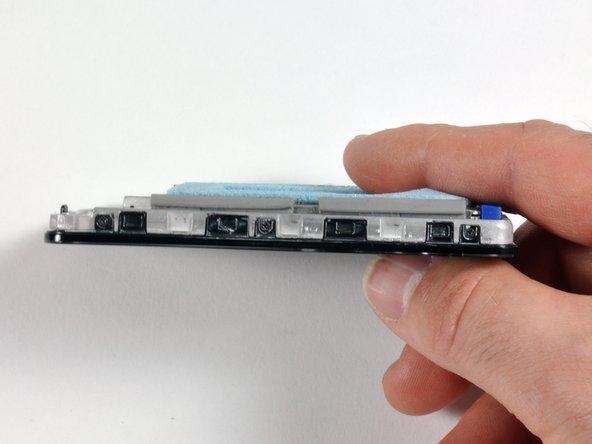
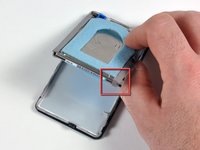
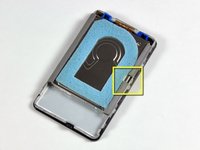
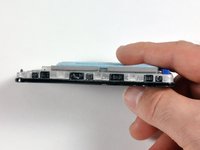
The rubber side bumpers should be installed as pictured:
-
The side of the drive that's being propped by the hard drive holding bracket should have the rubber side bumper that has a sidewall on the corner, as indicated by the red box.
-
There should be a space in between the two smaller rubber side bumpers, as indicated by the yellow box.
-
Both sides of the drive should be seated snugly, as shown in the third picture.
-
-

 Ask FixBot













To reassemble your device, follow these instructions in reverse order.
Cancel: I did not complete this guide.
14 other people completed this guide.

2 Guide Comments
So I broke that little black bar that holds the hard drive cable in place. The people saying just lift it up on a 90 degree angle must be magic because I used every possible means to Pop That thing up. Anyway, so now my dilemma is how to keep the hard drive cable in there. I read someone suggested slipping a piece of paper under it? The side bumpers on that hard drive are a pain in the ass. That's why I came here. This is by far the best explanation and photos of how to open a case. We're not even going to talk about that part, lol. Anyway any suggestions would be welcome. If not I will modify it, which is what I probably should do. It worked perfect a year ago. I told my granddaughter that I had one (she was dying) and said could have it after I got my music off of it. I turned it on it was just the white screen thing so I tried the reboot thing, that didn't work, took it apart everything looks fine right afterwards I took it apart I read you have to try to reboot sometimes more than once.
Also, mine is pristine except for a spot on the corner where the rubber cover is starting to come off. I have taken really good care of it. I was looking on eBay for a minute in case I couldn't get this working and they are trashed. Then there were some that people are selling that are supposedly 5th Gen Video unused??? Is that possible. Like they bought 10 or 20 of them and stashed them for 25 Years? Sorry I talk a lot.
