Introduction
This is a guide on replacing the D-Pad for the iNNEXT N64 Classic Controller. Make sure your controller is disconnected from the console before you begin the repair.
What you need
-
-
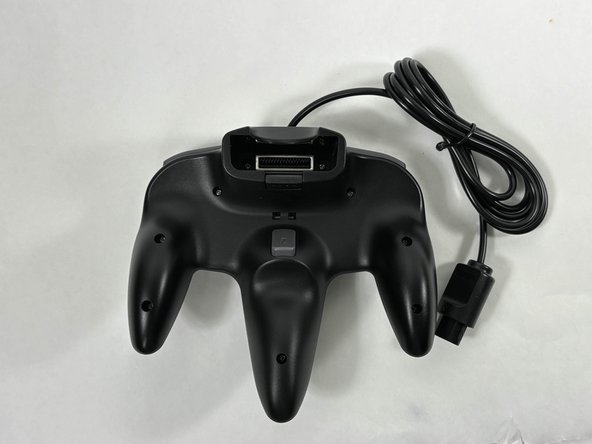
Turn the controller face down.
-
Use a Phillips #00 screwdriver to remove the eight screws on the back of the controller.
 Ask FixBot
-
-
-
Insert an opening tool into the seam between the top and bottom case.
-
Work your way around edge of the controller to release the tabs connecting the top and bottom of the controller.
-
Remove the bottom case from the controller.
-
-
-
-
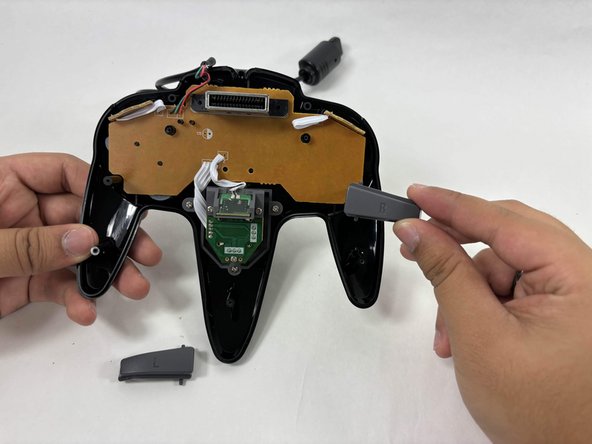
To remove the shoulder buttons, lift the buttons labelled with "L" and "R" upwards and out of the controller. There should not be any resistance coming out.
-
-
-
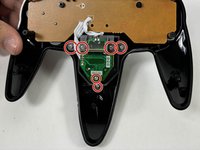
Use a Phillips screwdriver to remove the six screws securing the joystick assembly to the top of the controller.
-
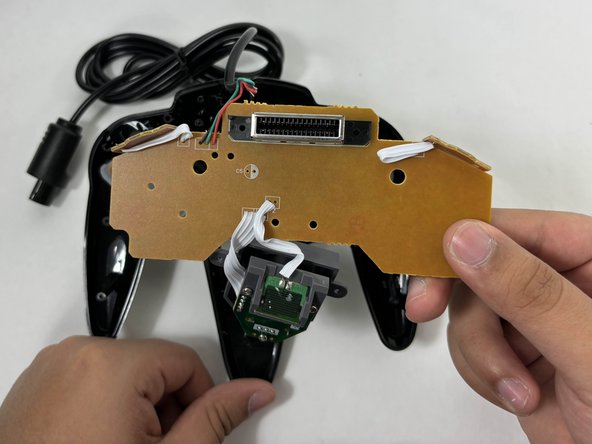
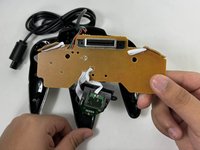
Gently lift the control panel and joystick assembly from the top cover of the controller.
-
-
-
Remove the old D-Pad by either pulling it out from the back of the front case or pushing it out from the front of the controller.
-






To reassemble your device, follow these instructions in reverse order. Take your e-waste to an R2 or e-Stewards certified recycler.

Team

UMass Dartmouth, Team 3-4, Santin Fall 2024 Member of UMass Dartmouth, Team 3-4, Santin Fall 2024
UMASSD-SANTIN-F24S3G4
4 Members
5 Guides authored
