
iMac Intel 24" EMC 2111 Hard Drive Replacement

Andrew Bookholt and 10 other contributors
Last updated on Jul 27, 2026
Views: 118K
View statistics:
- Past 24 Hours:
- 5
- Past 7 Days:
- 48
- Past 30 Days:
- 192
- All Time:
- 117,817
Comments: 19
12 comments on steps, 7 guide comments.
Go to guide commentsCompleted: 122 123
122 people have marked this guide "completed." Will you be next?
123 people have marked this guide "completed." Including you — great job!
Favorites: 69 70
69 people have favorited (and subscribed to) this guide. Will you be next?
70 people have favorited (and subscribed to) this guide — including you!
Featured Guide
This guide has been found to be exceptionally cool by the iFixit staff.
Introduction
Go to step 1 ↓Upgrade your hard drive for more storage space!
What you need


-
-
-
Loosen the two Phillips screws securing the access door to your iMac.
-
Remove the access door.
 Ask FixBot
-
-
-
-
-
Remove the following screws along the lower edge of your iMac:
-
Three 6 mm T8 Torx screws
-
One 8 mm T8 Torx screw
-
-
-
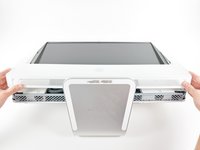
To lift the front bezel off the iMac, simultaneously:
-
Use your thumbs to press in the RAM arms and hold the iMac down.
-
Use your index fingers to pull the small bridge of material on the front bezel toward yourself.
-
Pull the front bezel up with your index fingers.
-
Once the small bridge of material has cleared the RAM arms, lift the front bezel by its lower edge just enough to clear the bottom edge of the rear case.
-
-
-
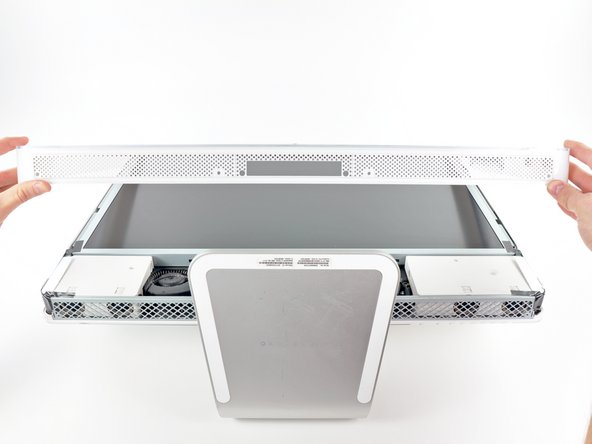
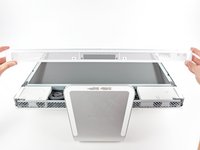
Lift the front bezel off the rear case and rotate it away from the bottom edge of the iMac, minding the camera and microphone cables still attached to its upper edge.
-
-
-
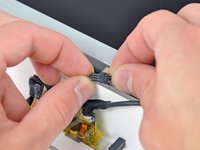
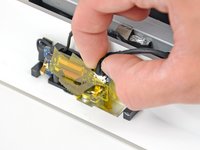
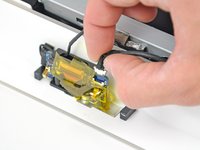
Disconnect the microphone cable.
-
Disconnect the camera cable by pulling its connector away from the socket on the camera board.
-
-
-
-
-
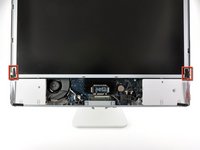
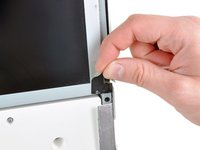
Peel the two highlighted EMI shield tabs off the frame of the LCD.
-
-
-
-
Remove the two T6 Torx screws securing the display data cable to the logic board.
-
-
-
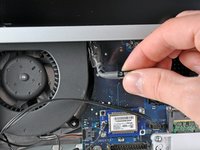
Pull the black plastic tab attached to the display data cable connector to disconnect it from the logic board.
-
-
-
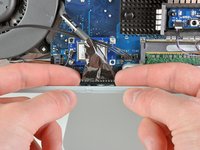
Use your fingertips to pull both sides of the wide inverter cable connector out of its socket on the logic board.
-
De-route the inverter cable from its location next to the CPU fan.
-
-
-
Remove the eight T8 Torx screws securing the display assembly to the rear case.
-
-
-
-
-
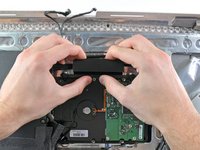
Disconnect the SATA data and power cables by pulling their connectors away from the hard drive.
-
-
-
Disconnect the hard drive thermal sensor cable from the thermal sensor attached to the side of the hard drive.
-
-
-
Compress the plastic hard drive retainer by pushing it toward the bottom edge of the iMac.
-
Pull the top edge of the hard drive slightly away from the rear case.
-
-
-
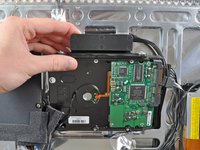
Lift the hard drive off its bottom retaining posts and remove it from the iMac.
-
-
-
-
-
Remove the two T8 Torx screws securing the hard drive bracket to the side of the hard drive.
-
Remove the hard drive bracket.
-
-
-
Remove the two T8 Torx retaining posts from the other side of the hard drive.
-
-
-
Use the flat end of a spudger to remove the thermal sensor from the side of the hard drive.
-
Hard drive remains.
-
-













To reassemble your device, follow these instructions in reverse order.
Cancel: I did not complete this guide.
122 other people completed this guide.

7 Guide Comments
Does the T8 Torx have to be security type? In the guide it only says remove T8 torx screws. But never says if they are security type or not.
Not necesary to be secured
Watch that LCD temp sensor cable guys, it's a !@#$% to repair or replace. It runs around the monitor housing and can get severed by a bezel screw if not hidden carefully before attaching the outer housing of the iMac. If you tear it, here's the part number and discussion of this very issue: https://discussions.apple.com/message/24... Apple Part Number: 922-8236
The T8 Torx does *not* have to be security type. However it is critical to have a long, thin, dedicated T8 screwdriver, not one that is part of a kit with interchangeable tips (and thus a thick collar that won't fit into the narrow slot). I got the kit, it didn't work, returned it and got an unmagnetized T8 with 2.5" length. I then magnetized it with a strong refridge magnet (which didn't work well), so better yet after I removed the 8 screws (Step 11), I magnetized the screws themselves, which worked great.
