Free Shipping on Domestic Orders $75+

iLive IKBC384S FM/AM Antenna Replacement

What you need

    1. iLive IKBC384S  FM/AM Antenna Replacement, Top Cover: step 1, image 1 of 2 iLive IKBC384S  FM/AM Antenna Replacement, Top Cover: step 1, image 2 of 2
      • Make sure you remove all seven 3 mm screws before proceeding to the next step.

      Ask FixBot

      Add Comment

    2. iLive IKBC384S  FM/AM Antenna Replacement: step 2, image 1 of 2 iLive IKBC384S  FM/AM Antenna Replacement: step 2, image 2 of 2
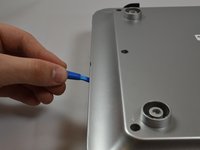
      • Use iOpener or heat gun on all sides except the front.

      Ask FixBot

      Add Comment

    3. iLive IKBC384S  FM/AM Antenna Replacement: step 3, image 1 of 2 iLive IKBC384S  FM/AM Antenna Replacement: step 3, image 2 of 2
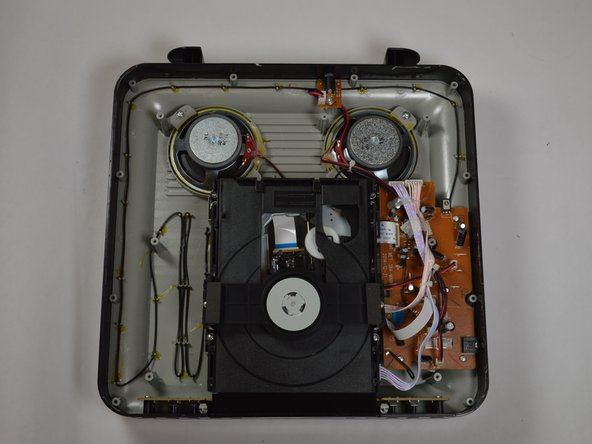
      • Be cautious when taking the top of the device off there may still be some adhesive stuck to device.

      • The top of the device will be very difficult to remove because of the adhesive holding it together.

      Ask FixBot

      Add Comment

    1. iLive IKBC384S  FM/AM Antenna Replacement, FM/AM Antenna: step 4, image 1 of 2 iLive IKBC384S  FM/AM Antenna Replacement, FM/AM Antenna: step 4, image 2 of 2
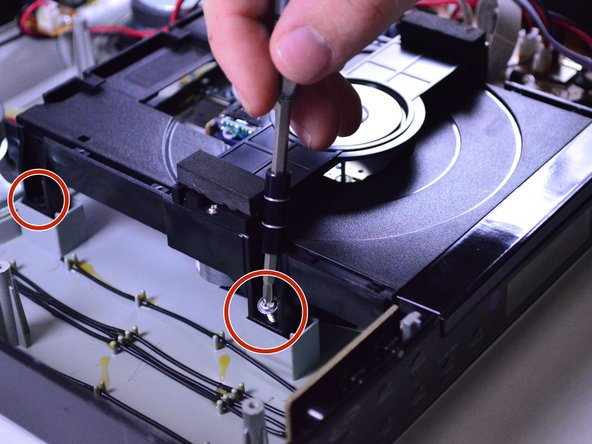
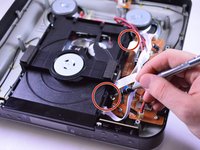
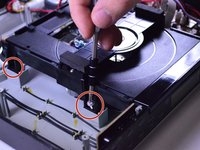
      • Remove all four screws(13.5 mm in length) that are securing the disk drive.

      Ask FixBot

      Add Comment

    2. iLive IKBC384S  FM/AM Antenna Replacement: step 5, image 1 of 2 iLive IKBC384S  FM/AM Antenna Replacement: step 5, image 2 of 2
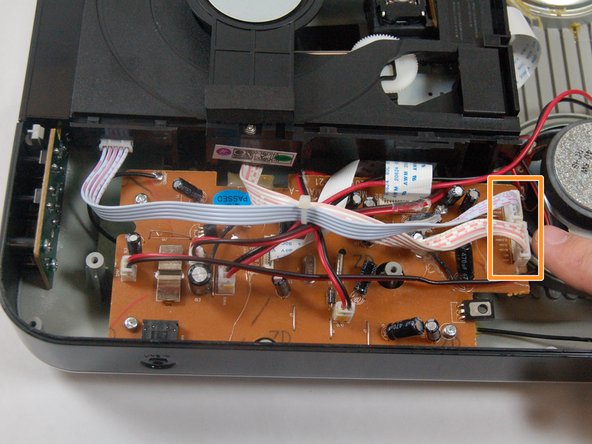
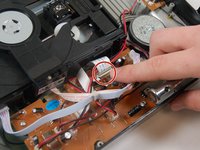
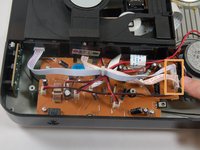
      • Unplug the ribbon cable connected to the motherboard that stems from the disc drive.

      • Also, disconnect the two power connectors from the motherboard.

      • Once you have removed the ribbon cables and two connectors on the motherboard the disk drive can be removed.

      Ask FixBot

      Add Comment

    3. iLive IKBC384S  FM/AM Antenna Replacement: step 6, image 1 of 1
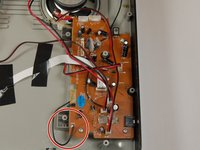
      • After removing the top of the device, locate the screws on the motherboard. Gently unscrew all four of the 3.5mm screws on the motherboard.

      Ask FixBot

      Add Comment

    4. iLive IKBC384S  FM/AM Antenna Replacement: step 7, image 1 of 2 iLive IKBC384S  FM/AM Antenna Replacement: step 7, image 2 of 2
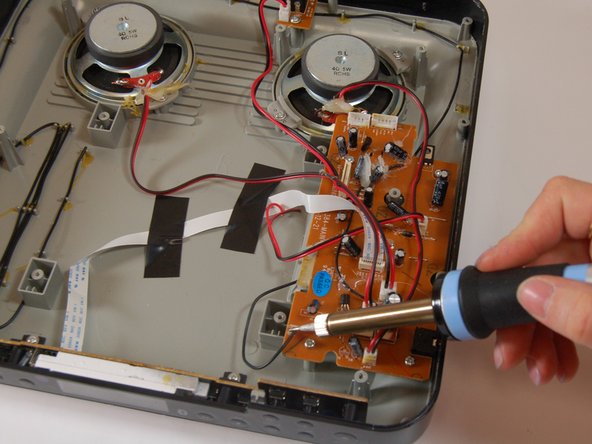
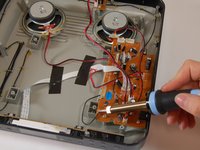
      • Desolder the antenna at the contact point.

      • Check out this awesome guide for soldering and desoldering tips.

      Ask FixBot

      Add Comment

    5. iLive IKBC384S  FM/AM Antenna Replacement: step 8, image 1 of 2 iLive IKBC384S  FM/AM Antenna Replacement: step 8, image 2 of 2
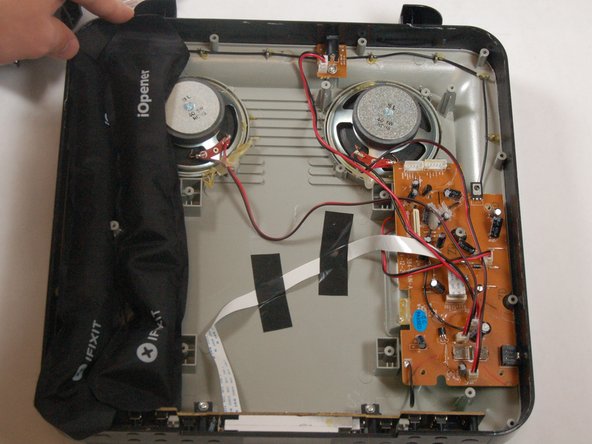
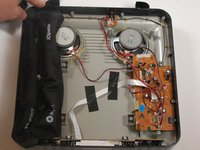
      • Place iOpener on antenna for approximately 5 minutes

      Ask FixBot

      Add Comment

    6. iLive IKBC384S  FM/AM Antenna Replacement: step 9, image 1 of 1
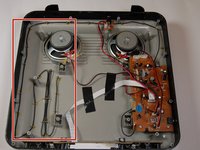
      • Lift up and remove all of the antenna.

      • The antenna will be glued down all the way around the radio

      Ask FixBot

      Add Comment

Conclusion

To reassemble your device, follow these instructions in reverse order.

Cancel: I did not complete this guide.

Tracy Walts

Member since: 03/21/17

201 Reputation

2 Guides authored

Team

0 Guide Comments

Add Comment

View Statistics:

Past 24 Hours: 2

Past 7 Days: 18

Past 30 Days: 70

All Time: 1,123