
iHome iPL8 Screen Replacement

Chen Zhong and one other contributor
Last updated on Jun 6, 2019
Views: 549
View statistics:
- Past 24 Hours:
- 3
- Past 7 Days:
- 14
- Past 30 Days:
- 66
- All Time:
- 549
Comments: 1
1 guide comment.
Go to guide commentsCompleted: 1 2
1 person has marked this guide "completed." Will you be next?
2 people have marked this guide "completed." Including you — great job!
Favorites: 0 1
No one has favorited (and subscribed to) this guide. Will you be the first?
1 person has favorited (and subscribed to) this guide — and that's you!
Introduction
Go to step 1 ↓This guide instructs you to replace the screen in an iHome iPL8. The process includes using two sizes of screwdrivers.
What you need
Tools


-
-
-
Turn the device over to access the bottom panel.
-
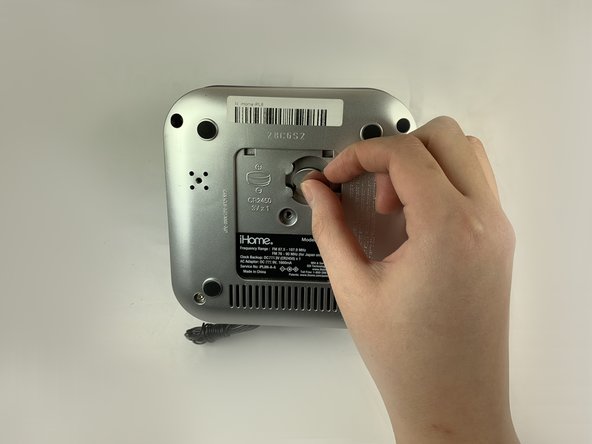
Locate the 6mm Phillips #2 screw under the label "unscrew to open door."
 Ask FixBot
-
-
-
Using a Phillips #2 screwdriver, unscrew the captive screw.
-
Keep turning until the screw and the door are loose.
-
-
-
-
-
Keeping your device upside-down, locate the four 6mm Phillips #2 screws near each corner.
-
Remove the four 6mm Phillips #2 screws.
-
-
-
Remove the four round pads from the bottom of the device.
-
Using a Phillips #2 screwdriver, remove the two remaining screws.
-
Put your hand on the silver bottom case and gently pull it outward.
-
-
-
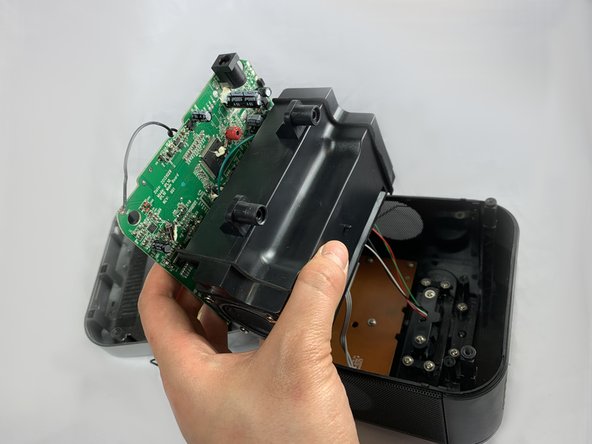
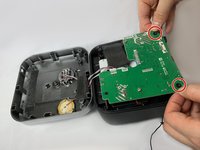
Locate the green circuit board. This panel is clipped onto two black, circular-shaped columns at two corners.
-
Pull out the green circuit board on the two corners.
-
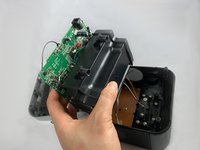
The green circuit board is attached to a black box at the bottom. Flip the panel and the black box together to open the device.
-
-
-
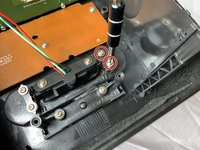
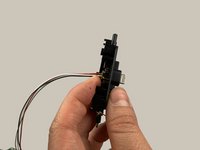
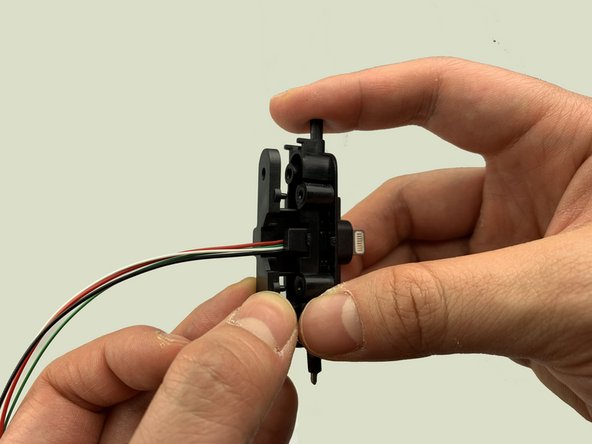
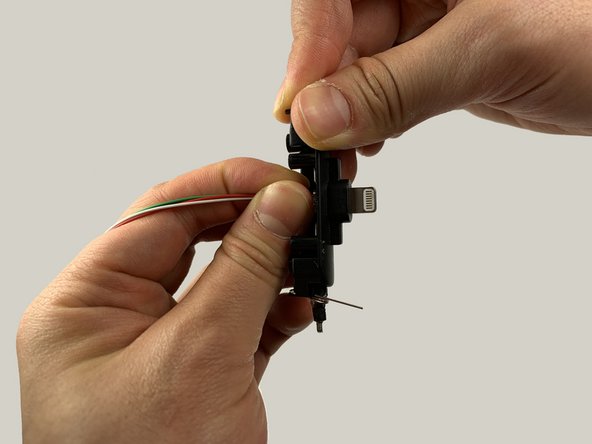
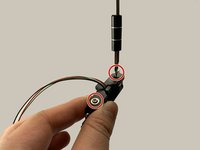
Remove the two 2.5 mm Phillips #1 screws securing the lightning dock assembly to the device.
-
Remove the two screws and the black cover.
-
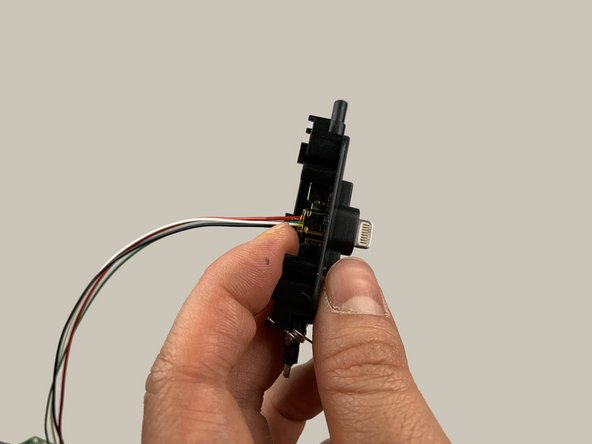
Gently remove the lightning dock assembly.
-
-
-
-
Remove the two 2.5mm screws using a Phillips #1 screwdriver.
-
Remove the back cover.
-
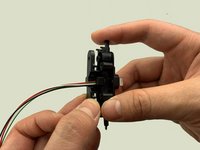
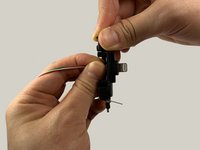
Use your fingers to reposition the lightning connector.
-
-
-
-
-
Look at the side of the device. You will see a green panel connecting to the black box by a white stripe.
-
Remove the four 2.5 mm Phillips #1 screws on the green panel.
-
Flip the green panel to reveal the front of the screen.
-
-
-
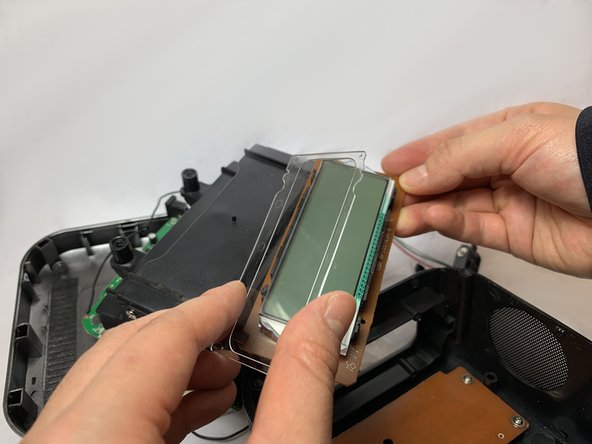
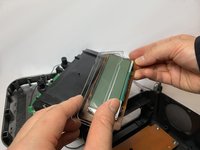
Locate the transparent, rectangular plastic screen cover.
-
Gently lift the cover off.
-
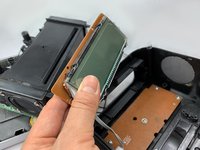
The screen is now revealed. Replace the screen with a functioning one.
-
-








To reassemble your device, follow these instructions in reverse order.
Cancel: I did not complete this guide.
One other person completed this guide.

Team

UC Davis, Team S18-G5, Lore Winter 2019 Member of UC Davis, Team S18-G5, Lore Winter 2019
UCD-LORE-W19S18G5
3 Members
48 Guides authored
