
iHome iP21 Display LED Replacement

Brandy and 3 other contributors
Last updated on Oct 15, 2025
Views: 681
View statistics:
- Past 24 Hours:
- 1
- Past 7 Days:
- 13
- Past 30 Days:
- 84
- All Time:
- 681
Comments: 0
No one has left comments on this guide. Will you be first?
Go to guide commentsCompleted: 0 1
No one has marked this guide "completed." Will you be the first?
1 person has marked this guide "completed." It's you — great job!
Favorites: 0 1
No one has favorited (and subscribed to) this guide. Will you be the first?
1 person has favorited (and subscribed to) this guide — and that's you!
Bullets!
Better coordination with markups and the color/type of bullets will help make this guide more clear!
Markup Mishap
This guide needs better markups. Help out by correcting or making some markup annotations.
Better Introduction
Improve this guide by completing or revising its introduction.
Introduction
Go to step 1 ↓This guide shows how to replace the display LED of the iP21.
What you need
Tools
-
-
Spudger4.9
-


-
-
-
Pry the four rubber feet from the bottom of the iP21 to expose four 11mm screws.
-
Unscrew the four 11mm screws from the base.
-
Pry the base loose using the spudger.
-
Remove the base by hand.
 Ask FixBot
-
-
-
Remove the two black 6mm screws connecting the main circuit board to the housing top.
-
Gently pull front housing from the back housing.
-
-
-
-
-
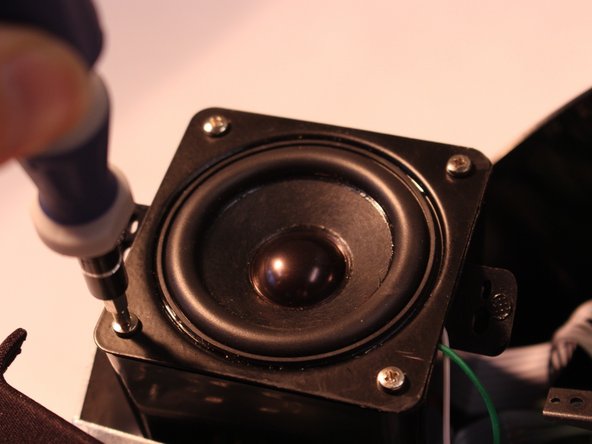
Remove two 9mm screws holding speaker assembly in iP21, using iFixit Phillips #2 bit
-
-
-
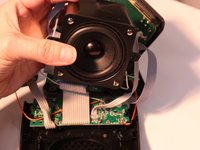
Lift speaker assembly
-
Remove four 7mm screws to detach speaker from speaker assembly
-
-
-
-
-
-
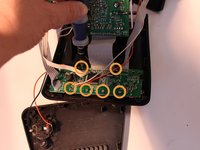
Remove six 6mm screws from display circuit board.
-
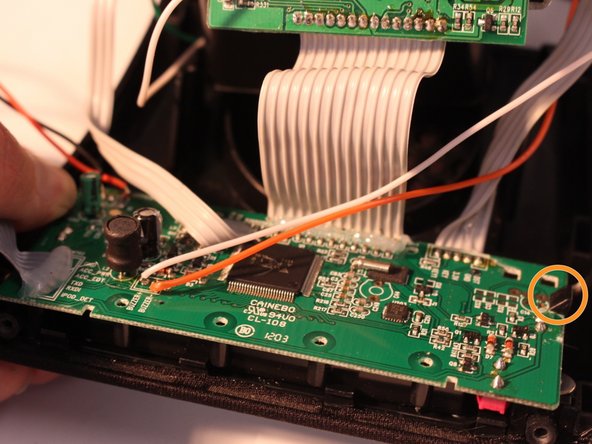
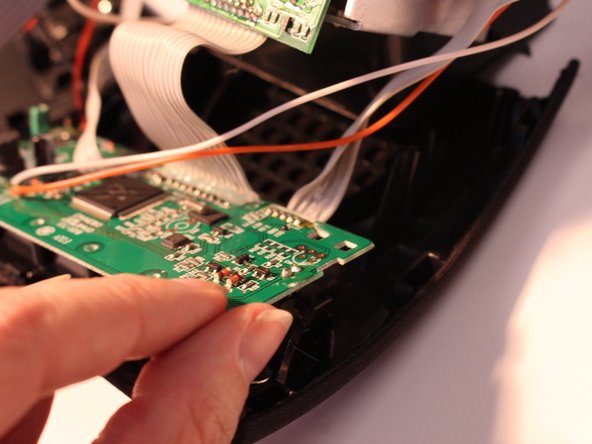
Press black holding clips down and outward to release display circuit board.
-
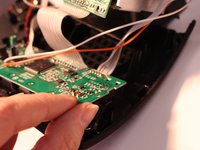
Lift display circuit board to detach it from the housing.
-
-
-
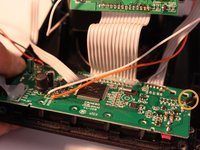
Desolder the solder joints connecting the grounding cable to the display circuit board.
-
Remove glue from the ribbon cables with your fingers. Grasp and pull the glue to remove it from the circuit board.
-
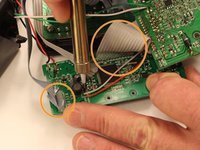
Desolder the solder joints connecting the three ribbon cables to the back of the display circuit board.
-
Desolder the solder joints connecting the two grounding cables to the back of the display circuit board.
-
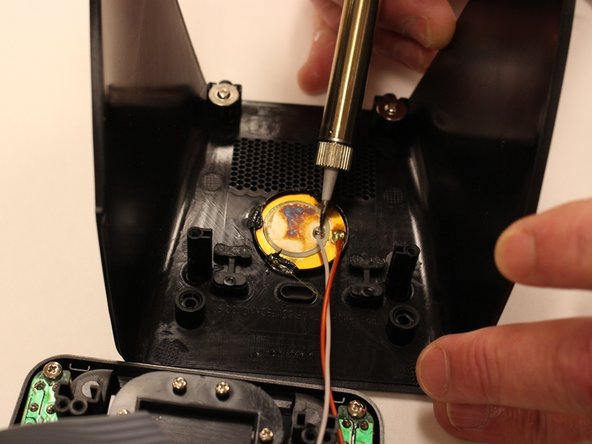
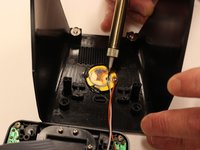
Desolder the solder joints connecting the two grounding cables to the back of the main housing.
-
-





To reassemble your device, follow these instructions in reverse order.

Team

Eastern Washington University, Team 1-2, Carnegie Fall 2014 Member of Eastern Washington University, Team 1-2, Carnegie Fall 2014
EWU-CARNEGIE-F14S1G2
6 Members
72 Guides authored
