Introduction
To complete this guide, the iHome must be opened up and the speaker cover needs to be removed to access the infrared receiver. The receiver should be replaced if, after replacing its batteries, the remote does not work.
This replacement is best done on a flat surface with plenty of room to work. Opening up the iHome involves the removal of many different screws. It is important to keep track of these screws! You can do this by placing the screws on a magnetic mat in the order of removal. This allows for easy reassembly.
What you need
-
-
-
Pull the tab towards you and lift up to remove the battery cover.
-
Remove the two AA batteries.
 Ask FixBot
-
-
-
-
-
Unscrew the four 8mm Phillips #2 screws.
-
Unscrew the six 25mm Phillips #2 screws.
-
Reinstall the backup battery cover so it is out of the way.
-
-
-
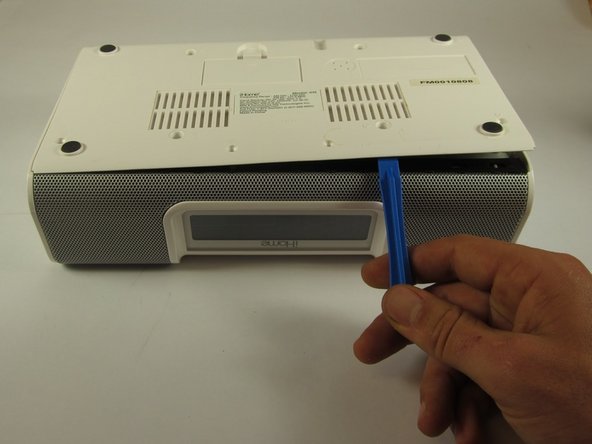
Pry the backplate up with a plastic opening tool between the back plate and the speaker grill.
-
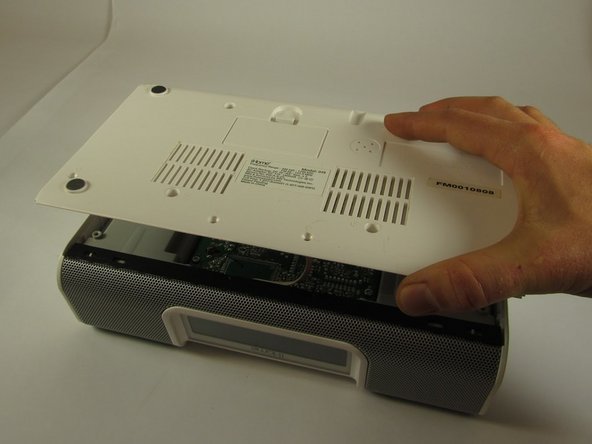
Lift the bottom plate up while making sure the connector remains attached.
-
-
-
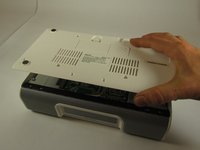
Use your hands to flip the backing plate away from you and rest it upside down on the iH9.
-
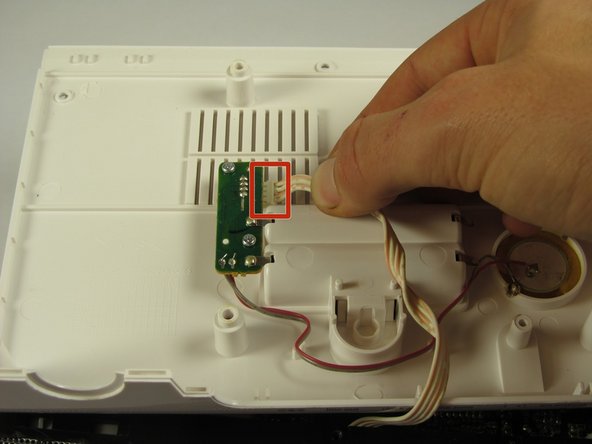
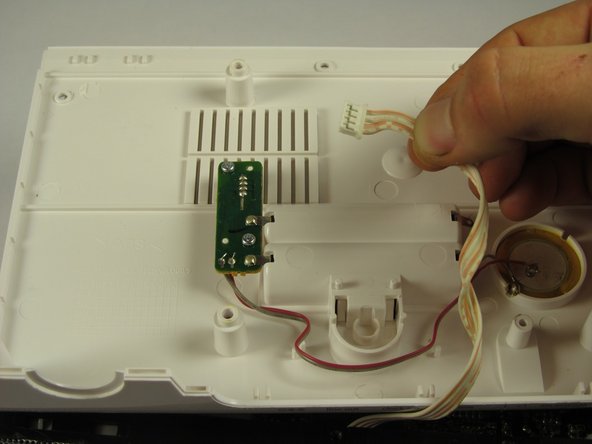
Unplug the white and orange 4-pin connector by pulling it in the direction of the wires.
-
Set the backing plate aside.
-
-
-
Place the device so that the speaker grill is face down.
-
Remove the two 10mm Phillips #2 screws on interior sides of the speaker housings.
-
-
-
-
Place the iH9 upside down.
-
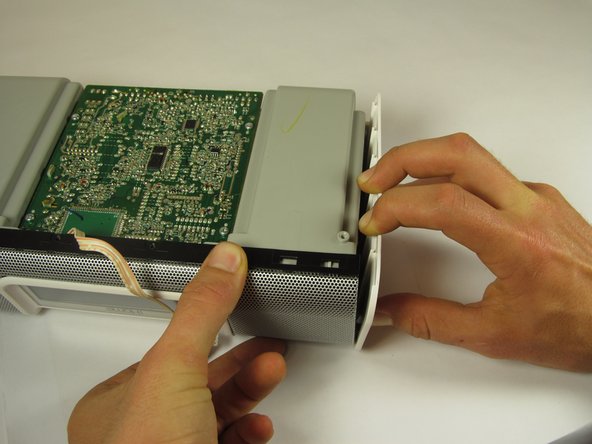
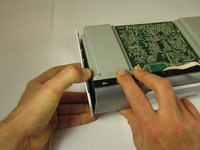
Using both hands, pull the housing siding away from the device while simultaneously lifting the motherboard and speaker assembly straight up.
-
Repeat for the other side.
-
-
-
Stand the iH9 on its grill.
-
Separate the motherboard and speaker assembly by rocking it back and forth and pulling the assembly towards you.
-
Remove the small back panel.
-
-
-
Firmly pull the wide 9-pin connector with black covering on the underside of the upper housing to unplug it.
-
Lay the housing and core assembly flat and close to each one another.
-
-
-
Cut the zip tie holding the wires together with a wire cutter. The two sides of the device housing are now fully separated.
-
-
-
-
-
Set the iHome iH9 speaker and mother board assembly upright on the speaker grill.
-
Remove the grill ground wire by pulling in the direction of the wire.
-
-
-
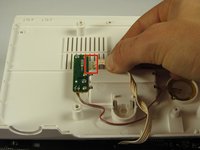
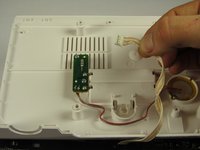
Unplug the 3 pin connector for the infrared sensor by pulling in the direction of the cable.
-
-
-
Set the iH9 flat down with the solder side of the motherboard up and the speaker grill facing away.
-
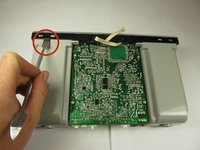
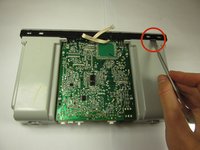
With a nylon or metal spudger, pry the speaker grill up and forward from the two retaining flanges on the left and right speaker housings.
-
Set the speaker grill aside.
-
-
-
Place the speaker covering front side down
-
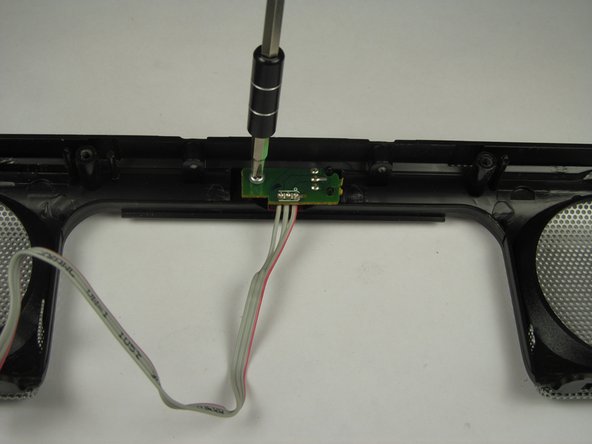
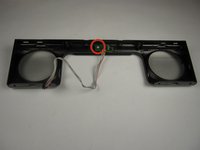
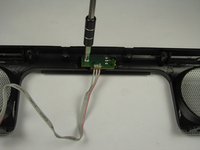
Remove the one 8mm Philips Ph1 screw.
-
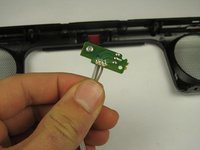
Gently lift the chipstraight up.
-
-





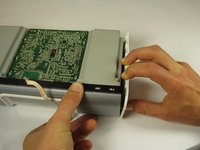


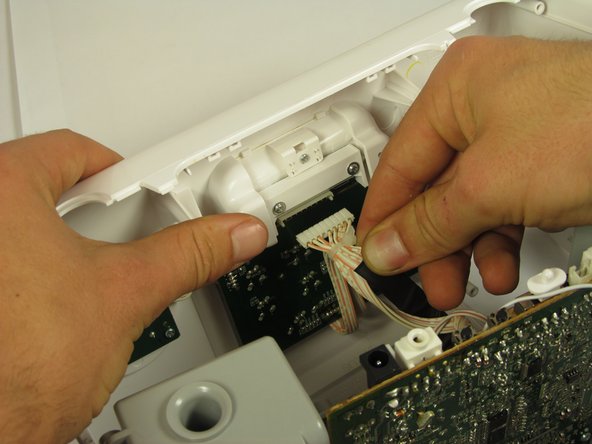
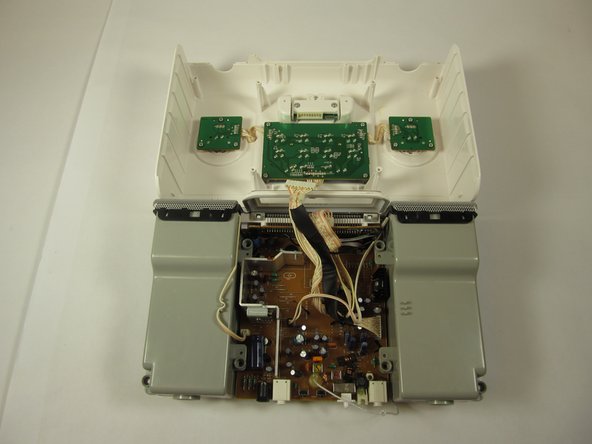
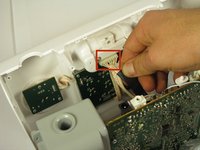
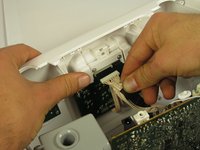
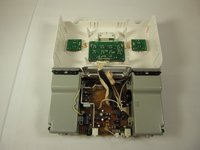
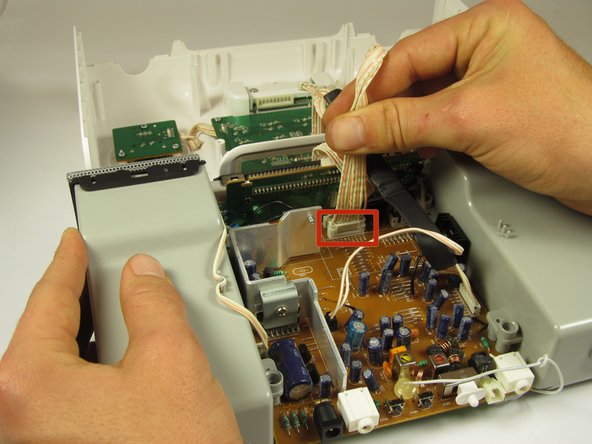
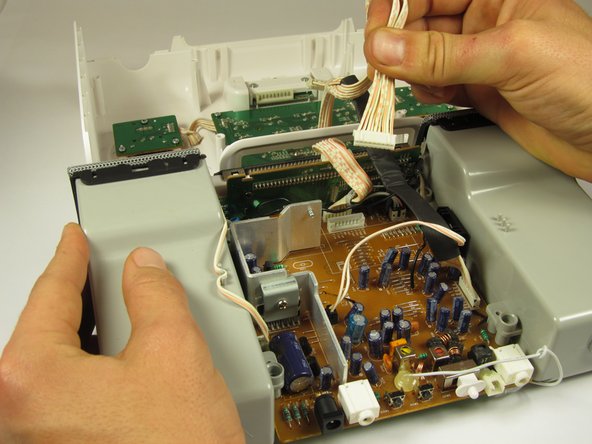
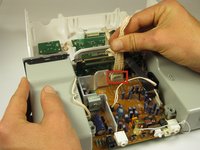
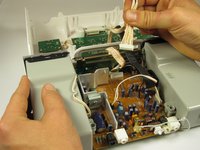


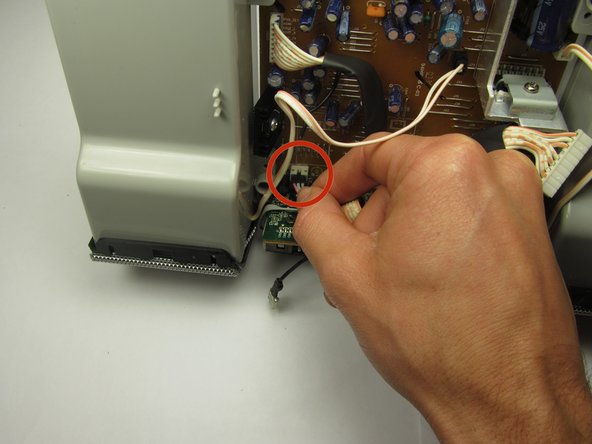

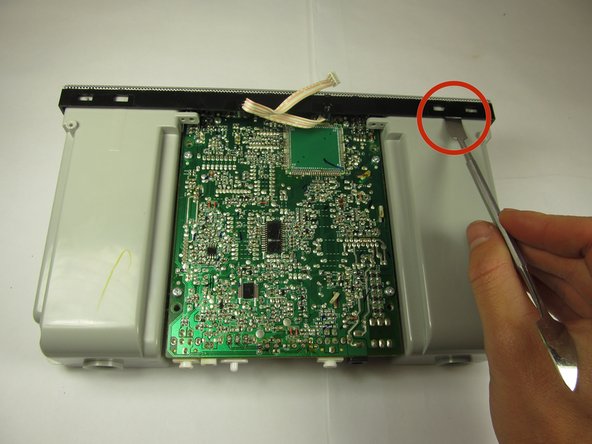


To reassemble your device, follow these instructions in reverse order.
Cancel: I did not complete this guide.
One other person completed this guide.

Team

Cal Poly, Team 8-39, Amido Winter 2015 Member of Cal Poly, Team 8-39, Amido Winter 2015
CPSU-AMIDO-W15S8G39
4 Members
96 Guides authored
