Introduction
The lower case gives the iHome its flat lower surface and houses two AA batteries.This guide provides the first step in accessing the areas of the iHome where components that could need installation are located.
What you need
-
-
-
Unplug the device from the wall outlet, and turn it over so that the buttons are on a flat surface.
-
Use your fingers to pinch the tab in the direction of the "Open" arrow until tab is loose. Pull the tab vertically to remove it.
-
Remove the battery cover and the batteries.
 Ask FixBot
-
-
-
-
Remove the following eight screws:
-
Four 15.1 mm Phillips #2 screws near the front of the device.
-
Four 12.7 mm Phillips #2 screws near the back of the device.
-
-
Tool used on this step:Tweezers$4.99
-
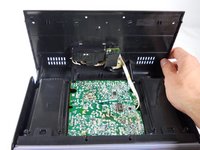
Turn the iHome 180 degrees so the speaker grille is facing you. Carefully lift the bottom case away from the rest of the body and tilt it as shown.
-
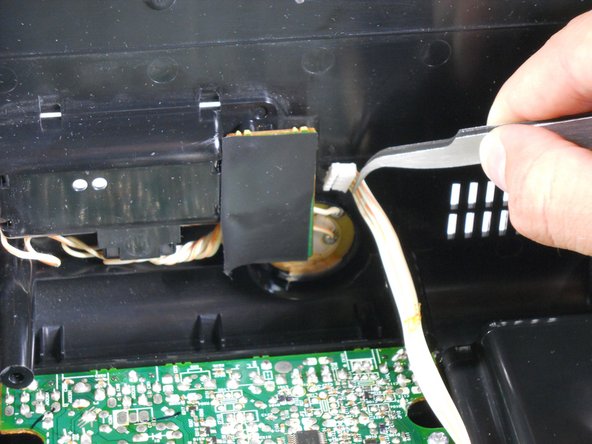
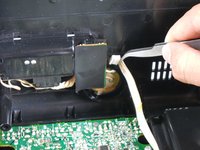
Using a pair of tweezers, detach the white ribbon cable. Make sure to pull on the ribbon, not on the head.
-
The lower case can now be completely removed from the device!
-
-



To reassemble your device, follow these instructions in reverse order.
Cancel: I did not complete this guide.
One other person completed this guide.

Team

Cal Poly, Team 12-33, Amido Spring 2013 Member of Cal Poly, Team 12-33, Amido Spring 2013
CPSU-AMIDO-S13S12G33
4 Members
84 Guides authored
