
iHome iH8BR Buttons Replacement

cfredric and 5 other contributors
Last updated on May 7, 2024
Views: 3K
View statistics:
- Past 24 Hours:
- 2
- Past 7 Days:
- 15
- Past 30 Days:
- 94
- All Time:
- 2,963
Comments: 1
1 guide comment.
Go to guide commentsCompleted: 3 4
3 people have marked this guide "completed." Will you be next?
4 people have marked this guide "completed." Including you — great job!
Favorites: 1 2
1 person has favorited (and subscribed to) this guide. Will you be next?
2 people have favorited (and subscribed to) this guide — including you!
Missing Steps
Oops! This guide is currently missing one or more important steps.
Introduction
Go to step 1 ↓The buttons on the top of the iHome control most of the device's functions. They can be worn out or simply broken due to use and may need replacement. You will need to take most of your iHome apart to access the buttons.
What you need
Tools
-
-
Spudger4.9
-


-
-
-
Unplug the device from the wall outlet, and turn it over so that the buttons are on a flat surface.
-
Use your fingers to pinch the tab in the direction of the "Open" arrow until tab is loose. Pull the tab vertically to remove it.
-
Remove the battery cover and the batteries.
 Ask FixBot
-
-
-
Remove the following eight screws:
-
Four 15.1 mm Phillips #2 screws near the front of the device.
-
Four 12.7 mm Phillips #2 screws near the back of the device.
-
-
Tool used on this step:Tweezers$4.99
-
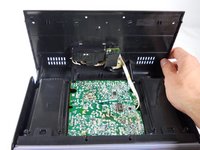
Turn the iHome 180 degrees so the speaker grille is facing you. Carefully lift the bottom case away from the rest of the body and tilt it as shown.
-
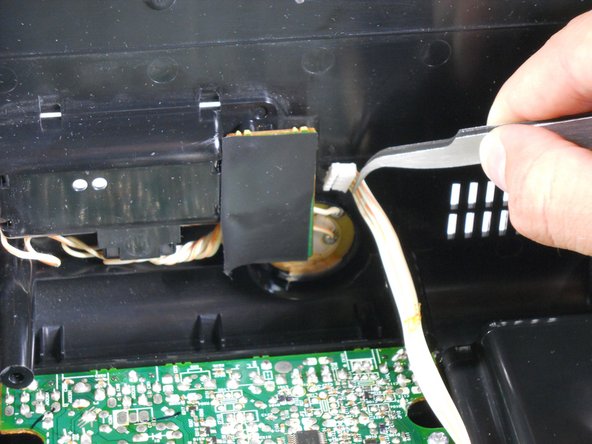
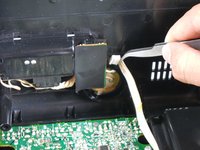
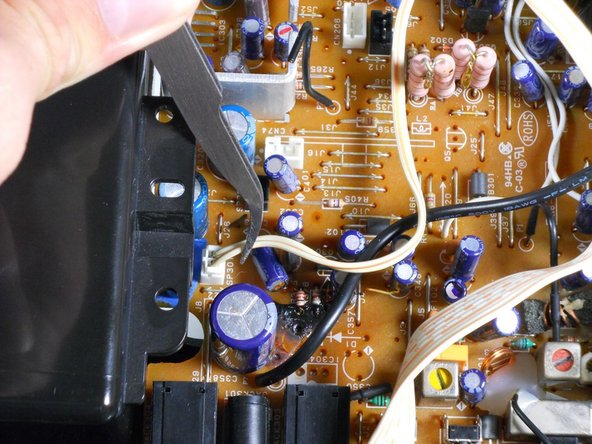
Using a pair of tweezers, detach the white ribbon cable. Make sure to pull on the ribbon, not on the head.
-
The lower case can now be completely removed from the device!
-
-
-
-
-
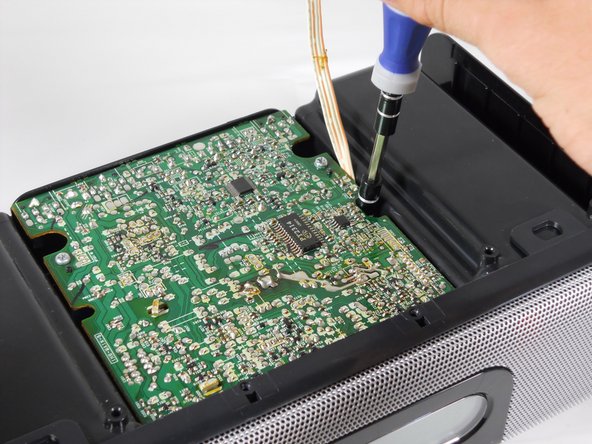
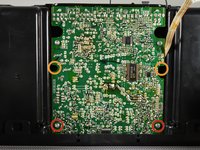
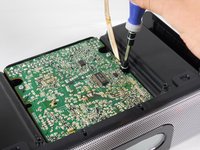
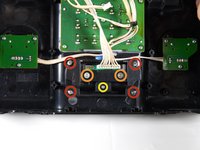
Remove the four screws attaching the top of the case to the motherboard:
-
Two 9.5 mm Phillips #2 screws near the speaker grille.
-
Two 14.3 mm Phillips #2 screws that sit in recesses under the motherboard.
-
-
-
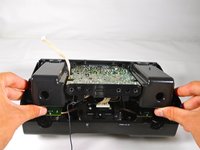
Turn the iHome 180 degrees and carefully pull up on speaker cases to pry them loose from the bottom case.
-
Pulling outwards on the sides of the Upper Casing can help loosen the assembly.
-
If it seems too difficult to remove, chances are that a screw is still attached. Make sure you've removed every screw listed before proceeding to this step.
-
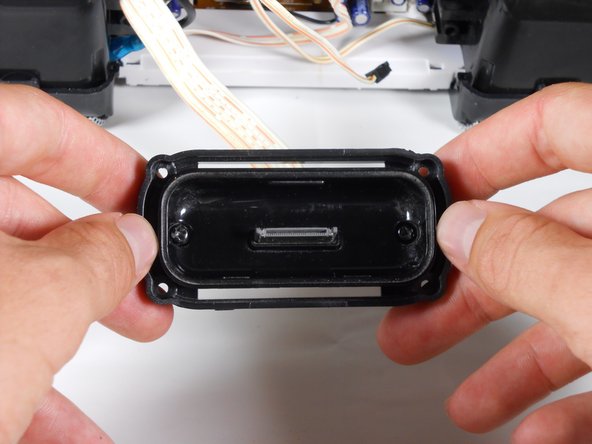
Pull the back adapter cover off.
-
-
-
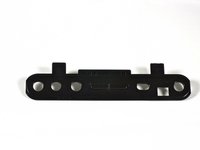
Remove the four 6.4 mm Phillips #1 screws holding the adapter to the outer case.
-
Two 6.4 mm Phillips #1 screws near the center of the adapter. These screws have built in washers.
-
One 4.0 mm Phillips #1 screw near the center of the adapter.
-
The iPod adapter should now be separate from the upper casing.
-
-
-
Tool used on this step:Tweezers$4.99
-
With the back of the iHome is facing you, tilt the Motherboard Assembly upwards as shown.
-
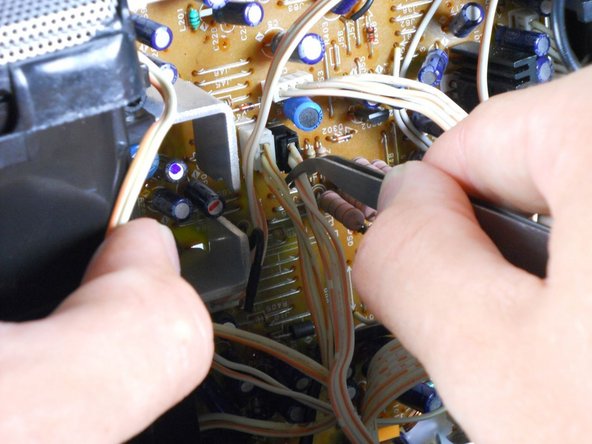
Use tweezers to remove the 6 ribbon cables.
-
-
-
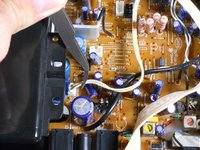
Pull the speakers, motherboard, and iPod adapter up and away from the lower casing.
-
You have now separated your iHome's inner workings from its protective case!
-
-
-
-
Tool used on this step:Tweezers$4.99
-
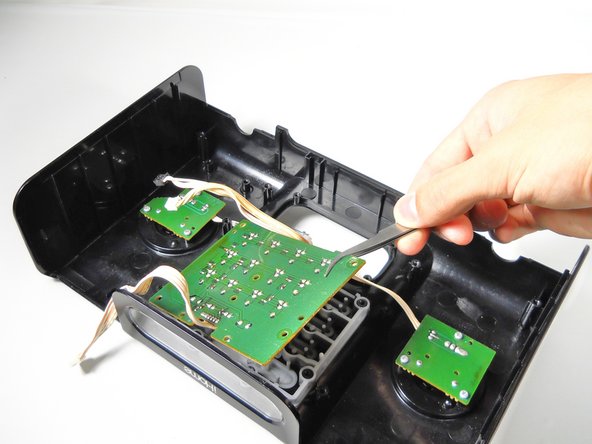
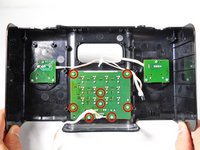
Remove the eight 7.9 mm Phillips #1 screws from the center board.
-
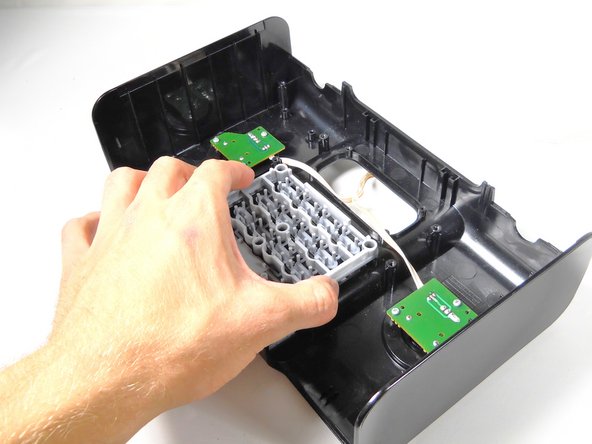
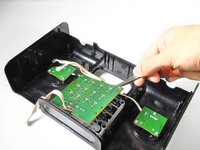
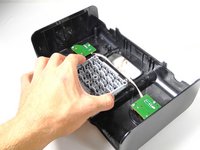
Use tweezers to carefully remove the largest circuit board.
-
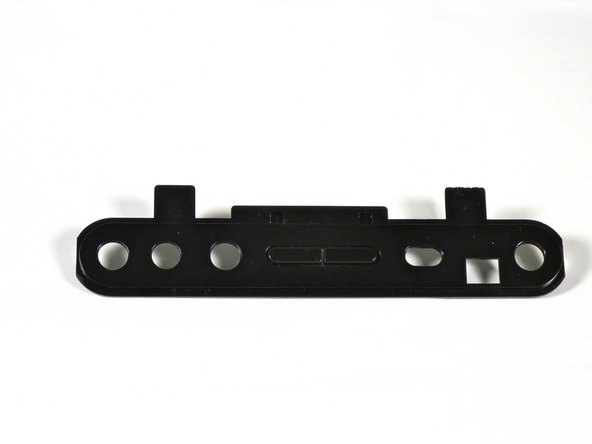
You should be able to easily lift the buttons away.
-
-








To reassemble your device, follow these instructions in reverse order.
Cancel: I did not complete this guide.
3 other people completed this guide.

Team

Cal Poly, Team 12-33, Amido Spring 2013 Member of Cal Poly, Team 12-33, Amido Spring 2013
CPSU-AMIDO-S13S12G33
4 Members
84 Guides authored
