Free Shipping on Domestic Orders $75+

iHome iH3L Speakers Replacement

What you need

    1. iHome iH3L Speakers  Replacement, Speakers: step 1, image 1 of 3 iHome iH3L Speakers  Replacement, Speakers: step 1, image 2 of 3 iHome iH3L Speakers  Replacement, Speakers: step 1, image 3 of 3
      • Locate all screws on the back of the iHome. Each screw can be located by the arrows on the iHome.

      • Two Countersunk 9.7 mm Phillips #2 screws in the middle.

      • Two 15.9 mm Phillips #2 screws.

      • Six 13.9 mm Phillips #2 screws.

      • Some screws are located under the black sticky pads. Gently remove the black sticky pads and it will expose the screws.

      • Two 11.8 mm Phillips #2 screws.

      Ask FixBot

      Add Comment

    2. iHome iH3L Speakers  Replacement: step 2, image 1 of 2 iHome iH3L Speakers  Replacement: step 2, image 2 of 2
      • Remove all screws indicated in the previous step.

      Ask FixBot

      Add Comment

    3. iHome iH3L Speakers  Replacement: step 3, image 1 of 3 iHome iH3L Speakers  Replacement: step 3, image 2 of 3 iHome iH3L Speakers  Replacement: step 3, image 3 of 3
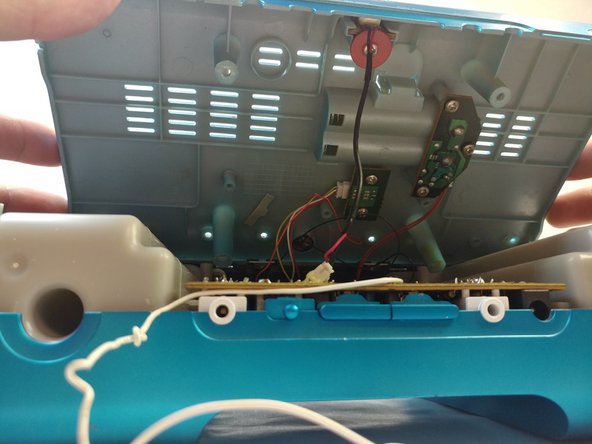
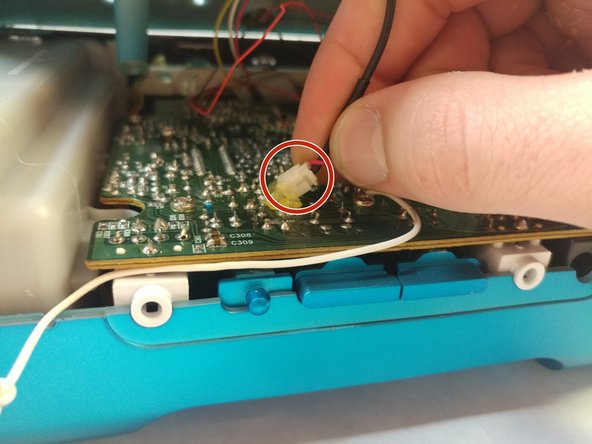
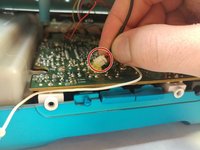
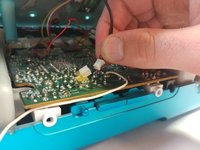
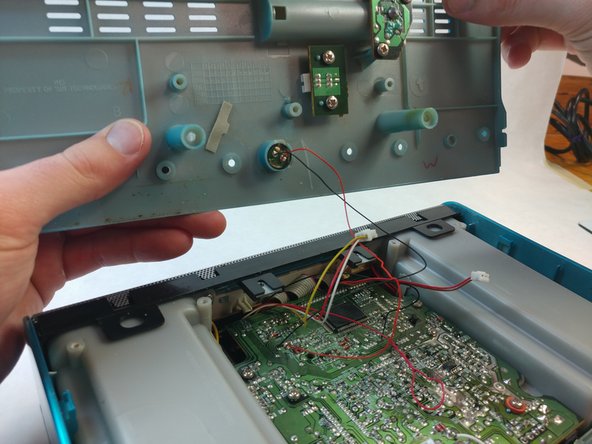
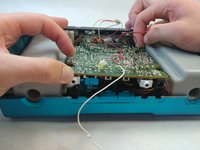
      • Slowly tilt the bottom cover of the iHome up.

      • Do not yank the cover off, there is a wire connecting the cover to the circuit board.

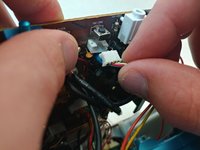
      • Disconnect the wire just by pulling on the connector gently.

      Ask FixBot

      Add Comment

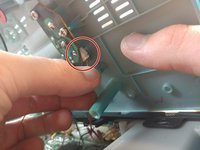
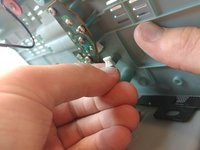
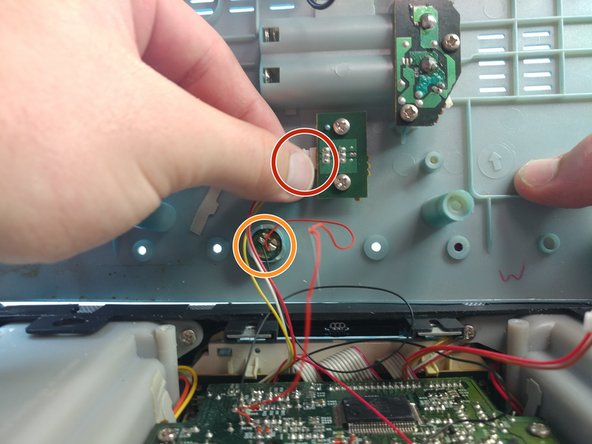
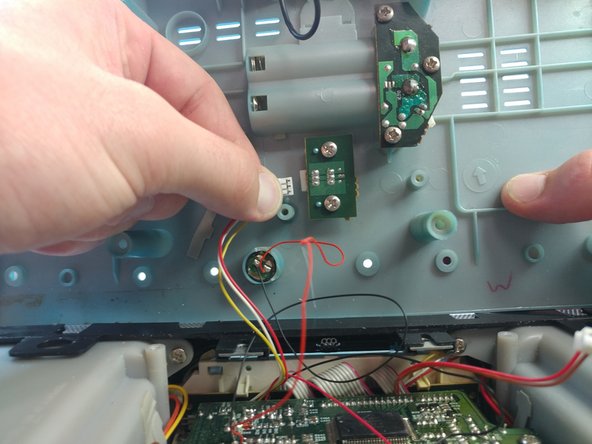
    4. iHome iH3L Speakers  Replacement: step 4, image 1 of 2 iHome iH3L Speakers  Replacement: step 4, image 2 of 2
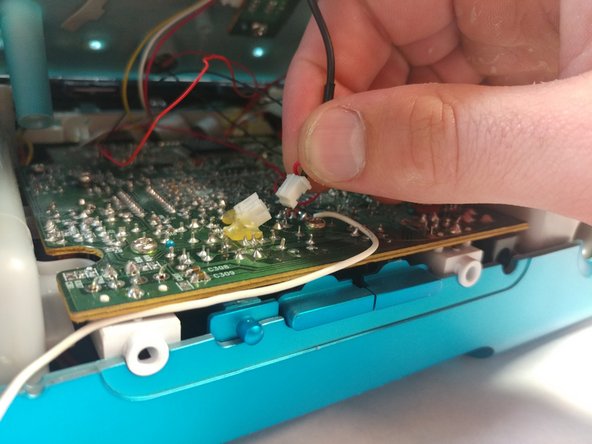
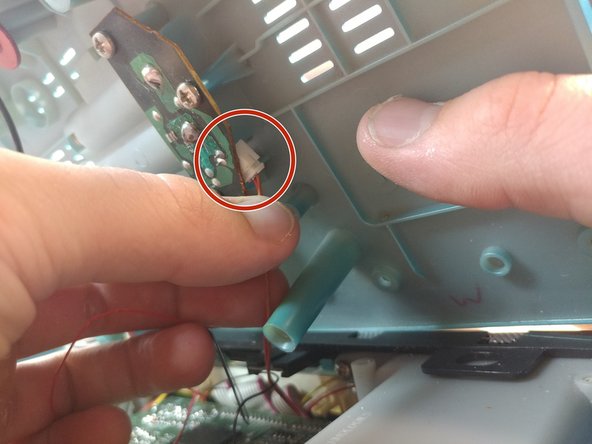
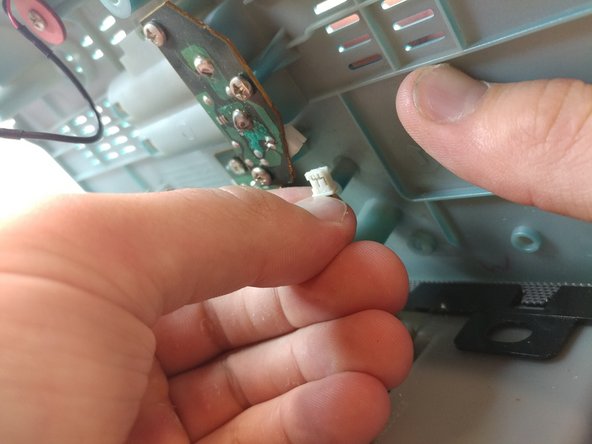
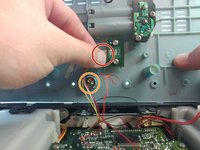
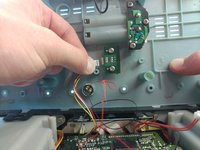
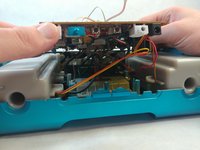
      • Disconnect the next connector pin after slowly opening the lid more.

      Ask FixBot

      Add Comment

    5. iHome iH3L Speakers  Replacement: step 5, image 1 of 3 iHome iH3L Speakers  Replacement: step 5, image 2 of 3 iHome iH3L Speakers  Replacement: step 5, image 3 of 3
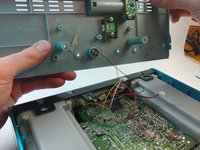
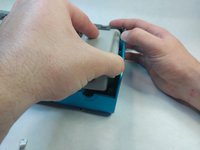
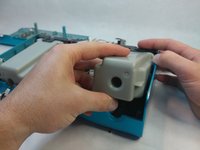
      • Disconnect the final connector pin series and carefully set your lid behind the body of the iHome.

      • The tiny speaker will not be disconnected for this repair, but you can easily remove it from the lid by means of a paperclip from the outside. While not necessary, this can help prevent damage to your device.

      Ask FixBot

      Add Comment

    6. iHome iH3L Speakers  Replacement: step 6, image 1 of 2 iHome iH3L Speakers  Replacement: step 6, image 2 of 2
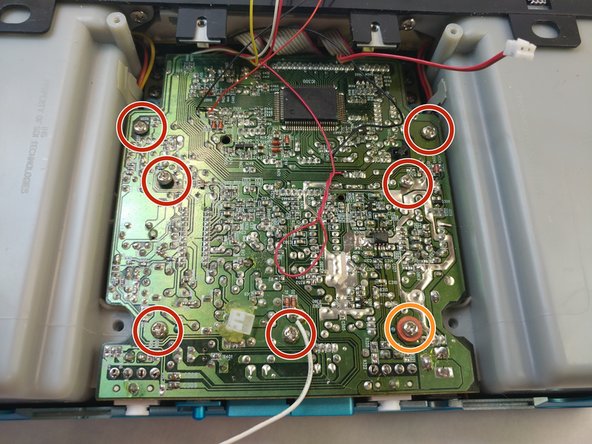
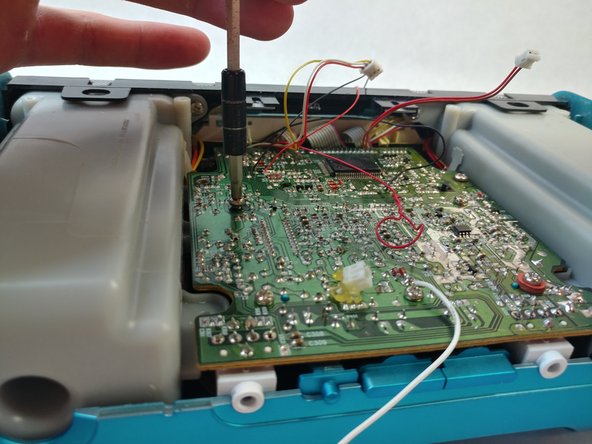
      • Remove the seven screws that are holding the motherboard in place:

      • Six 14 mm Phillips #2 screws.

      • One 14 mm Phillips #2 screw with two rubber washers on it.

      Ask FixBot

      Add Comment

    7. iHome iH3L Speakers  Replacement: step 7, image 1 of 3 iHome iH3L Speakers  Replacement: step 7, image 2 of 3 iHome iH3L Speakers  Replacement: step 7, image 3 of 3
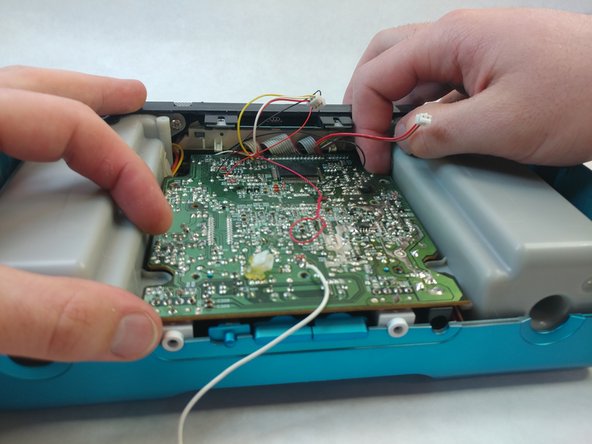
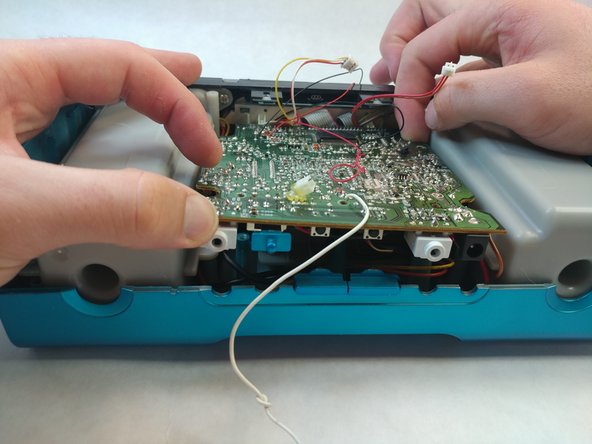
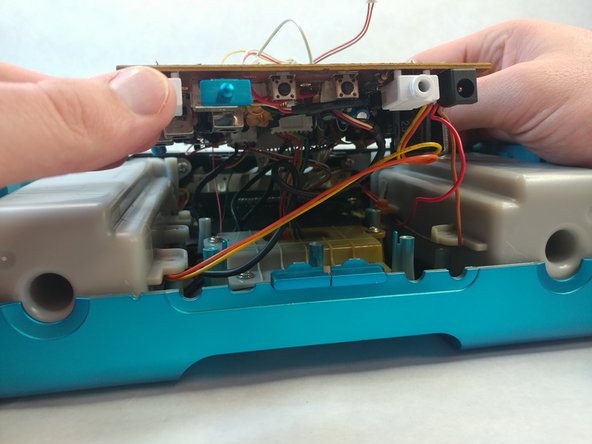
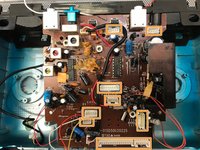
      • To remove the motherboard, gently lift up from opposite sides.

      • Be careful when lifting the motherboard. There are wires still connected to it on the backside.

      Ask FixBot

      Add Comment

    8. iHome iH3L Speakers  Replacement: step 8, image 1 of 3 iHome iH3L Speakers  Replacement: step 8, image 2 of 3 iHome iH3L Speakers  Replacement: step 8, image 3 of 3
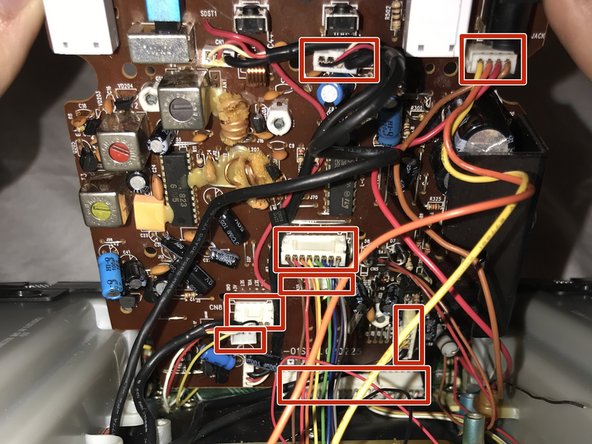
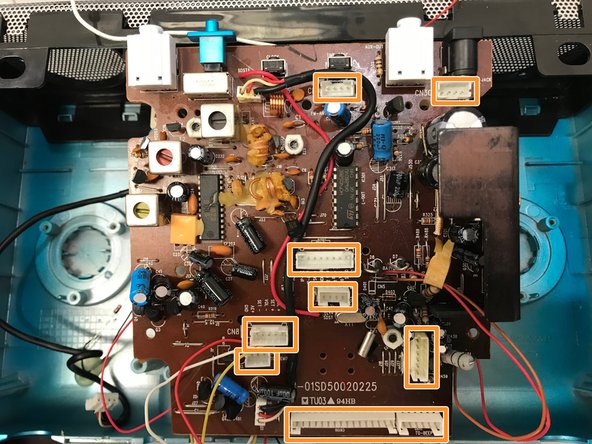
      • Carefully tilt the motherboard up from the front.

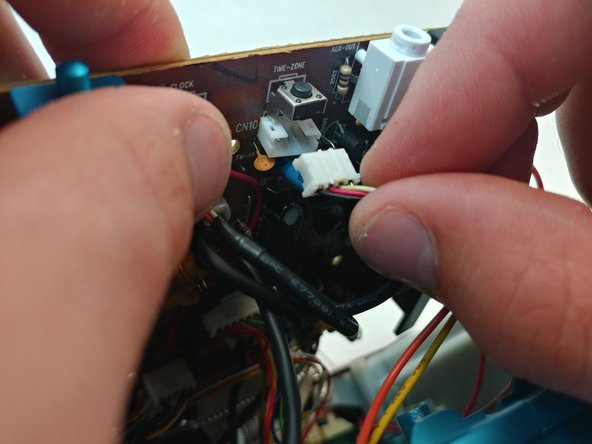
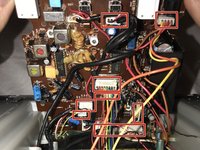
      • Disconnect the 8 connections by gently pulling on them. Starting from the front and work your way backwards.

      • All 8 connectors disconnected.

      Ask FixBot

      Add Comment

    9. iHome iH3L Speakers  Replacement: step 9, image 1 of 2 iHome iH3L Speakers  Replacement: step 9, image 2 of 2
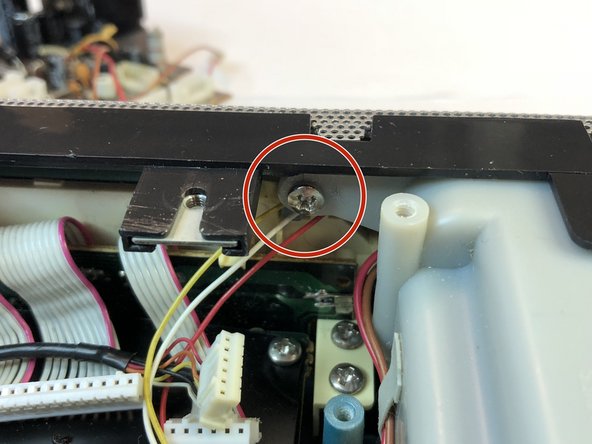
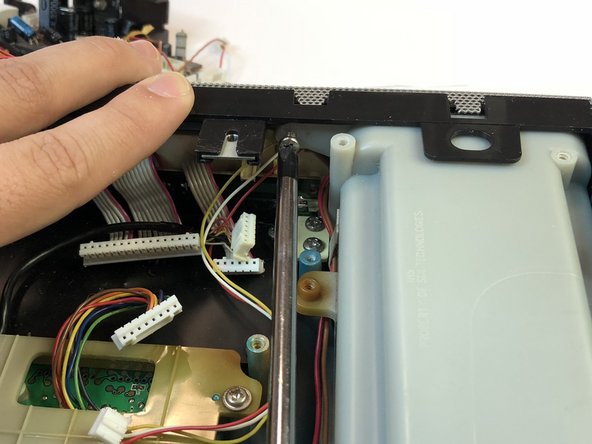
      • Unscrew the screws holding the speakers onto the body. One on each side:

      • Two 14.3 mm Phillips #2 screws.

      Ask FixBot

      Add Comment

    10. iHome iH3L Speakers  Replacement: step 10, image 1 of 3 iHome iH3L Speakers  Replacement: step 10, image 2 of 3 iHome iH3L Speakers  Replacement: step 10, image 3 of 3
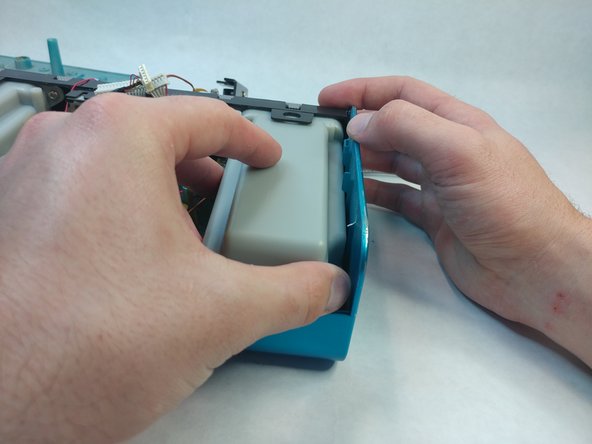
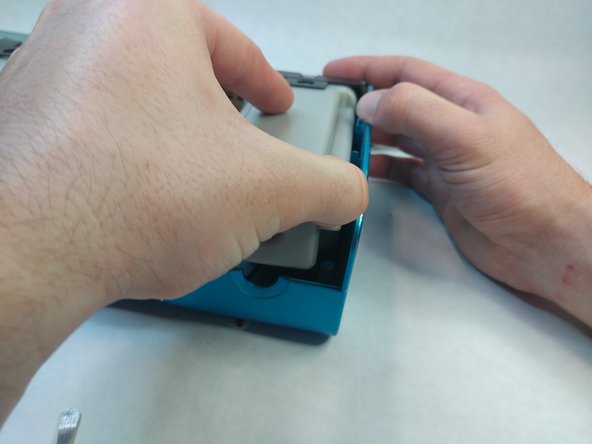
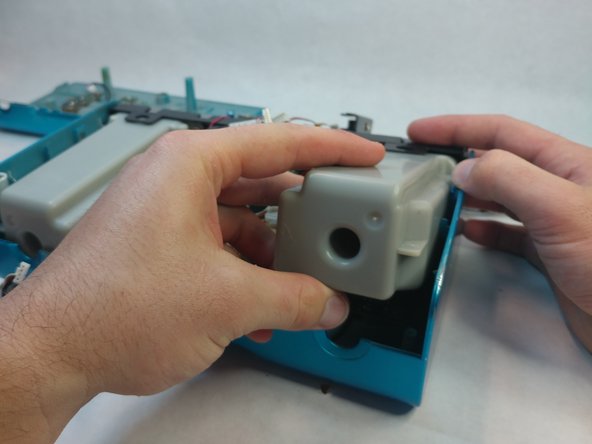
      • To remove the speakers from the iHome, gently lift up the back of the speaker and pull towards you. These are very secure so minor shaking may help release the speaker.

      • Repeat for the other side.

      • Be careful yanking on them, the speakers are connected together.

      Ask FixBot

      Add Comment

Conclusion

To reassemble your device, follow these instructions in reverse order.

Cancel: I did not complete this guide.

One other person completed this guide.

0 Guide Comments

Add Comment

View Statistics:

Past 24 Hours: 1

Past 7 Days: 3

Past 30 Days: 26

All Time: 674