Free Shipping on Domestic Orders $75+

iHome iBN97 Display Screen Replacement

What you need

  1. iHome iBN97 Display Screen Replacement, Bottom Plate Screws: step 1, image 1 of 3 iHome iBN97 Display Screen Replacement, Bottom Plate Screws: step 1, image 2 of 3 iHome iBN97 Display Screen Replacement, Bottom Plate Screws: step 1, image 3 of 3
    • This disassembly involves the removal of many components and screws. Be sure to remember which screws go where, and not to lose any parts.

    • All the screws are size 2 except for the ones in Step 9.

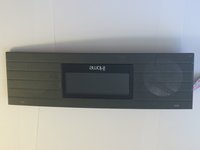
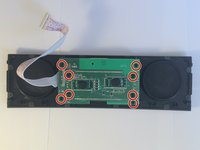
    • Flip the iHome upside down.

    • You should see six pocketed Phillip's head screws.

    • You should also see 2 visible Phillip head screws.

    • Using a long neck Phillips head screwdriver, remove the screws.

    • The long neck screwdriver is only necessary for this step. If it works well in the following steps, that is fine; just be sure to use the right tool for the right job.

    Ask FixBot

    Add Comment

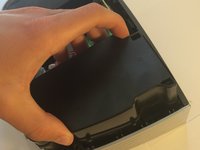
  2. iHome iBN97 Display Screen Replacement, Bottom Plate Removal: step 2, image 1 of 3 iHome iBN97 Display Screen Replacement, Bottom Plate Removal: step 2, image 2 of 3 iHome iBN97 Display Screen Replacement, Bottom Plate Removal: step 2, image 3 of 3
    • Slightly lift the front end with the support.

    • Insert the flat end of the spudger and slide it along the edge.

    • The case should pop out easily. Remove the piece by lifting it straight out.

    Ask FixBot

    Add Comment

  3. iHome iBN97 Display Screen Replacement, Backup Battery Disconnection: step 3, image 1 of 3 iHome iBN97 Display Screen Replacement, Backup Battery Disconnection: step 3, image 2 of 3 iHome iBN97 Display Screen Replacement, Backup Battery Disconnection: step 3, image 3 of 3
    Tool used on this step:
    Tweezers
    $4.99
    Buy
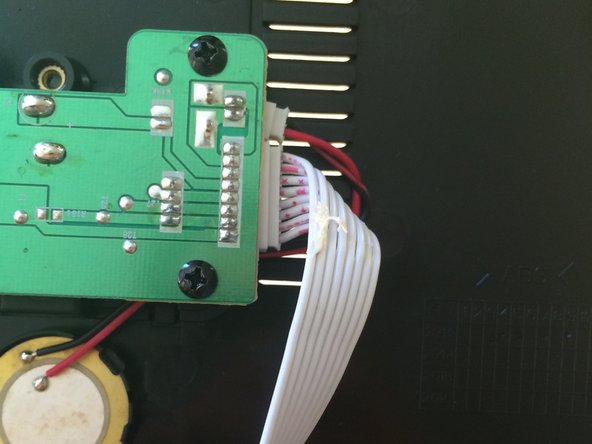
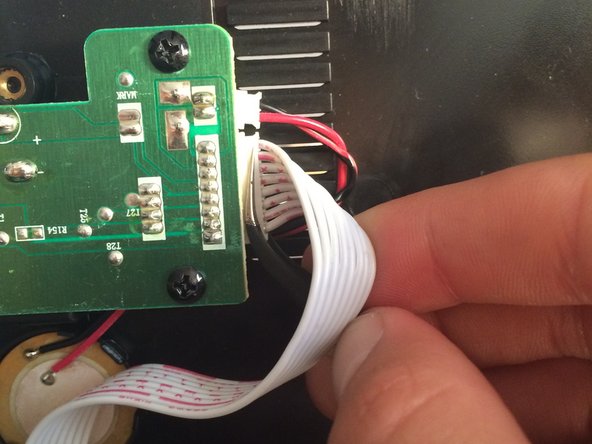
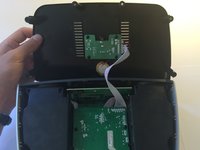
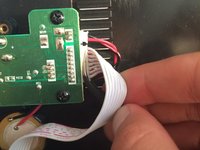
    • Using a pair of tweezers, remove the ribbon cable connector at the backup battery.

    • Be sure not to tug on the cables themselves. This could result in damaging the cables.

    • If tweezers are too difficult to use, it is ok to use your fingers, just so long as you don't put a lot of tension on the cables.

    Ask FixBot

    Add Comment

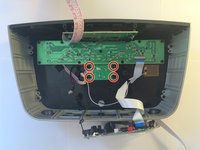
  4. iHome iBN97 Display Screen Replacement, Logic Board Removal: step 4, image 1 of 2 iHome iBN97 Display Screen Replacement, Logic Board Removal: step 4, image 2 of 2
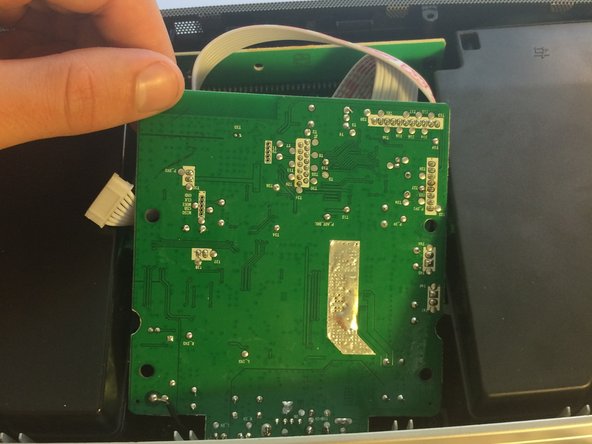
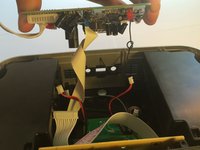
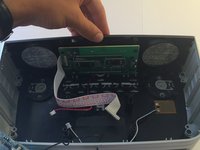
    • Remove the 4 screws located on the logic board.

    • Gently lift the front side of the board towards you

    • Careful not to pull it out forcefully, there are still many cables attached to the logic board.

    Ask FixBot

    Add Comment

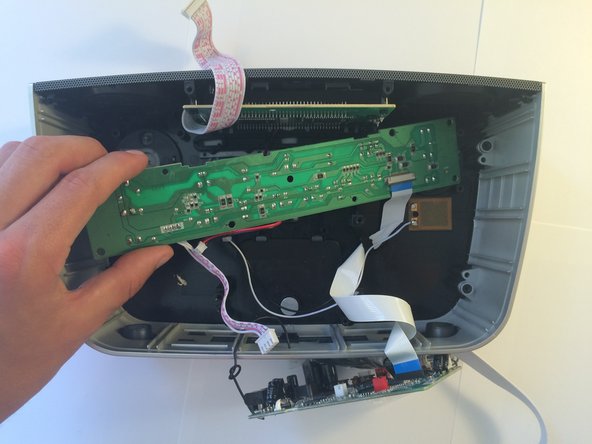
  5. iHome iBN97 Display Screen Replacement, Logic Board Connections Removal: step 5, image 1 of 2 iHome iBN97 Display Screen Replacement, Logic Board Connections Removal: step 5, image 2 of 2
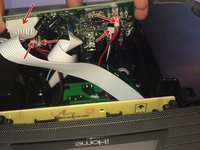
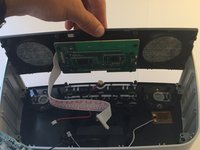
    • Remove the 4 two-wire extension cables and the ribbon cable connected to the unit.

    • The logic board will still be attached to the unit by a flat ribbon cable and a radio wire.

    • Set the logic board next to the unit.

    Ask FixBot

    Add Comment

  6. iHome iBN97 Display Screen Replacement, Speaker Removal: step 6, image 1 of 3 iHome iBN97 Display Screen Replacement, Speaker Removal: step 6, image 2 of 3 iHome iBN97 Display Screen Replacement, Speaker Removal: step 6, image 3 of 3
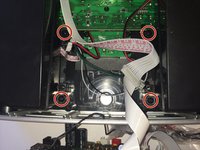
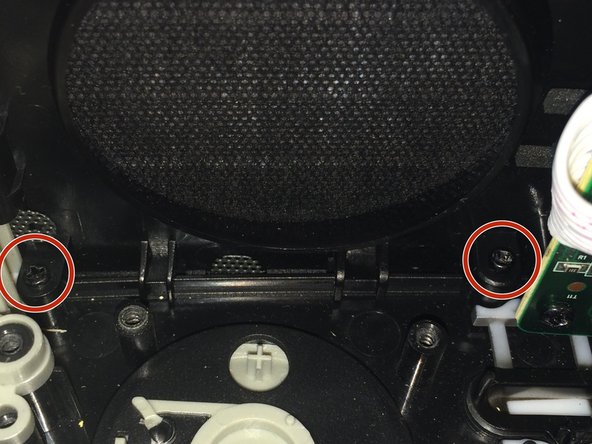
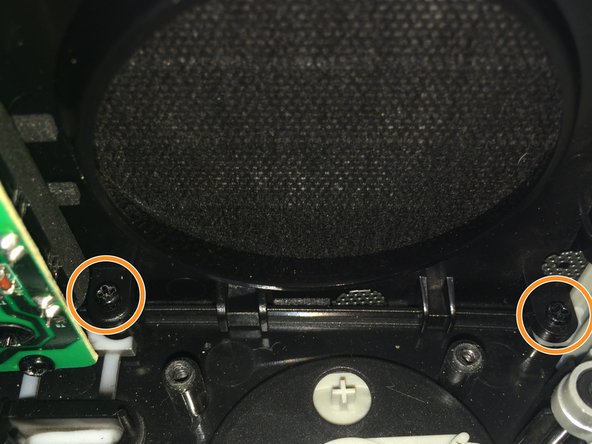
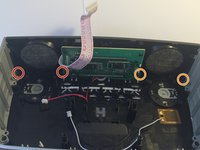
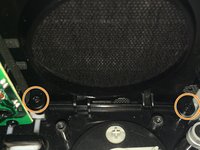
    • Remove the 4 Phillips head screws that attach the speakers to the unit.

    • There are 2 more screws for each speaker. The speakers are symmetrical. Remove the 4 screws to free both speakers.

    • Gently lift each speaker out of the unit and set aside.

    Ask FixBot

    Add Comment

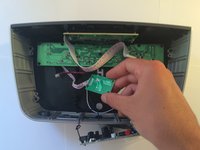
  7. iHome iBN97 Display Screen Replacement, Bluetooth Removal: step 7, image 1 of 3 iHome iBN97 Display Screen Replacement, Bluetooth Removal: step 7, image 2 of 3 iHome iBN97 Display Screen Replacement, Bluetooth Removal: step 7, image 3 of 3
    • Remove the 4 Phillips head screws belonging to the small bluetooth circuit board.

    • Using tweezers, remove the ribbon cable connection.

    • Set the bluetooth circuit board aside.

    Ask FixBot

    Add Comment

  8. iHome iBN97 Display Screen Replacement, Switch Board Removal: step 8, image 1 of 3 iHome iBN97 Display Screen Replacement, Switch Board Removal: step 8, image 2 of 3 iHome iBN97 Display Screen Replacement, Switch Board Removal: step 8, image 3 of 3
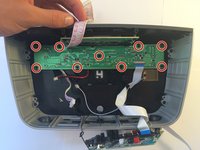
    • Remove the 9 Phillips screws that fasten the switch board to the unit.

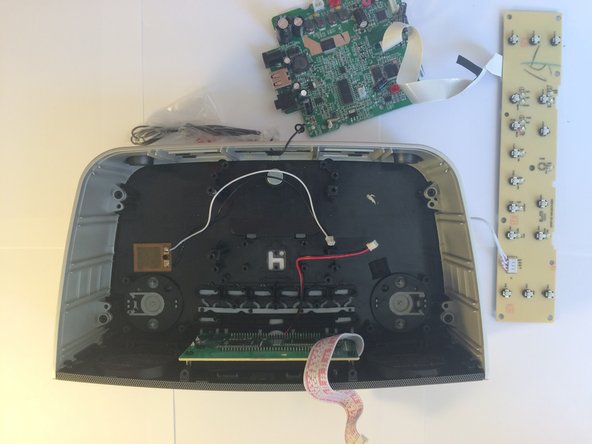
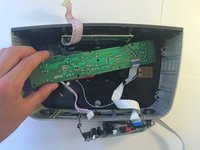
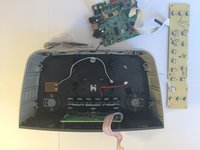
    • Remove the switch board and place it outside of the unit, out of the way.

    • The switch board is attached by a flat ribbon cable to the logic board, which is tethered to the unit by a radio wire. It shouldn't get in the way, however.

    Ask FixBot

    Add Comment

  9. iHome iBN97 Display Screen Replacement, Dismantling the Case: step 9, image 1 of 3 iHome iBN97 Display Screen Replacement, Dismantling the Case: step 9, image 2 of 3 iHome iBN97 Display Screen Replacement, Dismantling the Case: step 9, image 3 of 3
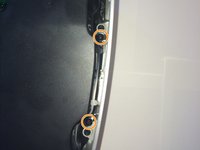
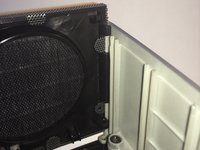
    • If your screwdriver is small enough to fit inside the width of the case, this step is not necessary. Skip ahead to Step 11 and perform the step inside the case.

    • Using the size 1 Phillips screwdriver, remove the 4 Phillips head screws that hold the different parts of the case together.

    Ask FixBot

    Add Comment

  10. iHome iBN97 Display Screen Replacement, Screen Removal: step 10, image 1 of 3 iHome iBN97 Display Screen Replacement, Screen Removal: step 10, image 2 of 3 iHome iBN97 Display Screen Replacement, Screen Removal: step 10, image 3 of 3
    • Slide the screen up and out of the unit.

    • This part is attached in a tongue and groove fashion. It should come out without any snapping.

    Ask FixBot

    Add Comment

  11. iHome iBN97 Display Screen Replacement, Time Screen Display Removal: step 11, image 1 of 3 iHome iBN97 Display Screen Replacement, Time Screen Display Removal: step 11, image 2 of 3 iHome iBN97 Display Screen Replacement, Time Screen Display Removal: step 11, image 3 of 3
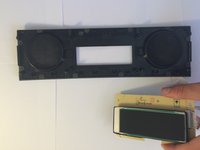
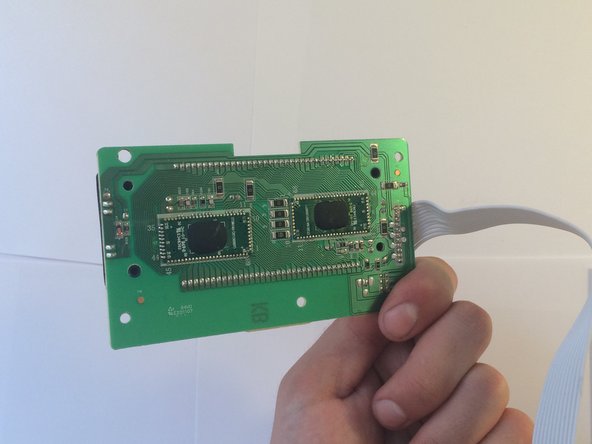
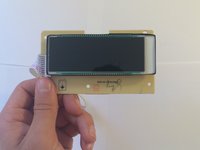
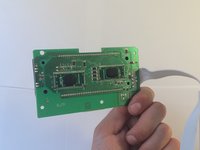
    • Remove the 8 Phillips screws and remove the time display screen.

    • These screws are size 2 again.

    Ask FixBot

    Add Comment

  12. iHome iBN97 Display Screen Replacement, Finished!: step 12, image 1 of 2 iHome iBN97 Display Screen Replacement, Finished!: step 12, image 2 of 2
    • Now this component is either repaired or replaced.

    Ask FixBot

    Add Comment

Conclusion

Follow these steps backwards to reassemble the device. The reassembly is straightforward; it should all fit well again.

Cancel: I did not complete this guide.

One other person completed this guide.

Luke Williams

Member since: 09/29/15

554 Reputation

2 Guides authored

Team

Cal Poly, Team 10-1, Green Fall 2015 Member of Cal Poly, Team 10-1, Green Fall 2015

CPSU-GREEN-F15S10G1

4 Members

8 Guides authored

2 Guide Comments

Where did you find iHome iBN97 Display Screen Replacement?

Angelo Mastrella - Reply Share
This page is wrong. I contact support and they do not stock parts.

cmee - Reply Share

Add Comment

View Statistics:

Past 24 Hours: 1

Past 7 Days: 3

Past 30 Days: 27

All Time: 1,643