
iFixit Digital Multimeter Outer Cover Replacement

Last updated on Feb 3, 2026
Views: 407
View statistics:
- Past 24 Hours:
- 2
- Past 7 Days:
- 11
- Past 30 Days:
- 60
- All Time:
- 407
Comments: 0
No one has left comments on this guide. Will you be first?
Go to guide commentsCompleted: 1 2
1 person has marked this guide "completed." Will you be next?
2 people have marked this guide "completed." Including you — great job!
Favorites: 0 1
No one has favorited (and subscribed to) this guide. Will you be the first?
1 person has favorited (and subscribed to) this guide — and that's you!
Introduction
Go to step 1 ↓This guide shows how to remove and replace the outer cover on your iFixit digital multimeter.
The outer cover protects the multimeter from drops and dings. You can peel it off easily, but it can be tricky to reinstall due to its perimeter lip. This guide will help you align and seat the cover properly.
You don't need to remove the outer cover to replace the batteries, but you do need to remove it to replace the fuses.
-
-
-
Turn off your multimeter.
-
Disconnect the probes from your multimeter.
 Ask FixBot
-
-
-
-
-
Use your fingers to pull and loosen the cover lip out of its groove along the right edge of the multimeter.
-
Pry and loosen the cover from the bottom right corner of the multimeter.
-
-
-
Repeat the procedure to loosen the cover from the left edge of the multimeter.
-
-
-
-
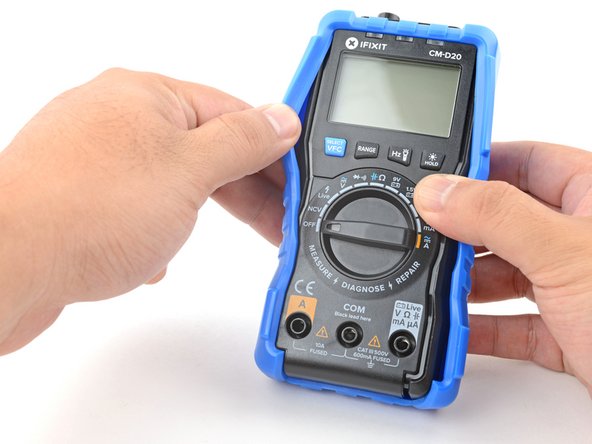
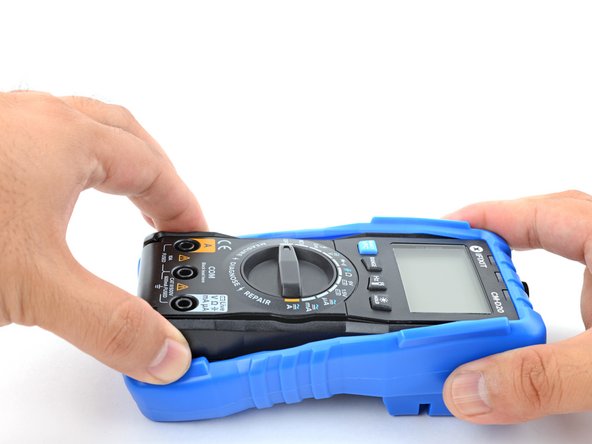
Grasp the sides of the cover near the top to hold it in place.
-
Grasp the bottom edge of the multimeter and pull it out at a shallow angle to remove it from the cover.
-
-






For more information on how to use your iFixit multimeter, check out this page.
Cancel: I did not complete this guide.
One other person completed this guide.


