
iFixit Digital Multimeter Fuse Replacement

Last updated on Feb 3, 2026
Views: 1.1K
View statistics:
- Past 24 Hours:
- 7
- Past 7 Days:
- 62
- Past 30 Days:
- 232
- All Time:
- 1,146
Comments: 1
1 guide comment.
Go to guide commentsCompleted: 1 2
1 person has marked this guide "completed." Will you be next?
2 people have marked this guide "completed." Including you — great job!
Favorites: 0 1
No one has favorited (and subscribed to) this guide. Will you be the first?
1 person has favorited (and subscribed to) this guide — and that's you!
Introduction
Go to step 1 ↓Follow this guide to replace a blown 600mA/600V fuse in your iFixit multimeter.
The multimeter has two fuses: a 600mA fuse that protects most multimeter functions, and a 10A fuse that protects the high current measurement function. The 600mA fuse is easily replaceable, but the 10A fuse is soldered to the board. This guide doesn't cover how to replace the 10A fuse. If you possess basic soldering skills, you can easily replace the soldered fuse with a few additional steps.
If your multimeter stops measuring voltage, resistance, or current, the 600mA/600V fuse is likely blown. You'll need to replace the fuse with the following:
- 600mA/600V Fast-acting, 5x20 mm size
If your multimeter stops measuring current in the 10A mode, replace the soldered 10A fuse with the following:
- 10A/600V Fast-acting, up to 32 mm length
- The factory fuse is 6.3x32 mm, but the space can fit a range of fuse diameters.
- To make this replacement easier, order replacement fuses with leads pre-attached.
Don't install fuses with higher current or voltage specifications, or you may damage your multimeter during use. You can safely install fuses with lower current or voltage specifications—your multimeter just won't be able to operate at its full range.
What you need
Tools
-
Spudger4.9


-
-
-
Turn off your multimeter.
-
Disconnect the probes from your multimeter.
 Ask FixBot
-
-
-
-
-
Use your fingers to pull and loosen the cover lip out of its groove along the right edge of the multimeter.
-
Pry and loosen the cover from the bottom right corner of the multimeter.
-
-
-
Repeat the procedure to loosen the cover from the left edge of the multimeter.
-
-
-
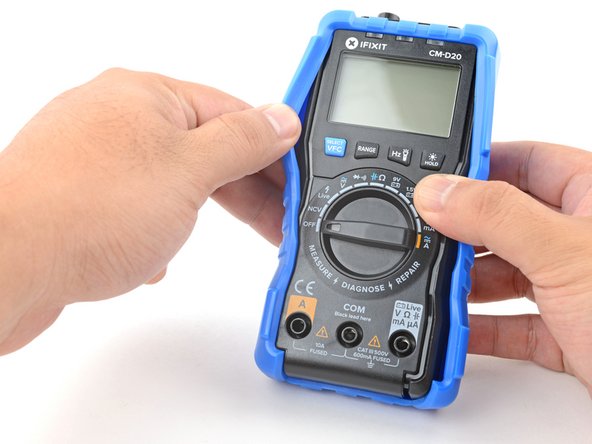
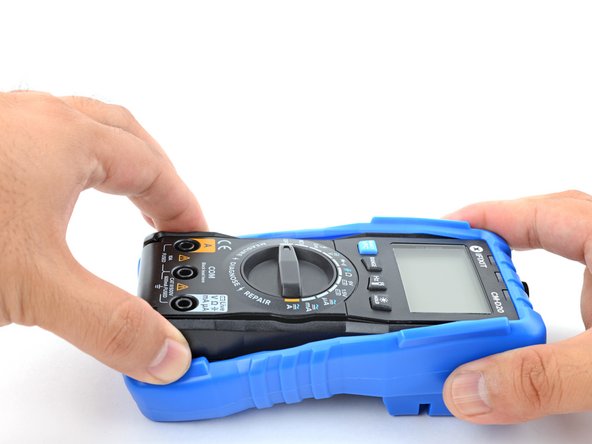
Grasp the sides of the cover near the top to hold it in place.
-
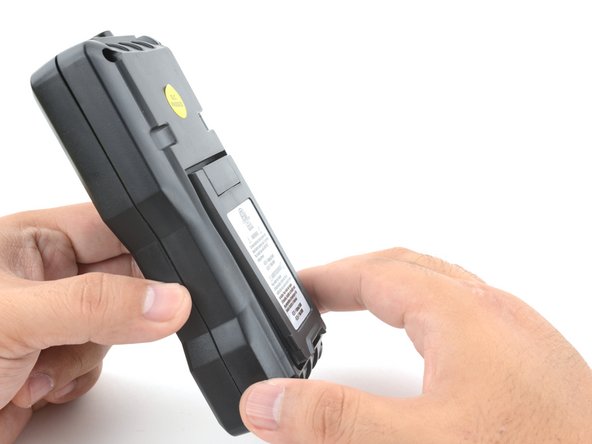
Grasp the bottom edge of the multimeter and pull it out at a shallow angle to remove it from the cover.
-
-
-
-
-
Use a Phillips screwdriver to remove the four 9.6 mm‑long case screws.
-
-
-
-
Grasp the front and back halves of the multimeter and pull to separate the two halves.
-
-
-
Use a spudger or your fingers to pry the fuse out of its holder.
-
Remove the fuse.
-
-








To reassemble your device, follow these instructions in reverse order.
For more information on how to use your iFixit multimeter, check out this page.
Cancel: I did not complete this guide.
One other person completed this guide.


1 Guide Comment
Are these old images? I notice the board looks different from the one shown in the video on iFixit channel. Seems like an older revision. Are all multimeters the new revision now, or is it random which one you could get?
