Free Shipping on Domestic Orders $75+

iDeaUSA CT8 Motherboard Replacement

What you need

    1. iDeaUSA CT8 Motherboard Replacement, Motherboard: step 1, image 1 of 3 iDeaUSA CT8 Motherboard Replacement, Motherboard: step 1, image 2 of 3 iDeaUSA CT8 Motherboard Replacement, Motherboard: step 1, image 3 of 3
      • Place the tablet on a flat surface, facing upwards.

      • Starting from the portholes, use the plastic opening tools to remove the back cover of the tablet from the top half.

      • Being cautious of the wire connecting the speaker and the motherboard, place the front and back portion of the tablet close in proximity.

      Ask FixBot

      Add Comment

    2. iDeaUSA CT8 Motherboard Replacement: step 2, image 1 of 3 iDeaUSA CT8 Motherboard Replacement: step 2, image 2 of 3 iDeaUSA CT8 Motherboard Replacement: step 2, image 3 of 3
      • Locate the five 3.5 mm black screws on the motherboard.

      • Use the #00 Phillips screwdriver to remove the screws, place them in an appropriate location.

      Ask FixBot

      Add Comment

    3. iDeaUSA CT8 Motherboard Replacement: step 3, image 1 of 1
      • Carefully peel off the tape covering the circuit boards and blue ribbons. The tape can be disposed or saved for reuse.

      Ask FixBot

      Add Comment

    4. iDeaUSA CT8 Motherboard Replacement: step 4, image 1 of 3 iDeaUSA CT8 Motherboard Replacement: step 4, image 2 of 3 iDeaUSA CT8 Motherboard Replacement: step 4, image 3 of 3
      Tool used on this step:
      Tweezers
      $4.99
      Buy
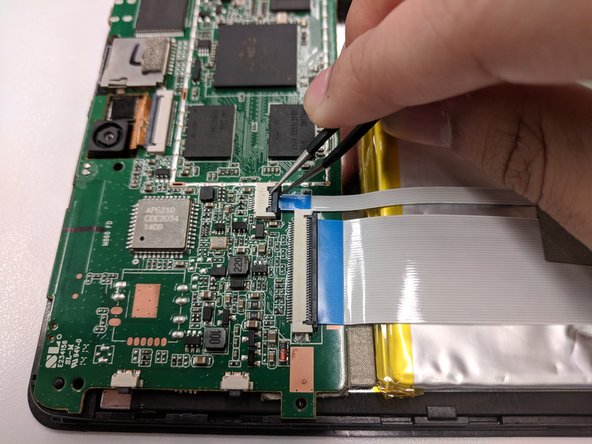
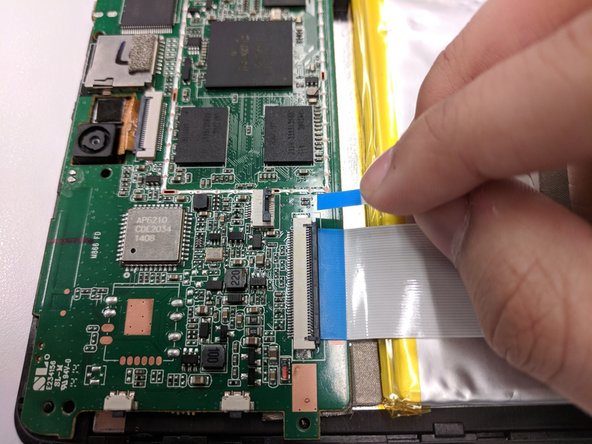
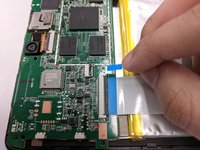
      • After removing the tape, two blue ribbon wires can now be accessed. To disconnect, gently lift up the plastic ZIF tabs covering the wires.

      • Upon lifting the tab, the ribbons can now be safely pulled out of their connections.

      • To avoid breaking or damaging the plastic ZIF tabs, it is recommended to use tweezers.

      Ask FixBot

      Add Comment

    5. iDeaUSA CT8 Motherboard Replacement: step 5, image 1 of 1
      • Locate the two wires connecting the speaker to the motherboard.

      • Use a soldering iron to desolder the red and black wires from their sockets.

      • Solder the speaker wires back in place during reassembly.

      Ask FixBot

      Add Comment

    6. iDeaUSA CT8 Motherboard Replacement: step 6, image 1 of 2 iDeaUSA CT8 Motherboard Replacement: step 6, image 2 of 2
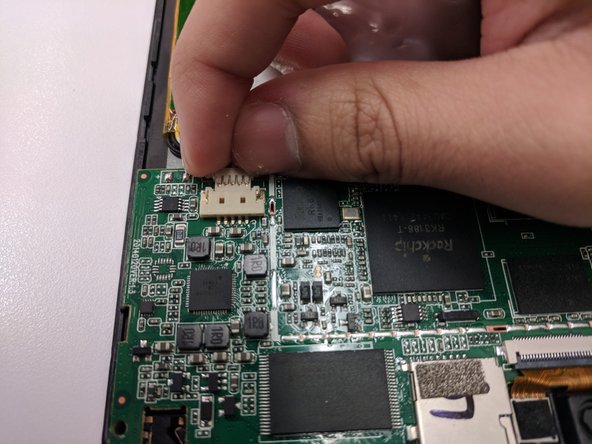
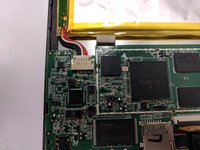
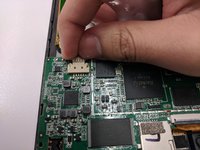
      • Disconnect the wires connecting the battery to the motherboard.

      • Start from the sides and gently wiggle the connection out until it;s loose enough to pull.

      Ask FixBot

      Add Comment

    7. iDeaUSA CT8 Motherboard Replacement: step 7, image 1 of 2 iDeaUSA CT8 Motherboard Replacement: step 7, image 2 of 2
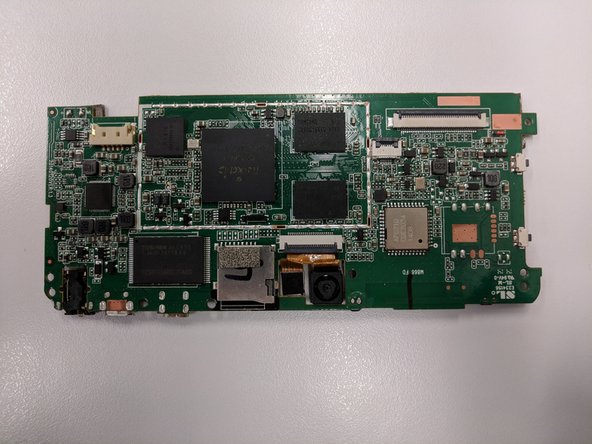
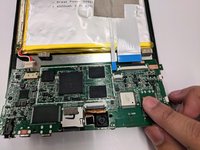
      • Pull out and free the motherboard from its position.

      Ask FixBot

      Add Comment

Conclusion

To reassemble your device, follow these instructions in reverse order.

Cancel: I did not complete this guide.

One other person completed this guide.

0 Guide Comments

Add Comment

View Statistics:

Past 24 Hours: 1

Past 7 Days: 7

Past 30 Days: 31

All Time: 442