Free Shipping on Domestic Orders $75+

iDea USA CT702 Button Replacement

What you need

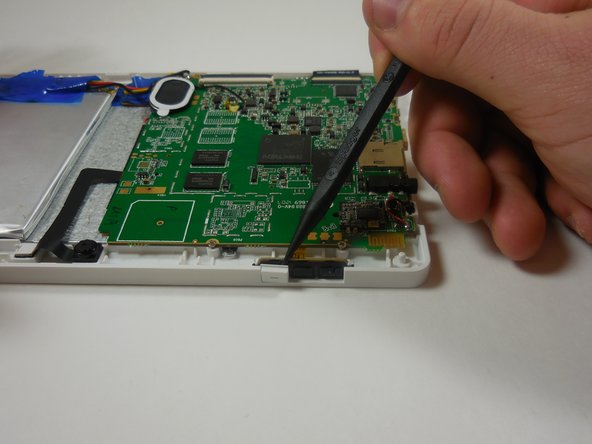
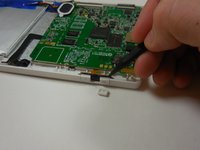
    1. iDea USA CT702 Button Replacement, Button: step 1, image 1 of 3 iDea USA CT702 Button Replacement, Button: step 1, image 2 of 3 iDea USA CT702 Button Replacement, Button: step 1, image 3 of 3
      • Place the device face up.

      • Use a plastic opening tool to gently pry open the black panel around the portholes.

      Ask FixBot

      Add Comment

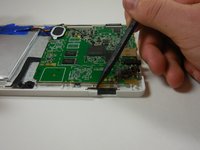
    2. iDea USA CT702 Button Replacement: step 2, image 1 of 3 iDea USA CT702 Button Replacement: step 2, image 2 of 3 iDea USA CT702 Button Replacement: step 2, image 3 of 3
      • Pry the rest of the back off; slowly apply pressure from each side to break each clip connection.

      Ask FixBot

      Add Comment

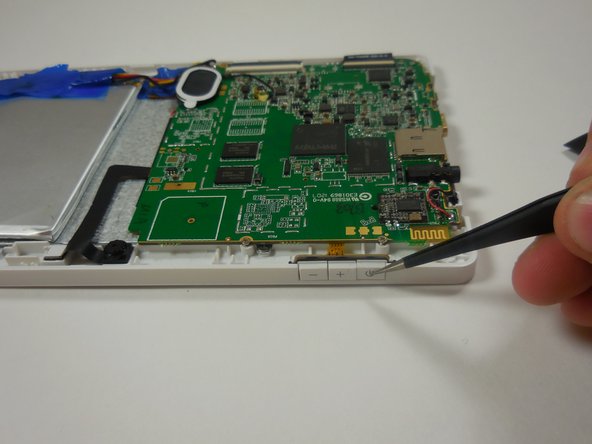
    3. iDea USA CT702 Button Replacement: step 3, image 1 of 2 iDea USA CT702 Button Replacement: step 3, image 2 of 2
      • With a plastic spudger tool, pry the keys away from the black key mat to remove them.

      • It is easiest to start with the volume up button key and then work on freeing the next two.

      Ask FixBot

      Add Comment

    4. iDea USA CT702 Button Replacement: step 4, image 1 of 2 iDea USA CT702 Button Replacement: step 4, image 2 of 2
      • Replace the button keys, starting with the outer and ending with the innermost key.

      • The back of each button key has a notch that matches an indent on the black button mat. Match the notches and the indents to properly align the buttons.

      • To replace the back cover, follow the first three steps in reverse order.

      Ask FixBot

      Add Comment

Conclusion

To reassemble your device, follow these instructions in reverse order.

Cancel: I did not complete this guide.

Daniel Brandt

Member since: 03/11/15

201 Reputation

2 Guides authored

Team

0 Guide Comments

Add Comment

View Statistics:

Past 24 Hours: 0

Past 7 Days: 12

Past 30 Days: 33

All Time: 391