
iDea USA CT702 Battery Replacement

Benton Gray and 7 other contributors
Last updated on Jun 24, 2022
Views: 1K
View statistics:
- Past 24 Hours:
- 5
- Past 7 Days:
- 22
- Past 30 Days:
- 98
- All Time:
- 1,020
Comments: 0
No one has left comments on this guide. Will you be first?
Go to guide commentsCompleted: 0 1
No one has marked this guide "completed." Will you be the first?
1 person has marked this guide "completed." It's you — great job!
Favorites: 0 1
No one has favorited (and subscribed to) this guide. Will you be the first?
1 person has favorited (and subscribed to) this guide — and that's you!
Slice and Dice
The steps in this guide should be split up and made into a series of prerequisite guides.
Introduction
Go to step 1 ↓This simple task of replacing the battery will lengthen the lifespan of the charge on the iDeaUSA CT702.
What you need
Parts

Tools


-
-
-
Use a fingernail or a plastic opening tool to gently pry the black panel around the portholes.
-
-
-
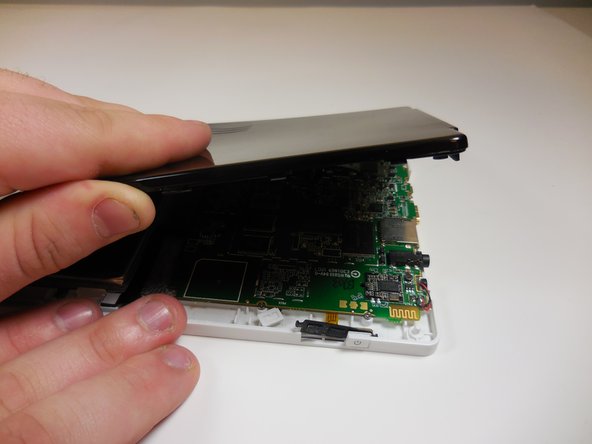
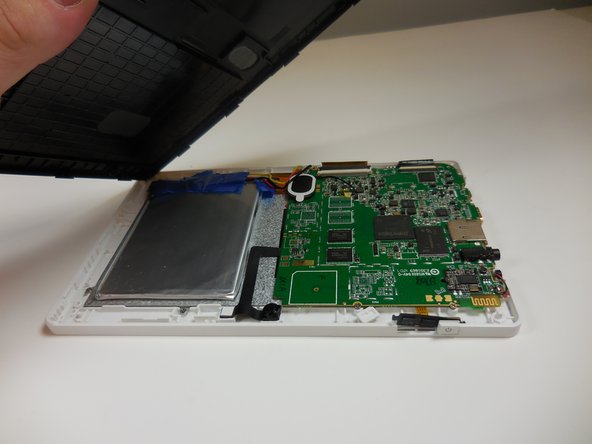
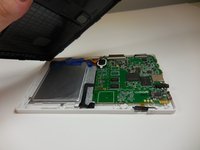
Use your fingers to remove the rest of the back. Slowly apply pressure from each side to detach each clip connection.
-
-
-
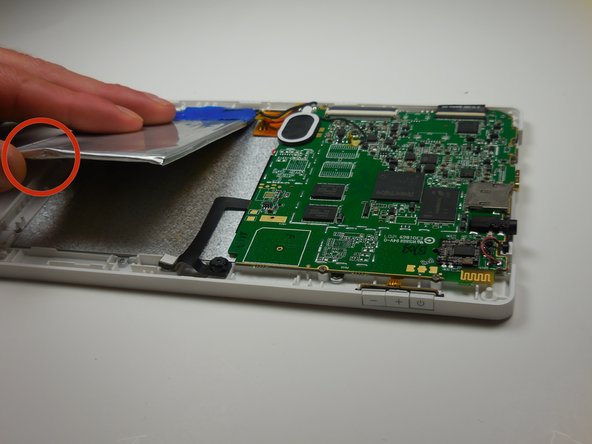
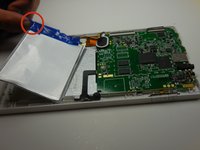
Separate the battery from the device.
-
Slowly use your thumb and forefingers to pry open each corner.
-
-
-
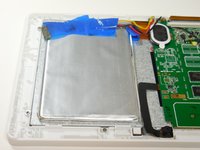
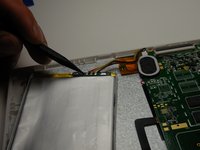
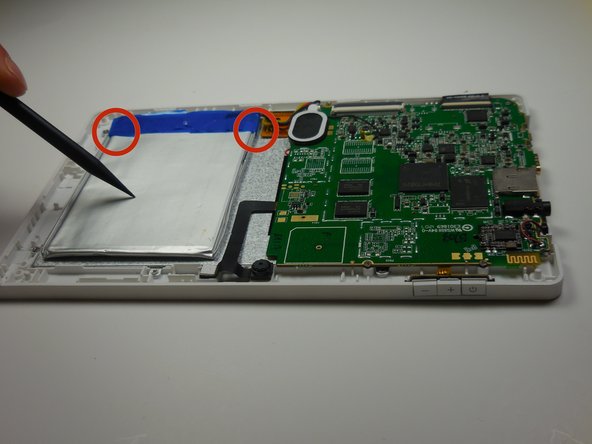
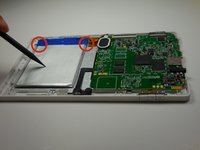
Carefully peel off tape around the top of the battery.
-
Slowly use your fingernail to lift the tape off of the battery. Dispose of the tape or save it for reuse.
-
-
-
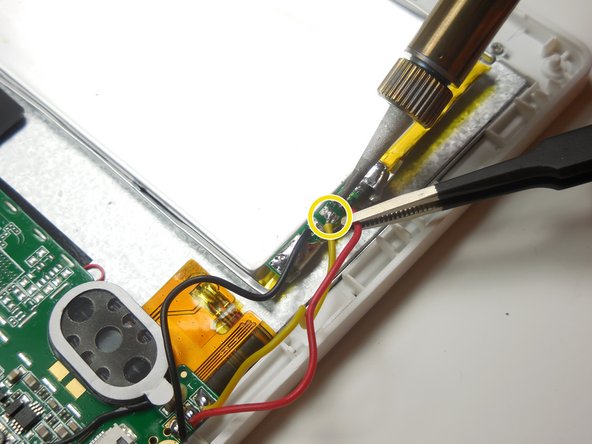
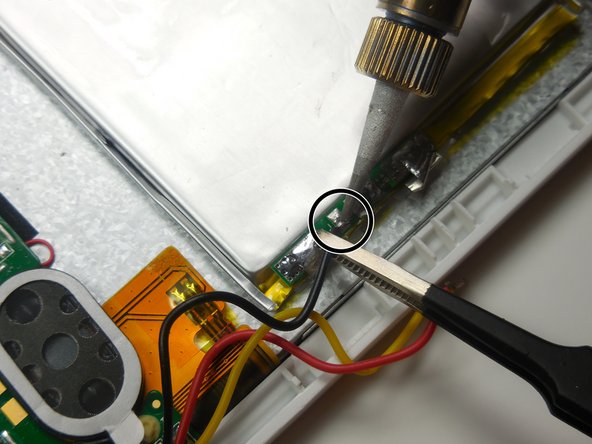
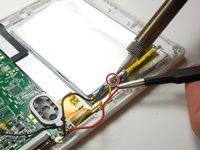
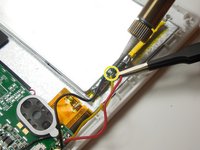
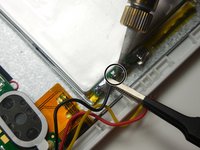
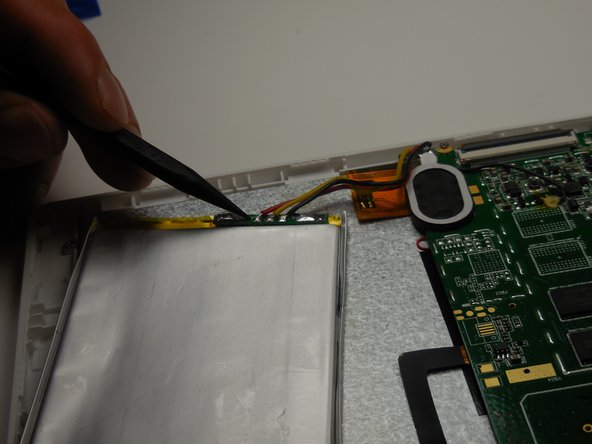
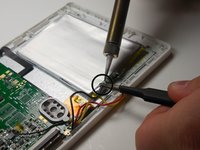
Disconnect the battery using the soldering iron.
-
Start with the red wire, and gently touch the tip of the iron onto the connection.
-
Move to the yellow wire after the red.
-
Move to the black wire after the yellow.
-
-
-
Remove the battery completely. Dispose of the defective battery properly at a recycling center.
-
-
-
-
Put the new battery in place
-
Make sure the corners are inside of the white shell.
-
-
-
Solder the new battery.
-
Start with the black wire and solder to the nearest connection.
-
Move to the yellow wire and solder to the middle connection.
-
End with the red wire and solder to the farthest connection away.
-
-
-
Re-tape the battery at the top.
-
Tape the corners in place, onto the shell.
-
To replace back cover, follow the first three steps in reverse order.
-

 Ask FixBot








To reassemble your device, Start from step 9 and work backwards.

Team

Colorado Springs, Team 4-7, Panko Spring 2015 Member of Colorado Springs, Team 4-7, Panko Spring 2015
UCCS-PANKO-S15S4G7
3 Members
60 Guides authored
