
iBUYPOWER Trace 4 9310 M.2 NVMe Drive Replacement

Kylie F and 3 other contributors
Last updated on Dec 22, 2025
Views: 5.7K
View statistics:
- Past 24 Hours:
- 3
- Past 7 Days:
- 24
- Past 30 Days:
- 87
- All Time:
- 5,682
Comments: 1
1 guide comment.
Go to guide commentsCompleted: 6 7
6 people have marked this guide "completed." Will you be next?
7 people have marked this guide "completed." Including you — great job!
Favorites: 0 1
No one has favorited (and subscribed to) this guide. Will you be the first?
1 person has favorited (and subscribed to) this guide — and that's you!
Introduction
Go to step 1 ↓This guide will show you the steps on how to replace your M.2 NVMe Drive in your iBUYPOWER Trace 4 9310 desktop. The iBUYPOWER Trace 4 9310 comes with 2 SATA ports and 1 M.2 NVMe Drive port.
This guide can be completed within a few minutes, and you only need a small Phillips head screwdriver.
As a precaution, unplug and turn off your computer before working on it.
What you need
Parts
Tools

-
-
-
Lay the desktop on its side with the glass panel facing up.
-
Remove the single screw.
 Ask FixBot
-
-
-
Remove the glass side by pivoting it up with the bottom side still seated in the notches.
-
Lift the glass side out of the notches and set it to the side.
-
-
-
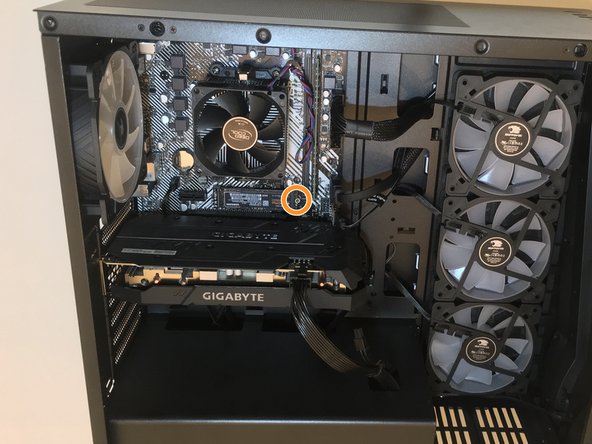
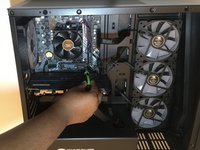
Locate the M.2 drive that is right above the CPU.
-
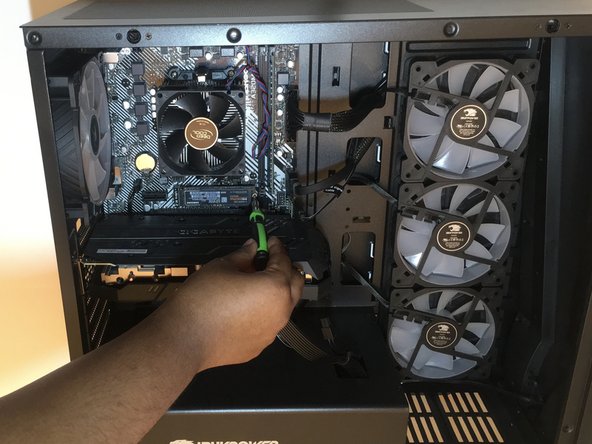
Remove the screw on the edge of the drive.
-
-
-
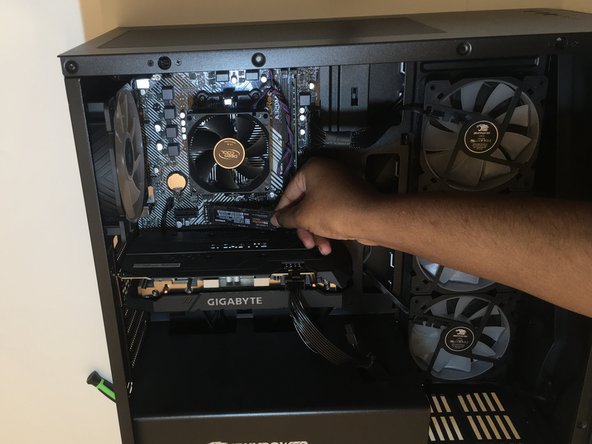
The drive should lift up on the edge where the screw was.
-
Pull the drive out at an angle from the motherboard.
-
-
-
-
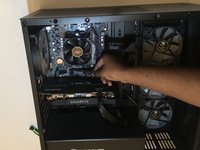
Line the new drive up with the slot and gently slide it in.
-
Use one finger to hold the drive down while you screw it back in.
-
-



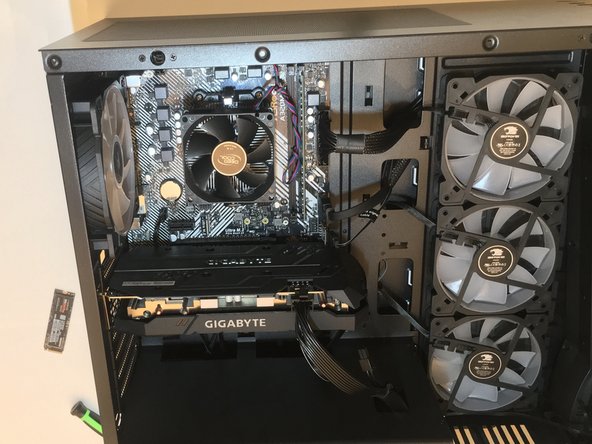
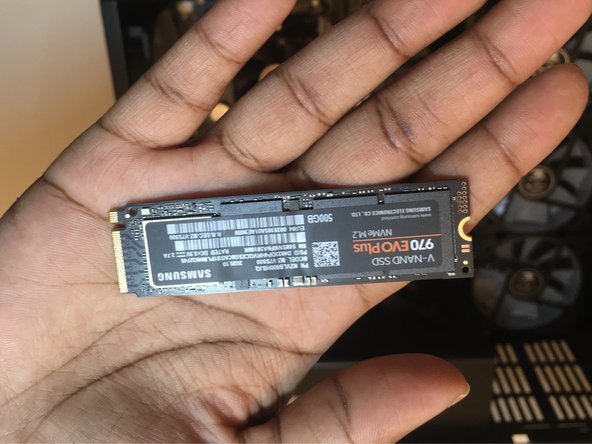
To reassemble your device, follow these instructions in reverse order.
Cancel: I did not complete this guide.
6 other people completed this guide.

Team

University of North Texas, Team S1-G14, Raign Spring 2021 Member of University of North Texas, Team S1-G14, Raign Spring 2021
UNT-RAIGN-S21S1G14
2 Members
12 Guides authored
1 Guide Comment
Thank you, Kilie, for the clear step-by-step instructions, together with pictures, for NVMe SSD installation.
George
