Free Shipping on Domestic Orders $75+

eMachine T5234 RAM Disks Replacement

Views: 647

View statistics:

Past 24 Hours:
2
Past 7 Days:
15
Past 30 Days:
68
All Time:
647
Comments: 0

No one has left comments on this guide. Will you be first?

Go to guide comments
Completed: 0

No one has marked this guide "completed." Will you be the first?

Favorites: 1

1 person has favorited (and subscribed to) this guide. Will you be next?

Time Required: 15 minutes
Difficulty: Easy
Community-Contributed Guide

An awesome member of our community made this guide. It was not created by iFixit staff.

eMachine T5234 RAM Disks Replacement

Introduction

Go to step 1 ↓

Has your eMachine been running slow lately? Ready to upgrade to a higher memory size? This guide will show you how to remove the built-in Samsung random access memory (RAM) disks and install two DDR4 SDRAM memory disks.

Note that the size of your memory disks will need to be in DDR4 SDRAM bandwidth.

I will be using the Phillips #1 Screwdriver from my iFixit Pro Tech Toolkit.

What you need

Tools

    1. eMachine T5234 RAM Disks Replacement, Shut Down Computer: step 1, image 1 of 2 eMachine T5234 RAM Disks Replacement, Shut Down Computer: step 1, image 2 of 2
      Tool used on this step:
      Anti-Static Wrist Strap
      $7.95
      Buy
      • Shut down the computer.

      • Disconnect all cables from the computer.

      • Static electricity can damage the hardware on your motherboard. Use the iFixit Anti-Static Wrist Strap or discharge the electricity by touching the metal of the case frame before unpacking the RAM disks.

      • Note: Do not remove the RAM disks from their casing until Step 8.

      Ask FixBot

      Add Comment

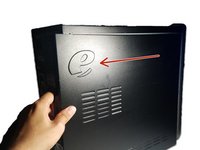
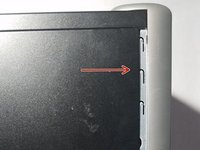
    2. eMachine T5234 RAM Disks Replacement, Removing the Case: step 2, image 1 of 3 eMachine T5234 RAM Disks Replacement, Removing the Case: step 2, image 2 of 3 eMachine T5234 RAM Disks Replacement, Removing the Case: step 2, image 3 of 3
      Tool used on this step:
      Phillips #1 Screwdriver
      $5.49
      Buy
      • Place the computer upright at standing position.

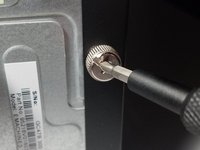
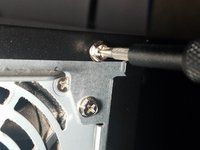
      • Using a Phillips #1 Screwdriver:

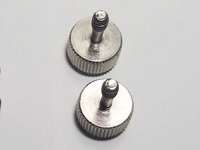
      • Remove the two 1cm combination screws located on the right of the casing.

      Ask FixBot

      Add Comment

    3. eMachine T5234 RAM Disks Replacement: step 3, image 1 of 2 eMachine T5234 RAM Disks Replacement: step 3, image 2 of 2
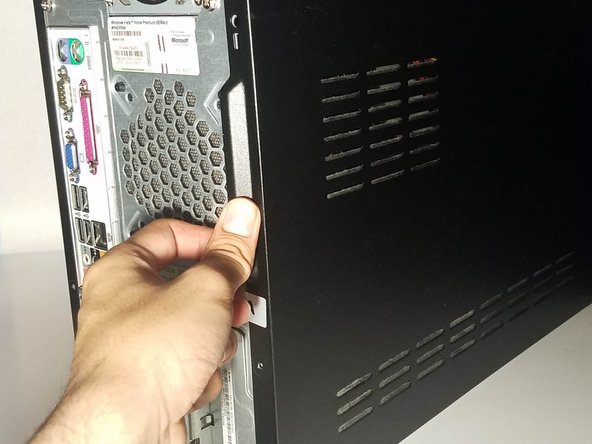
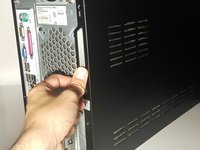
      • Using your hands, dislodge the casing and pull the case panel towards you until the panel comes off.

      Ask FixBot

      Add Comment

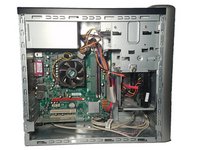
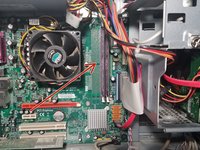
    4. eMachine T5234 RAM Disks Replacement, Locate the RAM Disk Slots: step 4, image 1 of 3 eMachine T5234 RAM Disks Replacement, Locate the RAM Disk Slots: step 4, image 2 of 3 eMachine T5234 RAM Disks Replacement, Locate the RAM Disk Slots: step 4, image 3 of 3
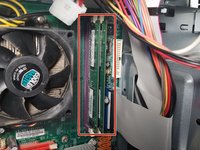
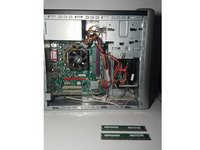
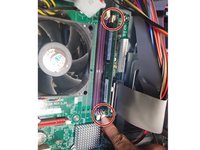
      • With the case panel open, locate the two RAM disk slots on the right side of the motherboard.

      • Do not touch the motherboard with your hands. The oil on your skin can damage or destroy the hardware modules.

      Ask FixBot

      Add Comment

    5. eMachine T5234 RAM Disks Replacement, Remove the RAM Disks: step 5, image 1 of 2 eMachine T5234 RAM Disks Replacement, Remove the RAM Disks: step 5, image 2 of 2
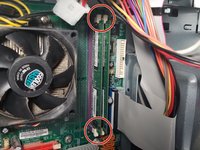
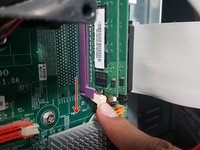
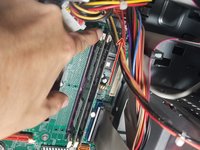
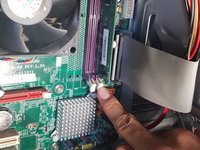
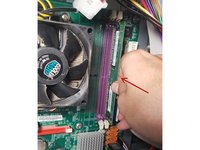
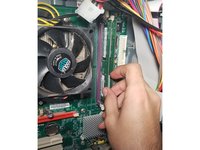
      • Locate the tabs on the RAM disks.

      • Use your index finger to release the tab at the bottom of the left RAM disk slot.

      Ask FixBot

      Add Comment

    6. eMachine T5234 RAM Disks Replacement: step 6, image 1 of 3 eMachine T5234 RAM Disks Replacement: step 6, image 2 of 3 eMachine T5234 RAM Disks Replacement: step 6, image 3 of 3
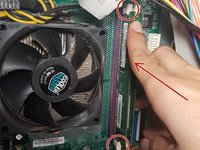
      • Release the tab at the top of the left RAM disk.

      • Note: The RAM disk will pop off the motherboard when you release the bottom tab. Use the edges of the RAM disk to pick up and store the memory disk.

      • If the RAM disk does not pop off, use the edges of the disk to pull it off.

      • Store the unused RAM disk in a plastic container for future use or go to a recycling center for proper disposal.

      Ask FixBot

      Add Comment

    7. eMachine T5234 RAM Disks Replacement: step 7, image 1 of 3 eMachine T5234 RAM Disks Replacement: step 7, image 2 of 3 eMachine T5234 RAM Disks Replacement: step 7, image 3 of 3
      • Release the top tab and the bottom tab to dislodge the right RAM disk.

      Ask FixBot

      Add Comment

    8. eMachine T5234 RAM Disks Replacement, Installing the RAM Disks: step 8, image 1 of 1
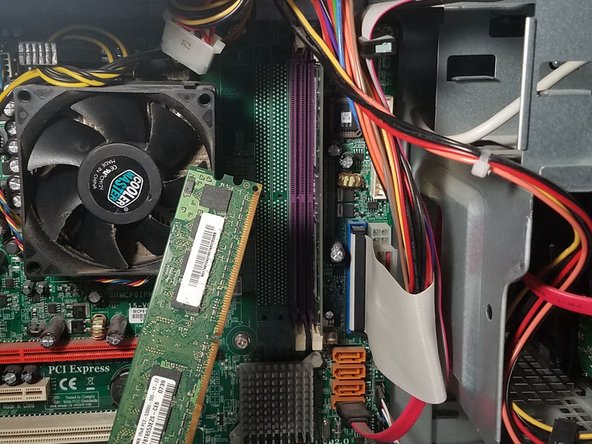
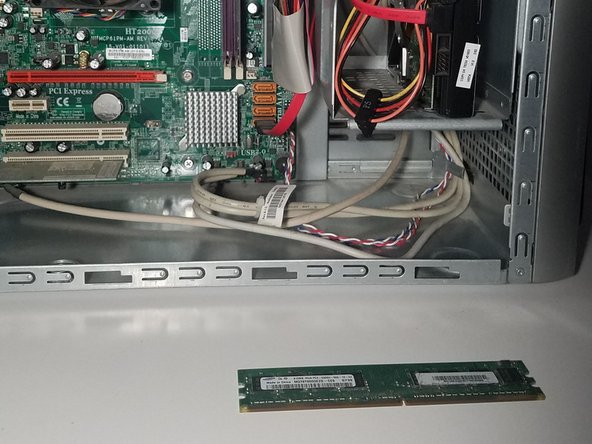
      • Remove your new RAM disks from their casing.

      • Hold the RAM disk along the sides and avoid skin contact with any of the gold components.

      Ask FixBot

      Add Comment

    9. eMachine T5234 RAM Disks Replacement: step 9, image 1 of 2 eMachine T5234 RAM Disks Replacement: step 9, image 2 of 2
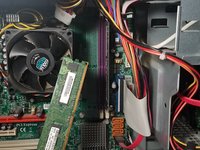
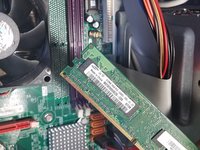
      • Align the RAM disk to match the slot and insert the disk to the right memory disk slot.

      • Gently push the disk in to secure.

      • Secure the tabs at the top and bottom of the memory disk slots to lock into place.

      Ask FixBot

      Add Comment

    10. eMachine T5234 RAM Disks Replacement: step 10, image 1 of 1
      • Now it's time for the second disk. Retrieve the second RAM disk from it's casing.

      • Hold the RAM disk along the sides and avoid skin contact with any of the gold components.

      Ask FixBot

      Add Comment

    11. eMachine T5234 RAM Disks Replacement: step 11, image 1 of 2 eMachine T5234 RAM Disks Replacement: step 11, image 2 of 2
      • Align the RAM disk to match the slot and Insert the RAM disk to the right memory disk slot

      • Gently push the disk in to secure.

      • Secure the tabs at the top and bottom of the RAM disk to lock into place.

      Ask FixBot

      Add Comment

    12. eMachine T5234 RAM Disks Replacement, Reassembly: step 12, image 1 of 3 eMachine T5234 RAM Disks Replacement, Reassembly: step 12, image 2 of 3 eMachine T5234 RAM Disks Replacement, Reassembly: step 12, image 3 of 3
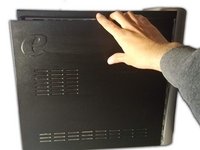
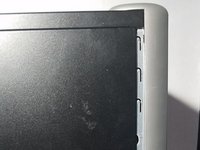
      • Use both hands to align the case panel to the case frame.

      • Once in place, push the case panel forward until it secures in place.

      Ask FixBot

      Add Comment

    13. eMachine T5234 RAM Disks Replacement: step 13, image 1 of 3 eMachine T5234 RAM Disks Replacement: step 13, image 2 of 3 eMachine T5234 RAM Disks Replacement: step 13, image 3 of 3
      Tool used on this step:
      Phillips #1 Screwdriver
      $5.49
      Buy
      • Using your Phillips #1 Screwdriver:

      • Screw the two 1cm combination screws back into place on the right side of the case panel.

      Ask FixBot

      Add Comment

Conclusion

And that’s all there is to it! Make sure to dispose your old RAM disks properly at your local recycling center.

Cancel: I did not complete this guide.

Luis Lopez

Member since: 08/22/19

419 Reputation

2 Guides authored

0 Guide Comments

Add Comment

View Statistics:

Past 24 Hours: 2

Past 7 Days: 15

Past 30 Days: 68

All Time: 647