Free Shipping on Domestic Orders $75+

dreamGEAR Quad Dock Pro Electrical Port Replacement

What you need

  1. dreamGEAR Quad Dock Pro Electrical Port Replacement, Prerequisite Guide to Accessing Interior: step 1, image 1 of 2 dreamGEAR Quad Dock Pro Electrical Port Replacement, Prerequisite Guide to Accessing Interior: step 1, image 2 of 2
    • Remove the rubber foot pads on the bottom of the device using a plastic opening tool.

    Ask FixBot

    Add Comment

  2. dreamGEAR Quad Dock Pro Electrical Port Replacement: step 2, image 1 of 2 dreamGEAR Quad Dock Pro Electrical Port Replacement: step 2, image 2 of 2
    • Remove the six 2 mm PH0 screws on the bottom of the device.

    • Four of those screws are located under the foot pads.

    Ask FixBot

    Add Comment

  3. dreamGEAR Quad Dock Pro Electrical Port Replacement: step 3, image 1 of 1
    • Gently remove the bottom of the device.

    Ask FixBot

    Add Comment

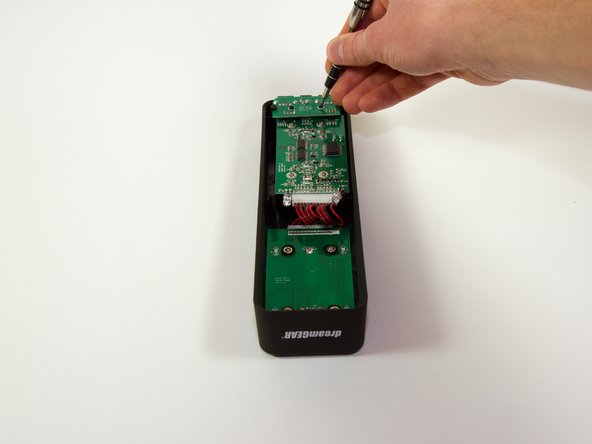
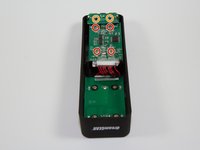
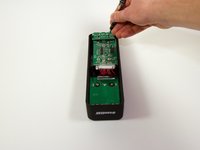
  4. dreamGEAR Quad Dock Pro Electrical Port Replacement, Mother Board: step 4, image 1 of 2 dreamGEAR Quad Dock Pro Electrical Port Replacement, Mother Board: step 4, image 2 of 2
    • Remove the four 1.8 mm J1 screws.

    • Remove the two 2mm PH0 screws.

    Ask FixBot

    Add Comment

  5. dreamGEAR Quad Dock Pro Electrical Port Replacement: step 5, image 1 of 1
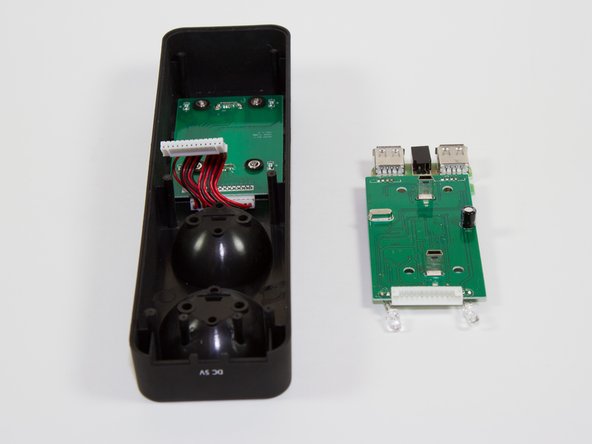
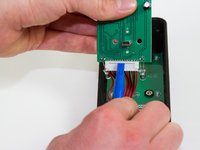
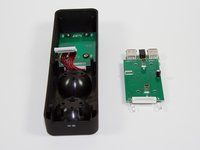
    • Gently pick up the mother board

    • Pick the mother board straight up or you may risk damaging the mini-USB charging ports.

    Ask FixBot

    Add Comment

  6. dreamGEAR Quad Dock Pro Electrical Port Replacement: step 6, image 1 of 2 dreamGEAR Quad Dock Pro Electrical Port Replacement: step 6, image 2 of 2
    • Use a plastic opening tool or similar tool to gently pry the power ribbon cord out of its port.

    Ask FixBot

    Add Comment

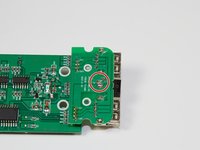
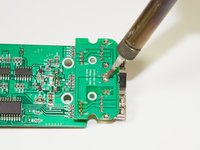
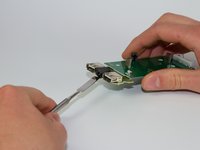
  7. dreamGEAR Quad Dock Pro Electrical Port Replacement, Electrical Port: step 7, image 1 of 3 dreamGEAR Quad Dock Pro Electrical Port Replacement, Electrical Port: step 7, image 2 of 3 dreamGEAR Quad Dock Pro Electrical Port Replacement, Electrical Port: step 7, image 3 of 3
    Tool used on this step:
    Tweezers
    $4.99
    Buy
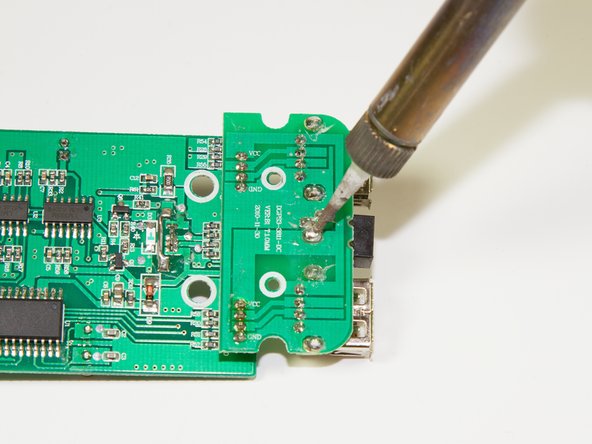
    • Locate the three solder connections for the electrical port.

    • Desolder the connection points following the instructions included with your soldering kit as you remove the port.

    • FIRE HAZARD! BURN DANGER! Follow all the safety precautions included with your soldering kit.

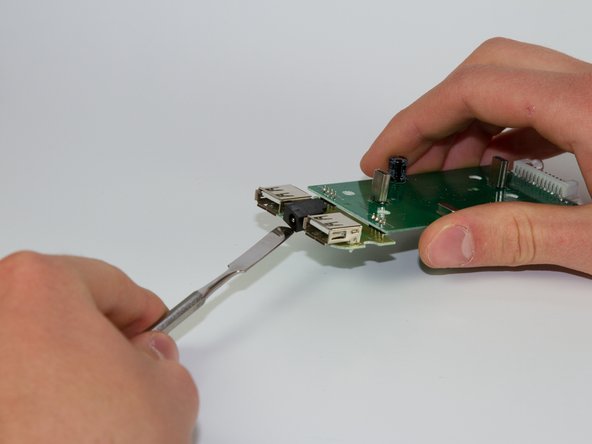
    • It is helpful to use a nylon or metal spudger or tweezers for the removal of this component, pieces of which are very hot.

    • You can follow iFixit's guide to soldering here.

    Ask FixBot

    Add Comment

Conclusion

To reassemble your device, follow these instructions in reverse order.

Cancel: I did not complete this guide.

One other person completed this guide.

Jacob

Member since: 03/11/15

757 Reputation

6 Guides authored

Team

0 Guide Comments

Add Comment

View Statistics:

Past 24 Hours: 2

Past 7 Days: 5

Past 30 Days: 21

All Time: 720