Introduction
The edge sensors allow bObsweep to “see” the floor that he is traveling along. Is your bObsweep not able to sense surrounding edges, causing it to fall off of stairs and ledges? If so, look no further! This guide will instruct you on how to replace any edge sensor. You will need a Phillips #1 screwdriver.
What you need
-
-
-
Depress the tab on the side of the dustbin to disengage its latch. It is spring loaded and will partially pop out. Remove it from its housing.
 Ask FixBot
-
-
-
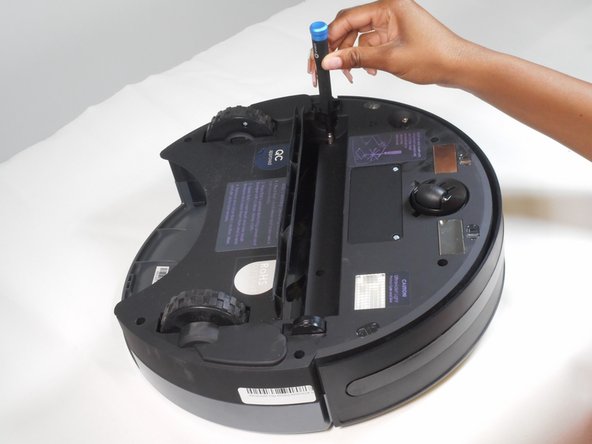
Flip the bObsweep over and remove the main brush’s screw (13.7mm Flat) with a flathead screwdriver.
-
Lift and remove the main brush and its plastic bearing end cap.
-
-
-
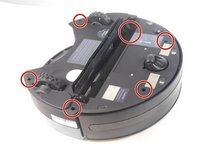
Remove the two screws (9.9mm Phillips #1) next to the rotating front wheel.
-
Remove the two screws (9.9mm Phillips #1) below the wheels on either side of the dustbin compartment.
-
Remove the screw (9.9mm Phillips #1) to the side of the brush motor.
-
Remove the screw (9.9mm Phillips #1) inside the brush compartment.
-
-
-
-
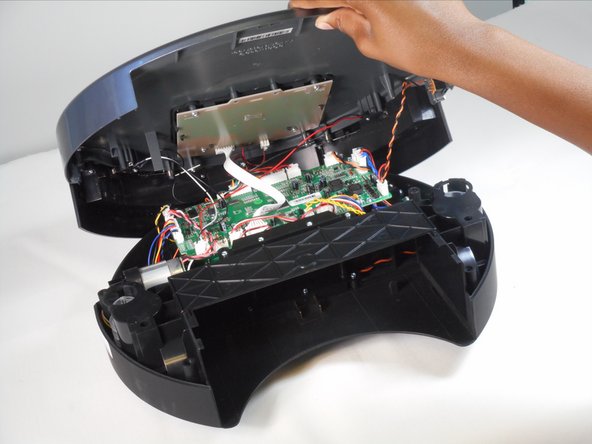
Carefully hold the top and bottom halves together and flip the bObsweep upright.
-
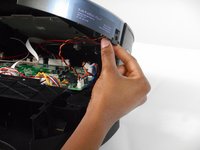
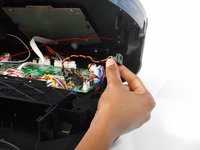
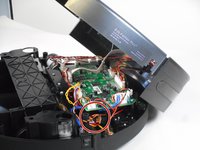
Lift the cover to reveal the mainboard.
-
-
-
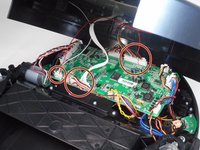
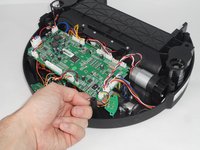
Depress the tabs on the circuit plugs and lift them directly upward to remove:
-
The multicolored nine-wire circuit plug at the top edge of the board.
-
The red and black wire circuit plug directly next to it.
-
The seven white wire circuit plug on the bottom edge of the board.
-
The red, white, and black wire circuit plug on the bottom left corner of the board.
-
-
-
-
-
Remove two screws (7.5 mm Phillips #1) from each of the four sensors and set them aside.
-
-
-
Pass the wiring of the two outermost sensors under the main board, toward the front wheel.
-
Disconnect the sensors from the mainboard by depressing the small tabs on the side of each circuit plug.
-
Lift the sensors up and out, leaving the plastic sensor covers in place.
-
-
-
Install the new sensors by plugging them into the mainboard, ensuring the wiring of the two outermost sensors are passed back under the board.
-
Each sensor should be placed over the plastic sensor covers with the green side facing upward.
-
-



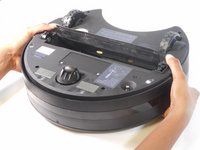
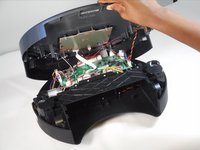

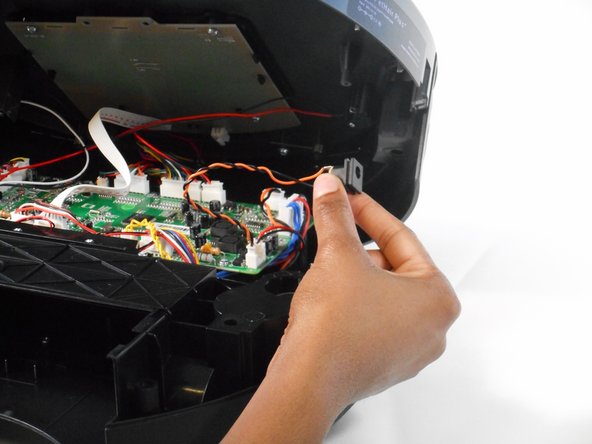
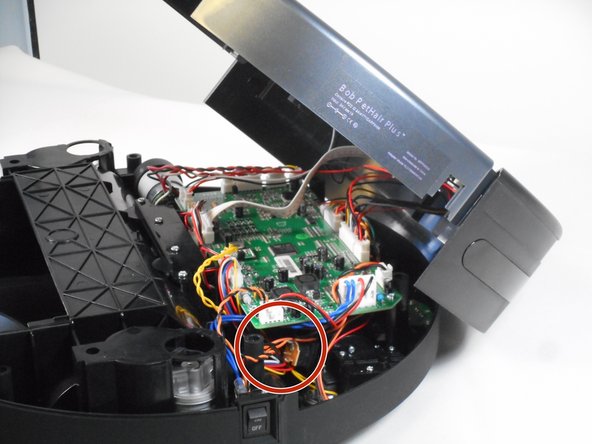


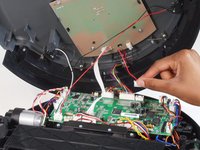
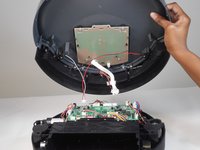

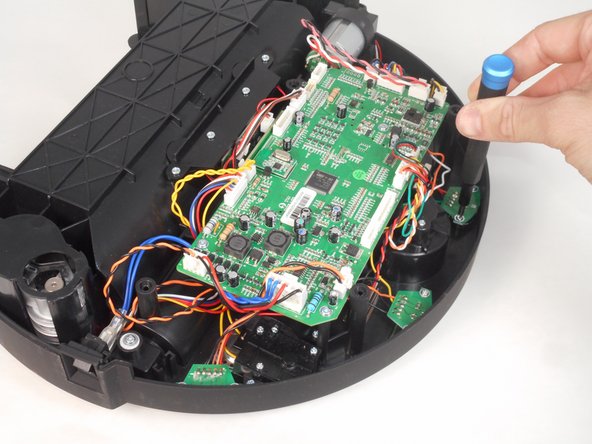
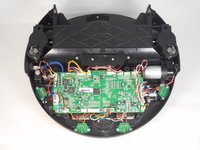
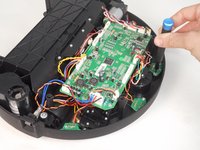

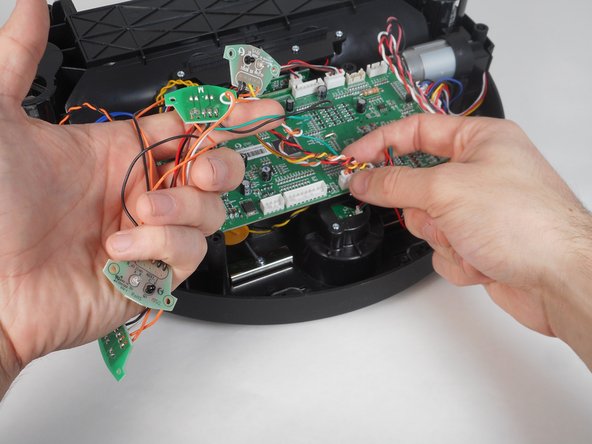
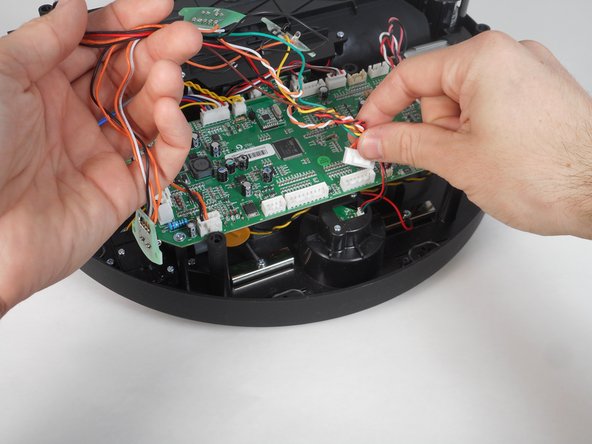
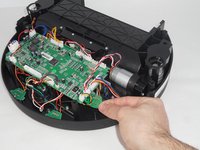
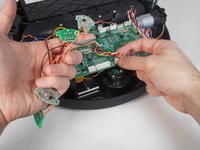
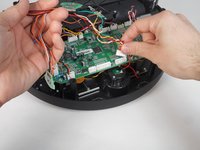

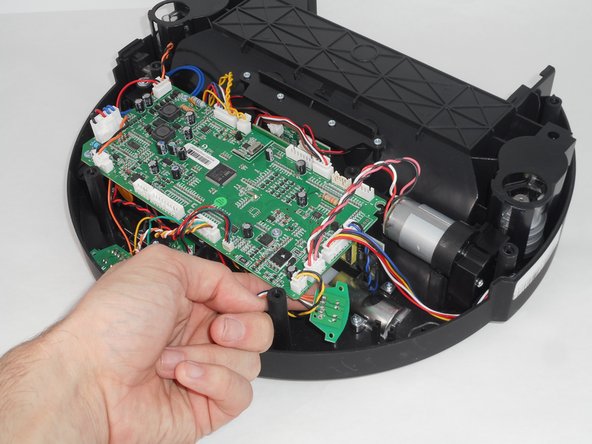
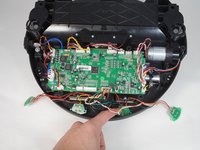
To reassemble your device, follow these instructions in reverse order.

Team

University of Memphis, Team 1-3, Sneed Fall 2023 Member of University of Memphis, Team 1-3, Sneed Fall 2023
UM-SNEED-F23S1G3
4 Members
84 Guides authored
