
bObi Robotic Vacuum Screen Replacement

Chelsea and 2 other contributors
Last updated on Jul 25, 2019
Views: 547
View statistics:
- Past 24 Hours:
- 2
- Past 7 Days:
- 16
- Past 30 Days:
- 92
- All Time:
- 547
Comments: 0
No one has left comments on this guide. Will you be first?
Go to guide commentsCompleted: 0 1
No one has marked this guide "completed." Will you be the first?
1 person has marked this guide "completed." It's you — great job!
Favorites: 0 1
No one has favorited (and subscribed to) this guide. Will you be the first?
1 person has favorited (and subscribed to) this guide — and that's you!
Community-Contributed Guide
An awesome member of our community made this guide. It was not created by iFixit staff.
Missing Details
Some of this guide's details are missing. Help users by adding tools, difficulty, or time.
Introduction
Go to step 1 ↓The step-by-step guide for removing bObi's cover and screen. For help putting bObi back together, refer to: Closing bObi's Cover Post-Repair
What you need
Tools

-
-
-
Remove bObi’s front wheel to access one of the screws holding bObi together.
-
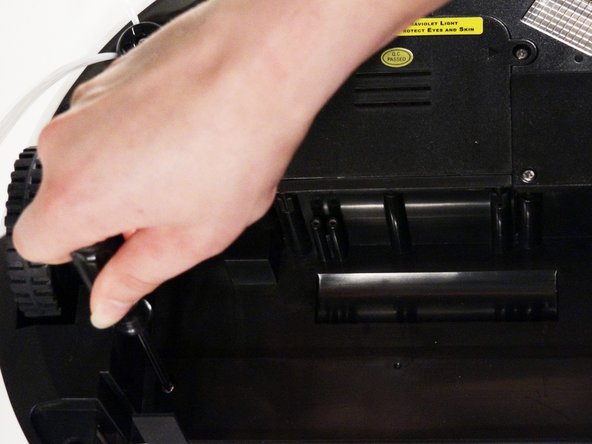
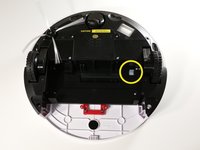
Uninstall the larger screw that sits deeper in the wheel compartment.
 Ask FixBot
-
-
-
Remove bObi's dustbin.
-
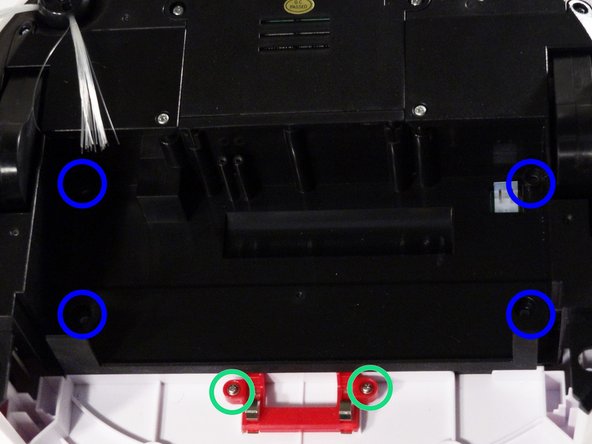
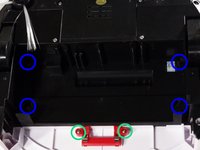
Uninstall the 2 screws close to the bin and 2 smaller screws above her main brushes.
-
-
-
Lift the brush holder. To detach completely, unplug it from bObi.
-
Remove the two screws on the dustbin contact point holder inside bObi.
-
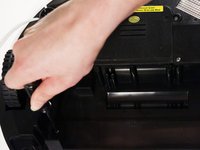
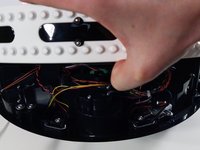
There are 4 screws beneath the main brushes. Uninstall these, and open bObi up to expose her main circuit board.
-
-
-
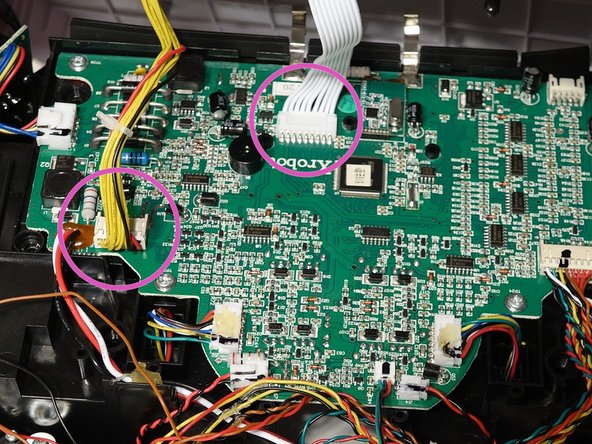
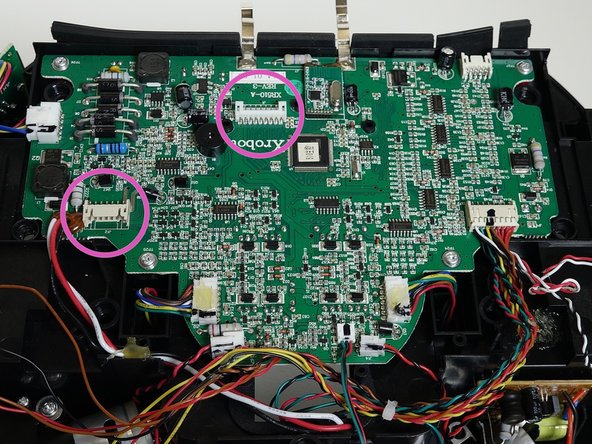
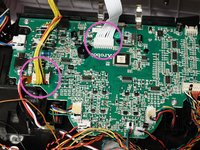
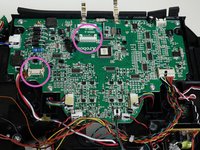
Detach the two circuit plugs connecting bObi's cover to the main board and the cover will be completely removed.
-
-
-
-
-
-
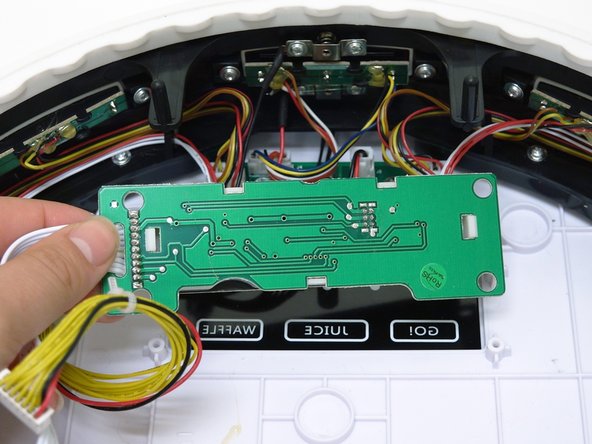
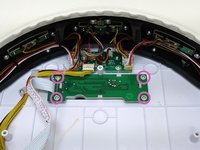
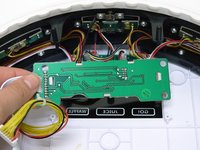
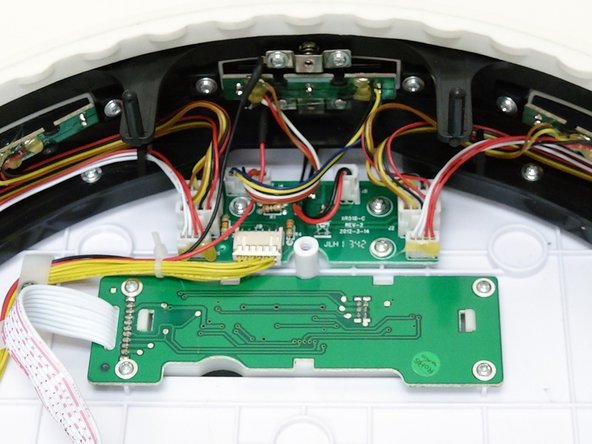
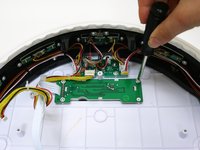
Remove the four screws that secure bObi's screen and lift the whole piece out.
-
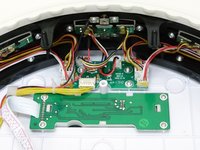
Put the replacement screen in the open space.
-
-
-
Re-install all four screws.
-
For a tutorial on closing bObi, see: Closing bObi's Cover Post-Repair
-
-





To reassemble your device, follow the guide for closing bObi, found here: Closing bObi's Cover Post-Repair

