
Zune Flash 2nd Generation Center Frame Replacement

killdashnine and 5 other contributors
Last updated on Jan 28, 2014
Views: 3.5K
View statistics:
- Past 24 Hours:
- 2
- Past 7 Days:
- 14
- Past 30 Days:
- 100
- All Time:
- 3,497
Comments: 2
2 comments on steps.
Completed: 1 2
1 person has marked this guide "completed." Will you be next?
2 people have marked this guide "completed." Including you — great job!
Favorites: 0 1
No one has favorited (and subscribed to) this guide. Will you be the first?
1 person has favorited (and subscribed to) this guide — and that's you!
Inconsistent Images
Updating the images on this guide to be more consistent with the prerequisites would increase its awesomeness.
Needs Better Images
Better photos will improve this guide. Help out by taking, editing, or uploading new ones!
Introduction
Go to step 1 ↓How to remove the center frame from the Zune Flash 2nd Generation.
What you need
Tools


-
-
-
Prior to disassembly, verify the hold switch is engaged to ensure the device will not turn on during the procedure.
-
If the device turns on while it is being disassembled it could cause irreversible damage to the device.
 Ask FixBot
-
-
-
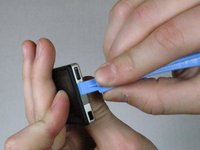
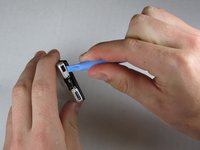
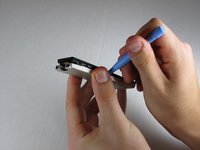
Remove the top metal clip by inserting a Zune opening tool in between the faceplate and back cover and pulling gently back as shown in the images.
-
You should hear a 'click' as the clip detaches from the device.
-
-
-
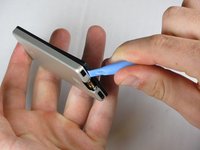
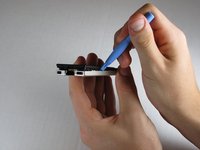
Insert the Zune opening tool between the faceplate and the back cover, starting from the top and slowly work your way around the device.
-
-
-
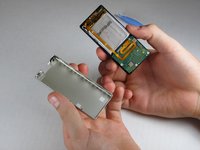
Work your way around the Zune until the back cover comes free. Remove the back plate and set it aside.
-
-
-
-
-
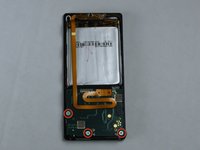
Remove the three screws (5.5mm by 3mm) from the backside of the Zune using a Y00 Tri-Wing screwdriver.
-
Be sure to put this set of screws aside since they are a different size than any other screws in the device.
-
-
-
Use your finger or a Zune opening tool to pry back the two clear flaps.
-
Next lift the communications board that was being held down by the clear flaps.
-
-
-
Disconnect the ribbon with the plastic opening tool by flipping up the black plastic flap where the ribbon connects to the memory board.
-
Carefully pull the ribbon out of the memory board, ensuring that the black plastic flap is up before removal to avoid the ripping the ribbon.
-
-
-
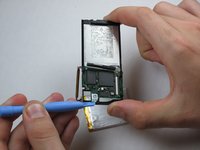
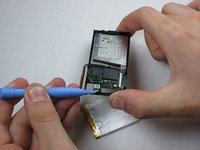
Remove the battery by prying the battery off from the bottom with a Zune opening tool.
-
-
-
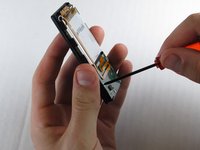
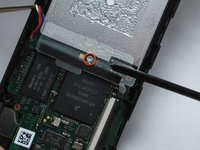
Remove the single screw under the battery using a small Tri-Wing screwdriver.
-
-
-
-
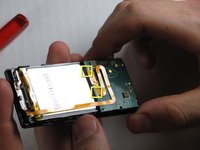
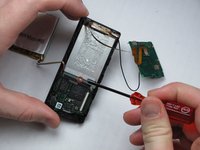
Disconnect the faceplate from the device by depressing the two tabs located near the middle of each of the sides using a metal spudger.
-
This will disconnect the last circuit board in the device from the center frame.
-
-
-
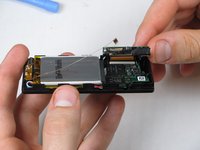
Remove the faceplate by using a metal spudger to separate it from the remaining components.
-
-
-
-
-
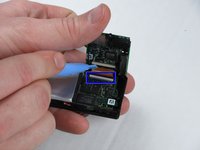
Release the LCD connector ribbon by flipping up the black switch. This will disconnect the LCD from the device.
-
At this point the LCD screen should be easily separable from the device.
-
-
-
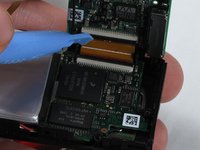
It's safest to flip the display over before removing the ribbon, as shown in the first image.
-
To avoid damage, remove the LCD by pulling slowly and carefully on the ribbon, directly away from the memory board.
-
-
-
-
-
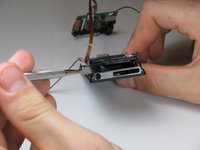
Pry up the memory board from center piece with a Zune opening tool and gently pull it off.
-
-










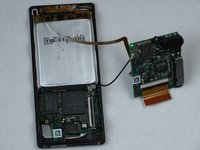


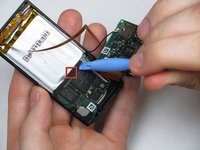
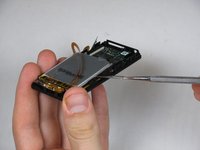
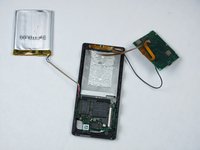




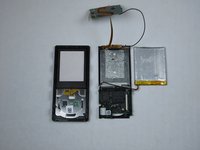
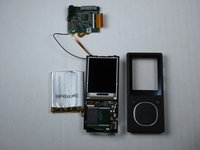


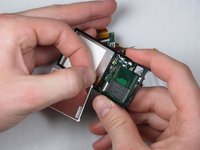
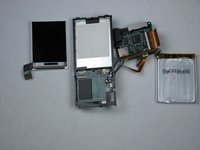
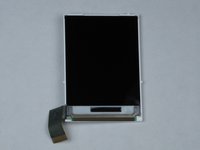


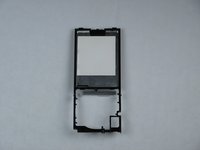
To reassemble your device, follow these instructions in reverse order.
Cancel: I did not complete this guide.
One other person completed this guide.

Team

Cal Poly, Team 9-20, Regan Fall 2009 Member of Cal Poly, Team 9-20, Regan Fall 2009
CPSU-REGAN-F09S9G20
5 Members
84 Guides authored
