
Zig-zag Patch

Brittany McCrigler and 8 other contributors
Last updated on Feb 6, 2026
Views: 41K
View statistics:
- Past 24 Hours:
- 18
- Past 7 Days:
- 116
- Past 30 Days:
- 425
- All Time:
- 40,675
Comments: 1
1 comment on steps.
Completed: 8 9
8 people have marked this guide "completed." Will you be next?
9 people have marked this guide "completed." Including you — great job!
Favorites: 42 43
42 people have favorited (and subscribed to) this guide. Will you be next?
43 people have favorited (and subscribed to) this guide — including you!
Featured Guide
This guide has been found to be exceptionally cool by the iFixit staff.
Patagonia
Patagonia and iFixit are celebrating the stories we wear by collaborating to provide guides for Patagonia's most popular apparel repairs.
Introduction
Go to step 1 ↓You've seen those jeans, the $200 pair that come pre-damaged, covered in contrasting stitches. Don't bother. Instead, follow this guide to not only fix your jeans, but upgrade them in style.
What you need
Parts
Tools


-
-
-
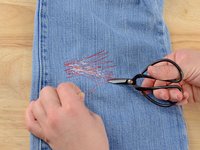
Examine the damage. Clip any long, loose threads, and remove any debris from the hole.
-
Measure the length and width of the hole.
-
In our case it looks like 2" by 1".
 Ask FixBot
-
-
-
Grab a scrap of denim or other heavy-weight fabric and mark your measurements plus one inch in each direction.
-
In our case it will be 3" by 2".
-
Cut the scrap into a rectangle the dimensions of your new measurements.
-
-
-
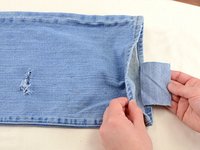
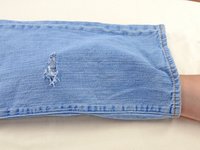
Insert the rectangle of fabric into the jean leg and position it under the hole.
-
-
-
Thread your sewing machine with your desired thread color.
-
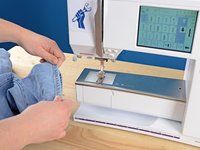
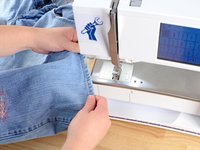
Slide the pant leg onto the arm of the sewing machine.
-
-
-
Check that the rectangle of fabric is still laying flat, centered beneath the hole.
-
Lower the pressor foot.
-
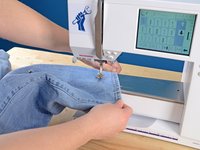
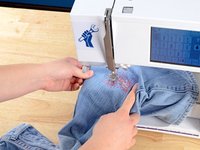
Sew a straight line over the hole going about five stitches past the damage.
-
-
-
Lift the pressor foot.
-
Rotate the jean leg a few degrees toward the center of the hole.
-
Lower the pressor foot.
-
Engage the backstitch function on your sewing machine, and sew a straight line back over the hole, going about five stitches beyond the damage.
-
-
-
Repeat steps five and six, continuing to rotate and sew lines of stitching back and forth until you cover the entire hole.
-
-
-
When you are satisfied with your stitching, backstitch two or three stitches.
-
Lift the needle and pressor foot.
-
Slide the jean leg off of the sewing machine.
-
-
-
Still not satisfied? Alrighty, let's add some decorative stitching the other way.
-
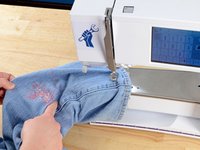
Slide the pant leg back onto the arm of the sewing machine, making sure that the leg goes around the arm.
-
-
-
-
Lower the pressor foot.
-
Sew a straight line of stitching over the damaged area.
-
-
-
Just like before, at the end of each line of stitching, lift the pressor foot, rotate the jeans a few degrees, and sew another line of stitching.
-
When you are happy with the way that the stitching looks, backstitch two or three stitches.
-
-
-
Lift the pressor foot and needle.
-
Slide the pant leg off the arm of the sewing machine.
-
-




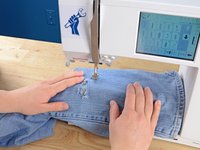


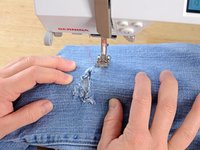
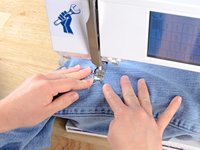
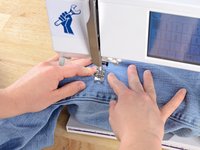


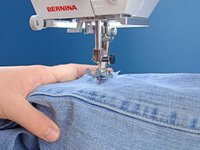
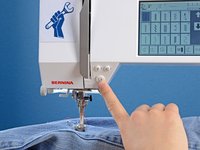
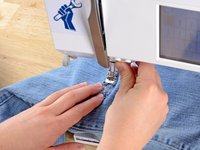


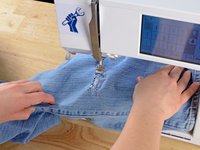
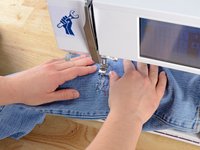
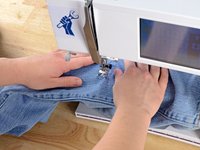


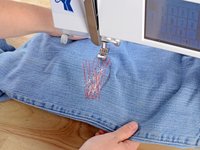
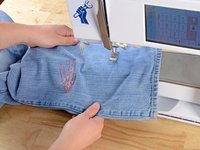


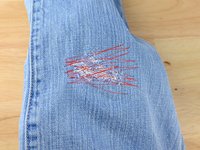


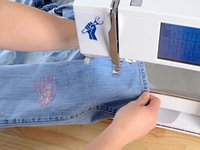
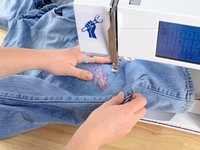


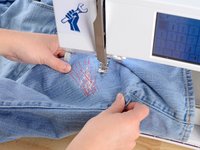
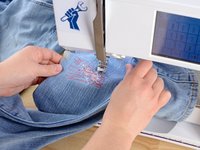


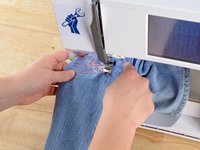
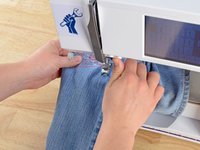


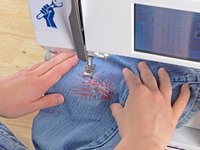
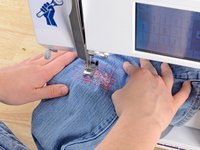
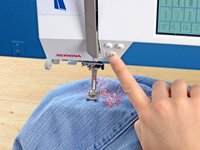




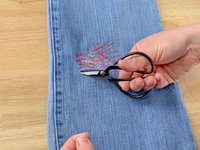
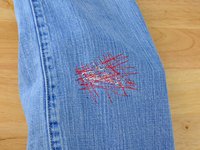
Ta-da! Nice work.
Cancel: I did not complete this guide.
8 other people completed this guide.


