Free Shipping on Domestic Orders $75+

Zenbre SoundBank Z3 Motherboard Replacement

What you need

  1. Zenbre SoundBank Z3 Motherboard Replacement, Bottom Cover: step 1, image 1 of 2 Zenbre SoundBank Z3 Motherboard Replacement, Bottom Cover: step 1, image 2 of 2
    • Power off the SoundBank Z3.

    • Turn over the device.

    • Peel the silicone feet up to remove.

    • No extra adhesive is needed to reapply the feet as long as the sticky side is not touched.

    Ask FixBot

    Add Comment

  2. Zenbre SoundBank Z3 Motherboard Replacement: step 2, image 1 of 1
    • Remove all eight of the 11 mm Phillips screws from the bottom of the device.

    Ask FixBot

    Add Comment

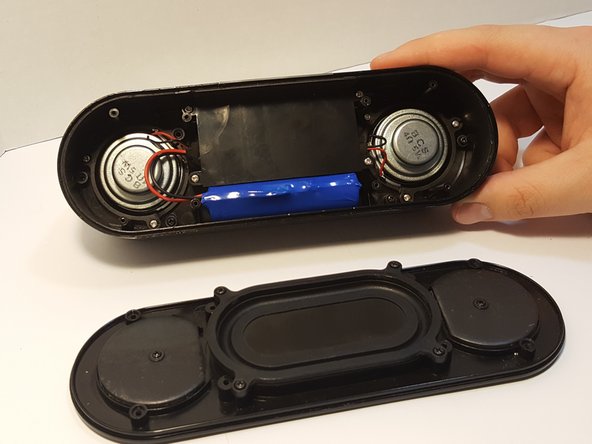
  3. Zenbre SoundBank Z3 Motherboard Replacement: step 3, image 1 of 2 Zenbre SoundBank Z3 Motherboard Replacement: step 3, image 2 of 2
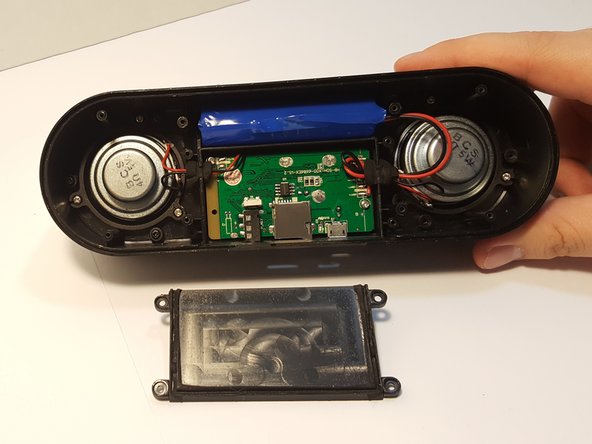
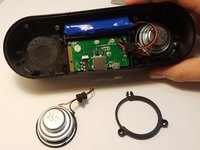
    • Remove the bottom panel speaker using an iFixit opening tool.

    Ask FixBot
    Add Comment

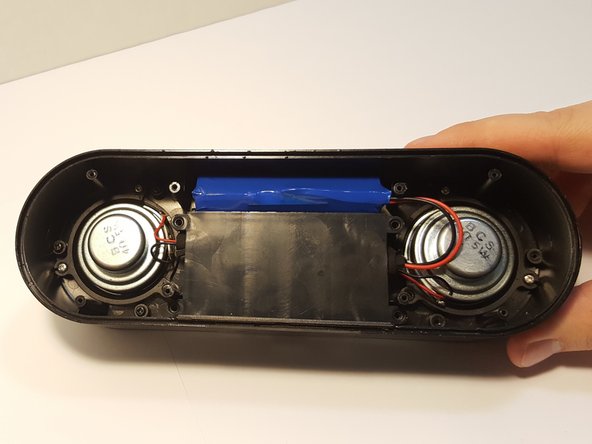
  4. Zenbre SoundBank Z3 Motherboard Replacement, Motherboard Cover: step 4, image 1 of 3 Zenbre SoundBank Z3 Motherboard Replacement, Motherboard Cover: step 4, image 2 of 3 Zenbre SoundBank Z3 Motherboard Replacement, Motherboard Cover: step 4, image 3 of 3
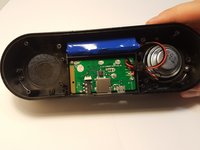
    • Remove the four 4.5 mm silver Phillips screws that secure the plastic panel covering the motherboard.

    • Remove the plastic panel.

    Ask FixBot
    Add Comment

  5. Zenbre SoundBank Z3 Motherboard Replacement, Battery: step 5, image 1 of 2 Zenbre SoundBank Z3 Motherboard Replacement, Battery: step 5, image 2 of 2
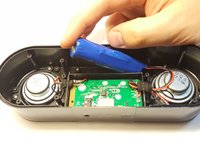
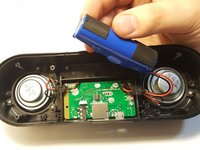
    • Remove the battery from the holder. It may be difficult the first time.

    • Use a spudger between the battery and speaker wall to loosen it from its surroundings.

    • If the battery is punctured, leaking, or bloated/puffy, it may be hazardous and should be properly disposed of.

    Ask FixBot

    Add Comment

  6. Zenbre SoundBank Z3 Motherboard Replacement: step 6, image 1 of 2 Zenbre SoundBank Z3 Motherboard Replacement: step 6, image 2 of 2
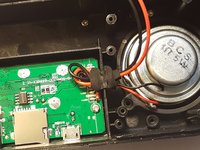
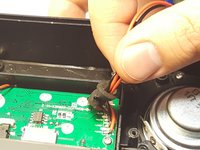
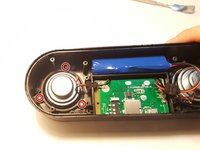
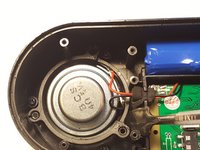
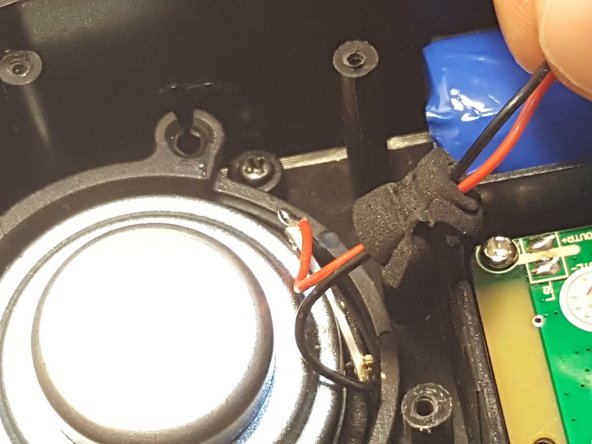
    • Remove the pressure-fitted foam from the slot by hand.

    • Unravel and remove foam from the wires.

    • When reassembling, the foam can be re-wrapped if care is taken when handling it.

    Ask FixBot

    Add Comment

  7. Zenbre SoundBank Z3 Motherboard Replacement: step 7, image 1 of 1
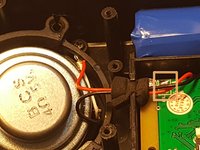
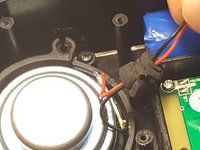
    • Using a soldering iron, remove the leads, separating the battery from motherboard.

    • Follow this guide to help you remove the wires from the motherboard if you are unfamiliar with soldering.

    Ask FixBot
    Add Comment

  8. Zenbre SoundBank Z3 Motherboard Replacement, Speakers: step 8, image 1 of 2 Zenbre SoundBank Z3 Motherboard Replacement, Speakers: step 8, image 2 of 2
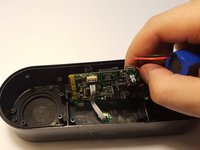
    • Remove the three screws that are holding the speaker down.

    • Be careful not to rip out the speaker while taking out the screws.

    Ask FixBot
    Add Comment

  9. Zenbre SoundBank Z3 Motherboard Replacement: step 9, image 1 of 2 Zenbre SoundBank Z3 Motherboard Replacement: step 9, image 2 of 2
    • Desolder the speaker joints from the motherboard. Follow this How To Solder guide for help with desoldering.

    Ask FixBot

    Add Comment

  10. Zenbre SoundBank Z3 Motherboard Replacement: step 10, image 1 of 2 Zenbre SoundBank Z3 Motherboard Replacement: step 10, image 2 of 2
    • Remove the speaker from the motherboard.

    • Remove the speaker ring.

    • Be careful not to remove other components in the speaker.

    • Repeat Steps 5-7 with the other speaker.

    Ask FixBot

    Add Comment

  11. Zenbre SoundBank Z3 Motherboard Replacement, Motherboard: step 11, image 1 of 2 Zenbre SoundBank Z3 Motherboard Replacement, Motherboard: step 11, image 2 of 2
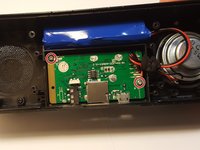
    • Remove these two 4.5 mm Philips silver screws holding down the motherboard.

    • The motherboard should be able to be lifted right out of the housing.

    Ask FixBot

    Add Comment

  12. Zenbre SoundBank Z3 Motherboard Replacement: step 12, image 1 of 3 Zenbre SoundBank Z3 Motherboard Replacement: step 12, image 2 of 3 Zenbre SoundBank Z3 Motherboard Replacement: step 12, image 3 of 3
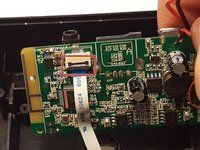
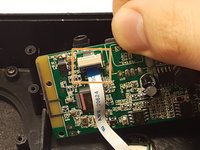
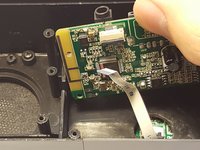
    • You will finds a ribbon cable connecting the motherboard to the control interface circuit board.

    • Using a spudger or plastic opening tool, lift flap on the ribbon cable ZIF connector.

    • Using a plastic pry tool or fine tip plastic tool to open the clamp.

    • Using the tool, try lifting the clamp up on either location, noted by the blue arrow.

    • The ribbon should pop out, if not you should be able to slide it out from the clamp.

    Ask FixBot

    Add Comment

Conclusion

To reassemble your device, follow these instructions in reverse order.

Cancel: I did not complete this guide.

2 other people completed this guide.

Samuel Knapik

Member since: 03/04/16

121 Reputation

1 Guide authored

Team

0 Guide Comments

Add Comment

View Statistics:

Past 24 Hours: 0

Past 7 Days: 0

Past 30 Days: 19

All Time: 683