
Zeepad 7DRK Power and Volume Button Replacement

Trevor Taylor and 5 other contributors
Last updated on Mar 18, 2019
Views: 788
View statistics:
- Past 24 Hours:
- 2
- Past 7 Days:
- 16
- Past 30 Days:
- 97
- All Time:
- 788
Comments: 0
No one has left comments on this guide. Will you be first?
Go to guide commentsCompleted: 1 2
1 person has marked this guide "completed." Will you be next?
2 people have marked this guide "completed." Including you — great job!
Favorites: 0 1
No one has favorited (and subscribed to) this guide. Will you be the first?
1 person has favorited (and subscribed to) this guide — and that's you!
Introduction
Go to step 1 ↓In this repair guide, the Zeepad 7DRK will be taken apart to replace the Volume and Power buttons. This task can be accomplished with a simple soft-tipped prying tool in a short amount of time. The tablet will simply be pried apart to access the buttons.
What you need
Tools

-
-
-
First find the power and volume buttons so that you are familiar with their location.
-
The smaller button is the power button and the larger button is the volume button.
 Ask FixBot
-
-
-
To open the tablet, use one of the soft-tip prying tools.
-
It is easiest to start by using the corner of the tool first and sliding the rest in. Then carefully move the tool around the edges of the tablet until it separates.
-
-
-
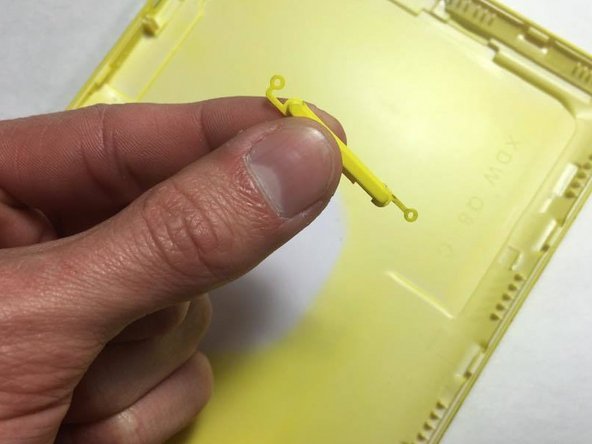
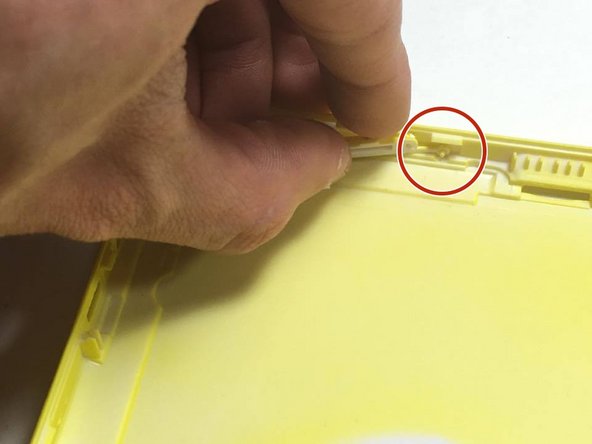
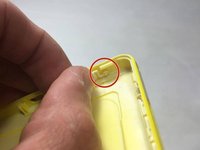
In the first picture you will see the power button. Notice the small plastic ring that sticks out the side, this is so the piece can be positioned easily when you put it back together.
-
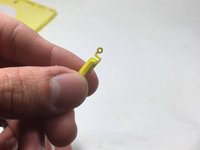
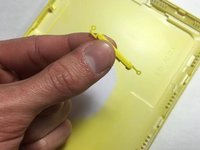
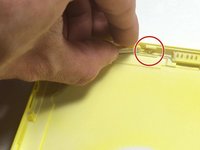
In the second picture, the volume control button is shown. Again notice the small locator rings.
-
-
-



To reassemble your device, follow these instructions in reverse order.
Cancel: I did not complete this guide.
One other person completed this guide.

Team

UMass Dartmouth, Team 6-8, Martin Fall 2016 Member of UMass Dartmouth, Team 6-8, Martin Fall 2016
UMASSD-MARTIN-F16S6G8
3 Members
60 Guides authored
