Introduction
If your device isn’t properly printing or if it is not functioning in general, it may be time to replace the motherboard. Follow these instructions to replace the motherboard in the Zebra ZP 450.
What you need
-
-
-
Remove the three 12mm screws from the bottom of the printer using a Phillips #1 screwdriver.
-
Using the TR10 Torx screwdriver, remove the four 8mm screws from the bottom of the device.
 Ask FixBot
-
-
-
Remove the single 7mm screw located underneath the outfeed using the same Phillips #1 screwdriver.
-
-
-
-
Using an opening pick, pry the plastic covering from around the power button and accessory ports.
-
-
-
After lifting the plastic casing from the device, use the Phillips #1 screwdriver to remove the single 5mm screw securing the motherboard.
-
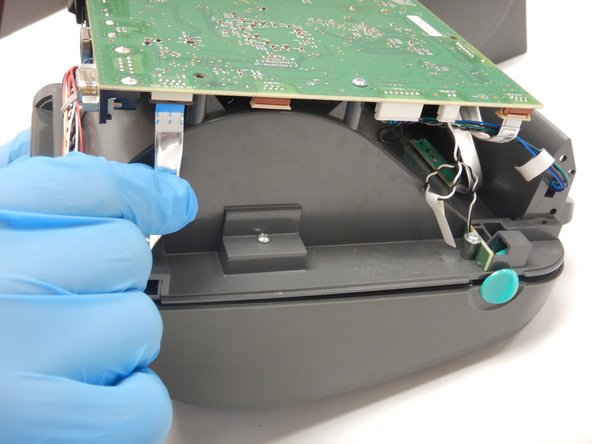
Remove all connections to the motherboard.
-
-




To reassemble your device, follow these instructions in reverse order.

Team

The Citadel Military College of South Carolina, Team S1-G6, Eggleston Spring 2021 Member of The Citadel Military College of South Carolina, Team S1-G6, Eggleston Spring 2021
CMCSC-EGGLESTON-S21S1G6
2 Members
36 Guides authored
