Introduction
If your ZTE Whirl 2 (model Z667G) isn’t producing clear photos, use this guide to replace your camera.
The camera for this phone is used to take photos and videos. A faulty camera can result in no images or videos to be taken.
Before using this guide, be sure to inspect if there is any debris covering the camera or around it.
Before beginning, make sure your phone is completely turned off and disconnected from any power source.
What you need
-
-
-
Power off your phone before removing the battery.
-
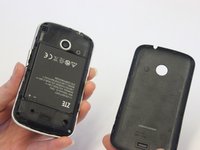
Pry the cover off the back of the phone using your fingers.
 Ask FixBot
-
-
-
-
-
Tool used on this step:Tweezers$4.99
-
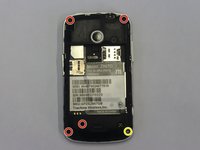
Remove four 4 mm screws using a Phillips #00 screwdriver.
-
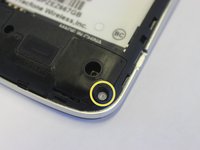
Use a tweezers to remove the lock sticker from the bottom right screw. Remove the 4 mm screw using a Phillips #00 screwdriver.
-
-
-
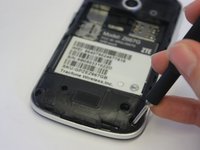
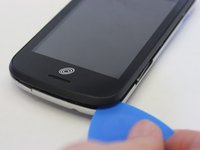
Insert an opening pick between the midframe and the digitizer.
-
Move the pick around the midframe to detach the midframe from the digitizer.
-
-
-
-
-
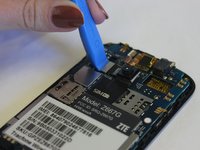
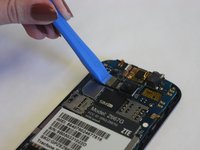
Use the iFixit Opening Tool to disconnect the camera connector by prying up the press fit connector from the motherboard.
-
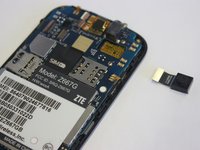
Remove the camera from the device.
-
-










To reassemble your device, follow these instructions in reverse order.

Team

UW Stout, Team S1-G1, Schneider-Bateman Spring 2020 Member of UW Stout, Team S1-G1, Schneider-Bateman Spring 2020
UWSTOUT-SCHNEIDER-BATEMAN-S20S1G1
3 Members
60 Guides authored
