
ZTE Prestige 2 Front-Facing Camera Replacement

Maria Stock and 4 other contributors
Last updated on May 7, 2024
Views: 406
View statistics:
- Past 24 Hours:
- 2
- Past 7 Days:
- 16
- Past 30 Days:
- 66
- All Time:
- 406
Comments: 0
No one has left comments on this guide. Will you be first?
Go to guide commentsCompleted: 0 1
No one has marked this guide "completed." Will you be the first?
1 person has marked this guide "completed." It's you — great job!
Favorites: 0 1
No one has favorited (and subscribed to) this guide. Will you be the first?
1 person has favorited (and subscribed to) this guide — and that's you!
Introduction
Go to step 1 ↓This guide will help you replace the front-facing camera in your ZTE Prestige 2. Before you start, check out our troubleshooting page that will help you decipher any basic problems before taking your device apart. Some reasons you may need to conduct this replacement is because the front camera may be scratched and/or cracked, therefore, making pictures blurry or spotting. Before beginning, make sure to power off your device completely and disconnect from any external power source.
What you need
Tools


-
-
-
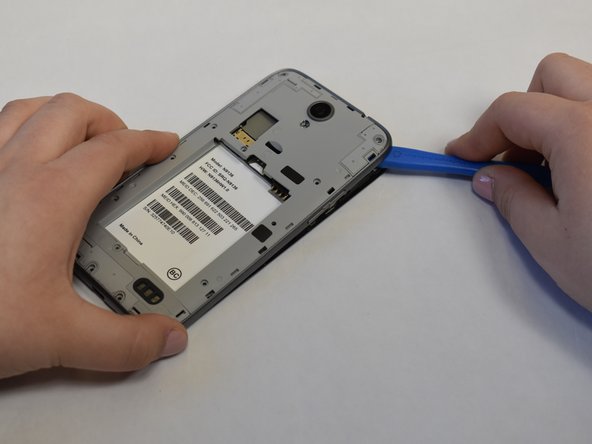
Use the iFixit opening tool to open up the device by wedging the tool under the back case and popping it open.
 Ask FixBot
-
-
-
-
-
-
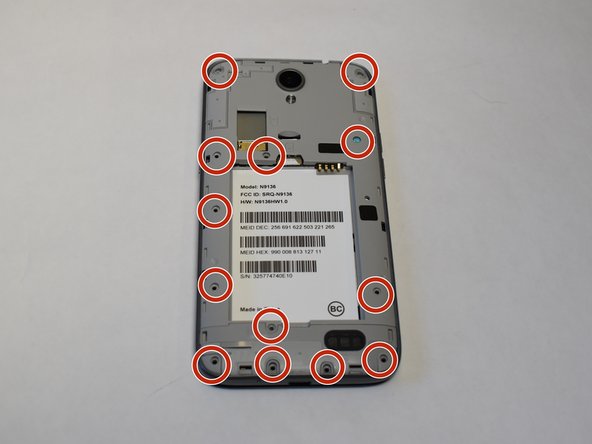
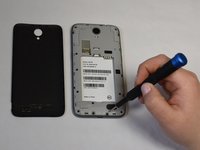
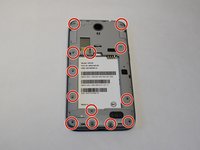
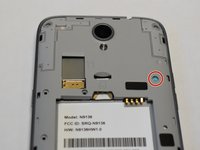
Use a Phillips #00 screwdriver to unscrew all 12 of the 3 mm Phillips screws located along the edges of the device’s back panel, as well as the blue 3mm Phillips screw labeled “ZTE” located towards the top right.
-
-
-
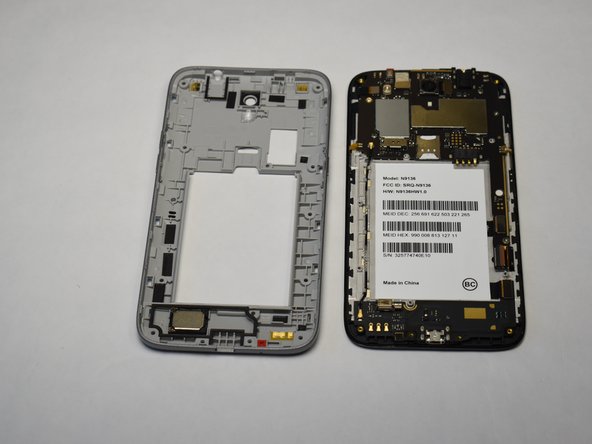
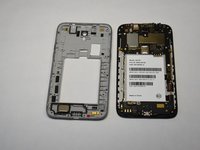
Then use the iFixit opening tool and wedge it under the grey back panel and pop it off.
-
-
-
-
Tool used on this step:Tweezers$4.99
-
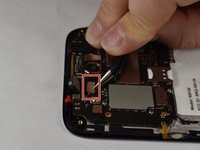
Use the curved tweezers to lift up the press fit camera connector.
-
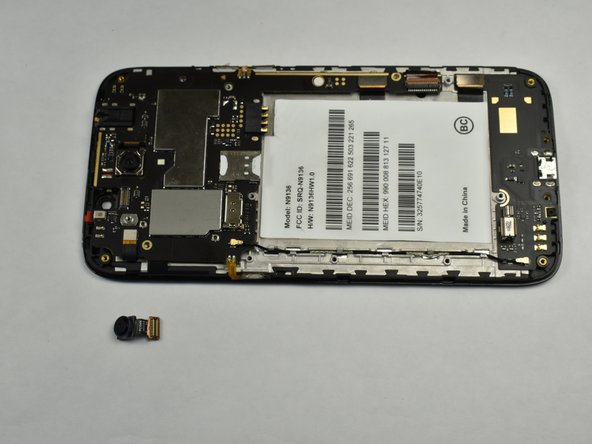
Lift out the front facing camera.
-
-






To reassemble your device, follow these instructions in reverse order.

Team

UW Stout, Team S1-G4, Schneider-Bateman Spring 2020 Member of UW Stout, Team S1-G4, Schneider-Bateman Spring 2020
UWSTOUT-SCHNEIDER-BATEMAN-S20S1G4
3 Members
84 Guides authored
