Introduction
If your ZTE Blade X Max LCD is damaged—has dark spots, cracks, unresponsive to touch—and you have already finished troubleshooting, then you may need to replace it.
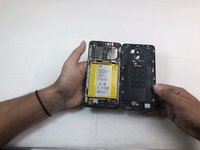
This guide requires removing the back of the phone. You will have to use heating products to complete this guide. If you are using the iFixit iOpener, or a heating pad, be sure to follow the instructions for that particular product.
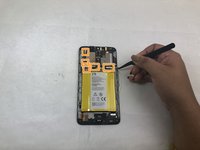
To remove the battery, you will have to heat it. Be sure not to overheat the battery. If you do, the battery will swell and be rendered useless.
What you need
-
-
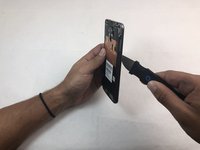
Use the iOpener or heating pad to heat around the edges of the phone to melt the adhesive.
 Ask FixBot
-
-
-
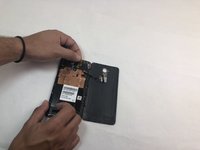
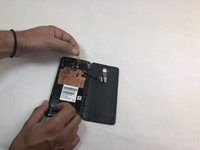
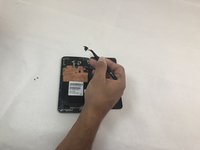
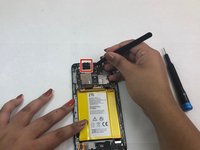
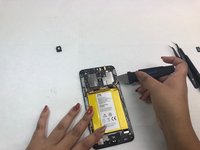
Remove the opaque yellow sticker that indicates where the fingerprint scanner is connected to the back of the device.
-
-
Tool used on this step:Tweezers$4.99
-
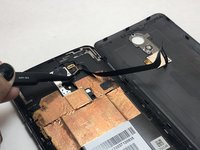
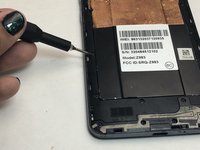
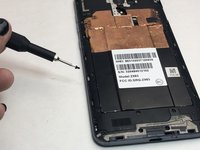
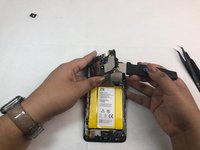
Remove the two 1mm Phillips #000 screws on the small panel that was underneath the sticker.
-
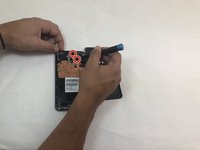
Use the tweezers to remove the panel.
-
-
-
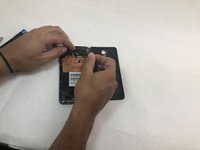
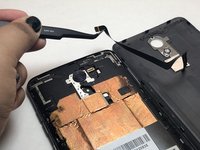
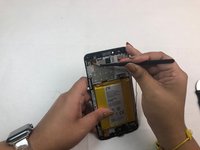
Use the tweezers to pull at the base of the film to remove the fingerprint scanner.
-
-
-
-
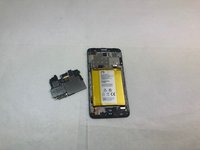
Remove the SD and SIM cards by pulling out the card tray from the slot on the right side of the device.
-
-
Tool used on this step:Tweezers$4.99
-
Once the motherboard is exposed, locate the front camera connection in the top right corner of the motherboard.
-
Use the tweezers to remove the front camera.
-
-
-
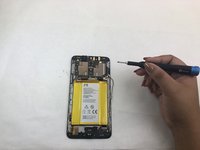
Use the iOpener or heating pad to heat the phone. This will loosen the adhesive below the battery.
-
-
-
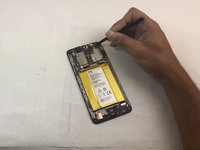
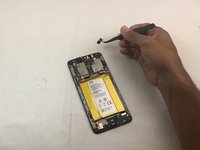
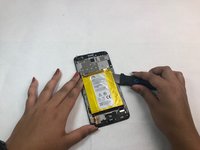
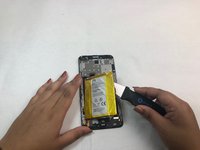
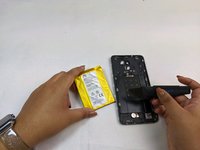
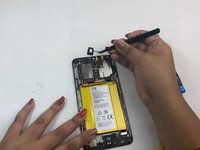
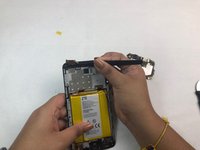
Use the spudger to pry the battery out of its slot after it has been thoroughly heated.
-
-
-
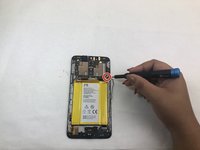
Remove the single 1mm Phillips #000 screw from the motherboard.
-
Detach the five flat connectors.
-
-
Tool used on this step:Tweezers$4.99
-
Use tweezers to remove the protective foam surrounding the headphone jack at the top left of the device.
-
-
Tool used on this step:Tweezers$4.99
-
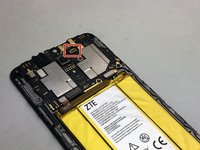
The LCD cable will be completely exposed once the motherboard is removed.
-
Use the tweezers to remove the protective sticker and the entire component.
-


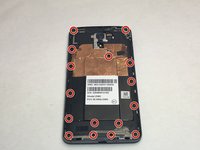


To reassemble your device, follow these instructions in reverse order.
Cancel: I did not complete this guide.
One other person completed this guide.

Team

Embry-Riddle Aeronautical University, Team S22-G1, Branham Fall 2019 Member of Embry-Riddle Aeronautical University, Team S22-G1, Branham Fall 2019
ERAU-BRANHAM-F19S22G1
3 Members
12 Guides authored