Introduction
Use this guide to install or replace a new sprayer or pump for the ZCWA BR151. The part itself functions as the primary way for water to lightly jet out of the device's mopping feature. The replacement of this part could prevent any leaking that the device may be experiencing. To access the sprayer/pump, several pieces will need to be removed from the device. Before beginning, make sure the device is turned off and the water tank is empty of any water.
What you need
-
-
-
Remove the water tank by sliding the latch down with a finger and grasping the bottom of the water tank.
-
Pull it out.
-
-
-
-
Flip the device over to access the bottom panel.
-
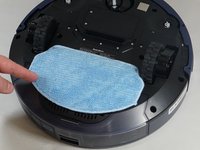
Remove the cloth mop covering by lifting it from the velcro on the plastic mop attachment.
-
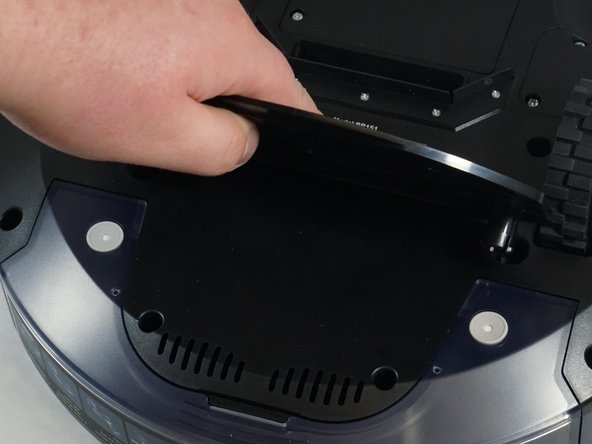
Remove the plastic mop attachment by placing your fingers underneath and prying it up.
-
-
-
-
Remove the six 6 mm screws on the bumper guards using a Phillips #0 screwdriver.
-
Remove the bumper guards by lifting them.
-
-
-
Use a Phillips #1 screwdriver to remove the ten 10 mm screws from the bottom plate.
-
-
-
Carefully lift the bottom panel off of the top.
-
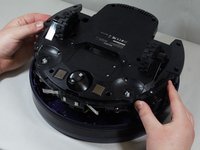
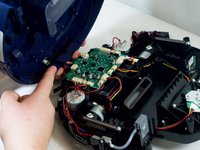
Gently place the bottom of the device on your workspace surface, wheels down, exposing the inner workings of the device.
-
-
-
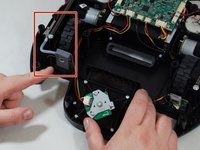
Pinch the wire bracket that is on the top panel while pulling the bracket away.
-
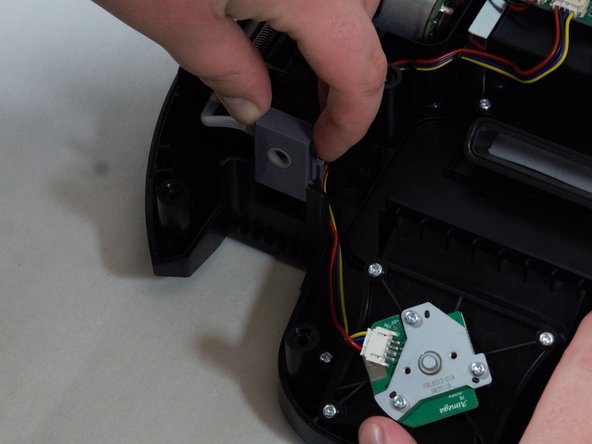
Pull the cable away from the connector in the same direction as the individual wires are running.
-
Pull evenly on the full width of the cable so that no individual wires are overly strained.
-
-
-
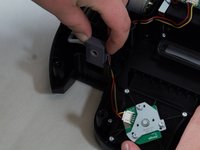
The sprayer is slotted in place with grooves. Slide up the sprayer by lifting it up with your fingers.
-
The sprayer/pump should loosely be free, except for wires connecting it to the motherboard.
-
-
-
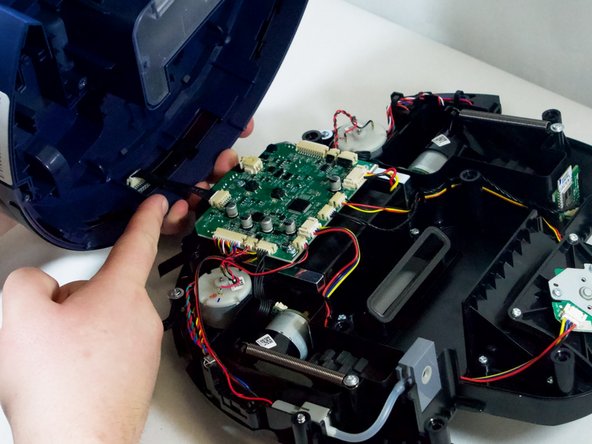
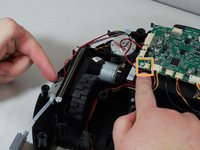
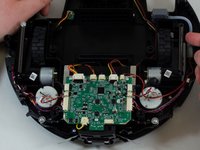
Turn the device around so that the motherboard is closest to you.
-
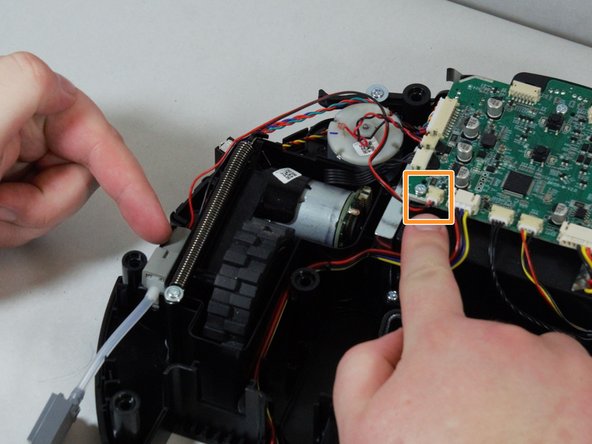
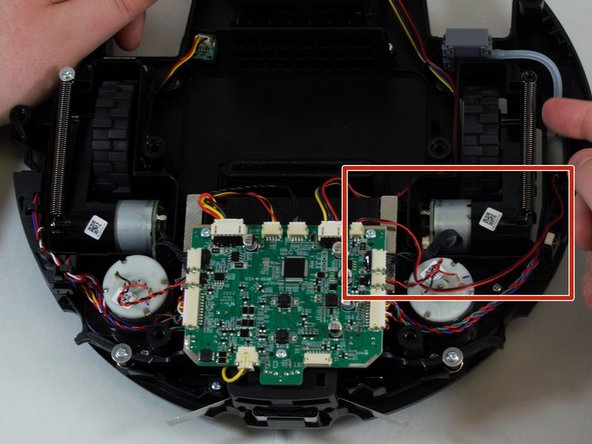
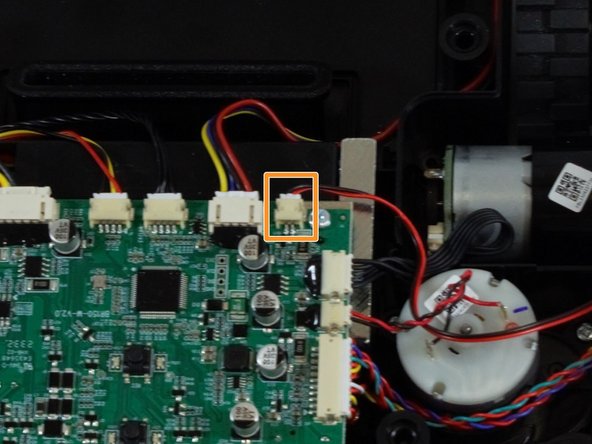
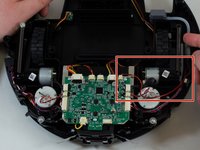
Track the red and black wire cables from the sprayer/pump to the motherboard.
-
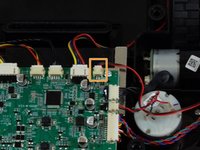
Remove the sprayer/pump wiring from the port on the motherboard by pinching the silver brackets and pull the wire casing away from the motherboard.
-
Pull evenly on the full width of the cable so that no individual wires are overly strained.
-
Remove the sprayer/pump from the vacuum.
-
-

 Ask FixBot







To reassemble your device, follow these instructions in reverse order.
Cancel: I did not complete this guide.
2 other people completed this guide.

Team

Tennessee Tech University, Team 1-1, Pickering Spring 2024 Member of Tennessee Tech University, Team 1-1, Pickering Spring 2024
TNTECH-PICKERING-S24S1G1
4 Members
72 Guides authored
