
Yuneec ST10 Plus Camera Switch Spring Replacement

Joshua Collins and 5 other contributors
Last updated on May 16, 2024
Views: 440
View statistics:
- Past 24 Hours:
- 3
- Past 7 Days:
- 13
- Past 30 Days:
- 58
- All Time:
- 440
Comments: 9
9 comments on steps.
Completed: 0 1
No one has marked this guide "completed." Will you be the first?
1 person has marked this guide "completed." It's you — great job!
Favorites: 0 1
No one has favorited (and subscribed to) this guide. Will you be the first?
1 person has favorited (and subscribed to) this guide — and that's you!
Introduction
Go to step 1 ↓A faulty switch spring can lead to an unresponsive camera button, resulting in your controller not being able to record or take pictures. Cause of this can be dislocated spring, or as simple as the spring snapping over time. Follow these steps to replace the spring for either of the shoulder buttons on the Yuneec ST10 Plus drone controller.
What you need
Tools


-
-
-
Flip the controller upside down to access the battery compartment.
-
Grab the compartment door and pull down.
 Ask FixBot
-
-
-
Gently lift the blue tab connected to the battery in order to remove the battery from its housing.
-
-
-
To disconnect the battery from the remote, grab the red and black connectors.
-
Pull gently on connectors until they disconnect.
-
-
-
-
-
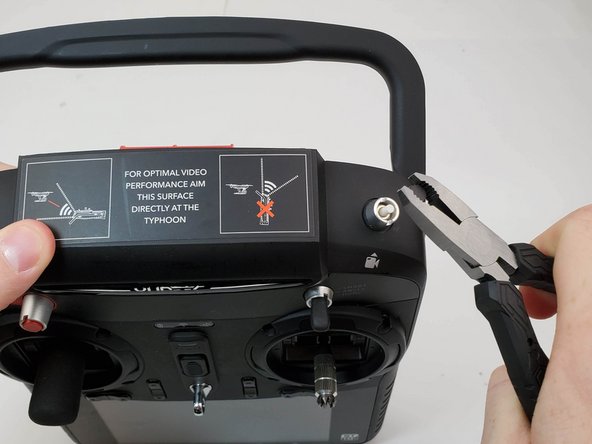
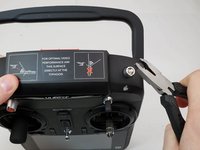
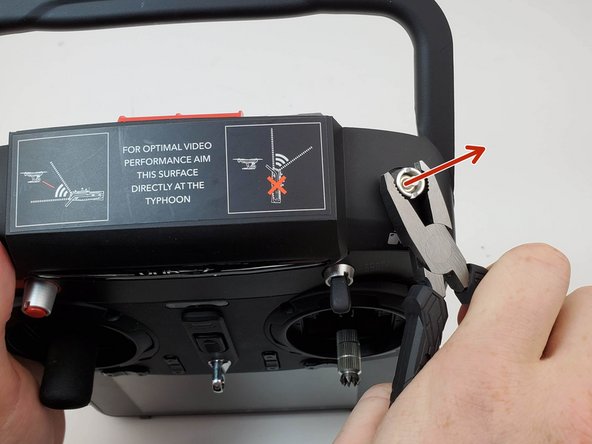
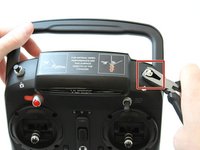
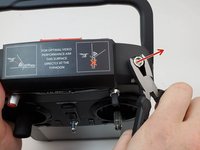
Grab ahold of the top of the black cap on the button with the pliers and pull up forcefully.
-
-
-
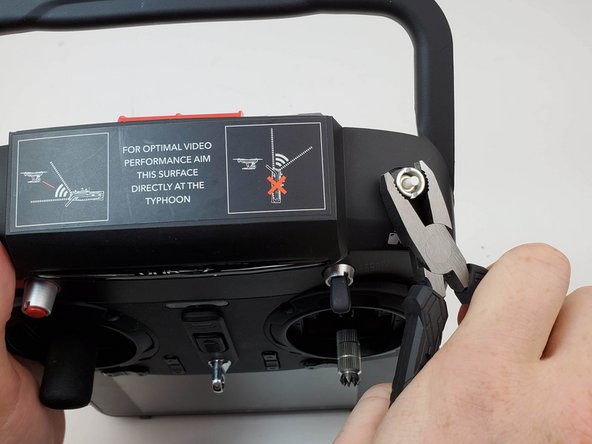
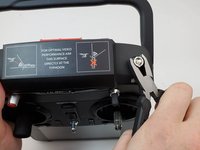
Twist counter clockwise on the silver portion of the device with a pair of pliers.
-
-
-
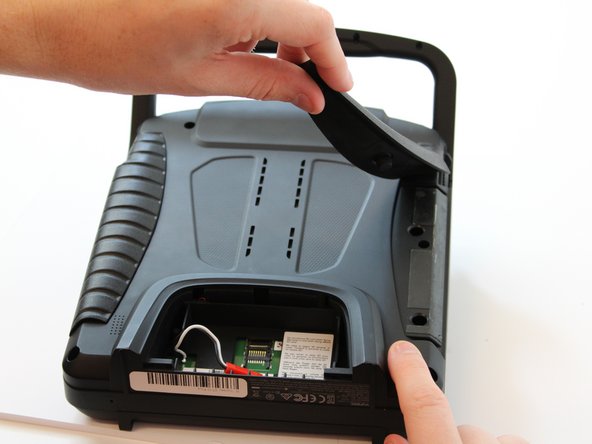
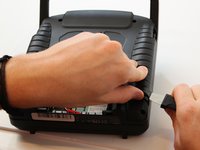
Slide the Jimmy underneath the rubber grips and pry upwards.
-
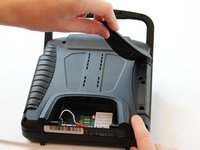
With your free hand grasp the rubber grips and pull upward to remove it.
-
-
-
Remove the six 1.3 cm screws located on the back panel of the remote using the 5.5mm hex screw bit.
-
-
-
Carefully pull up and over on the back panel to remove. Take your time because there are wires connecting the two panels that can easily torn.
-
-
-
-
Flip your device.
-
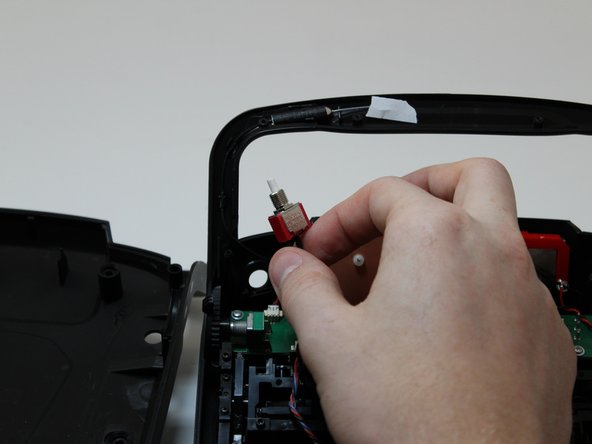
Once the silver cover holding the switch in place is removed, remove the switch by grabbing it and pulling back towards you.
-
-
-
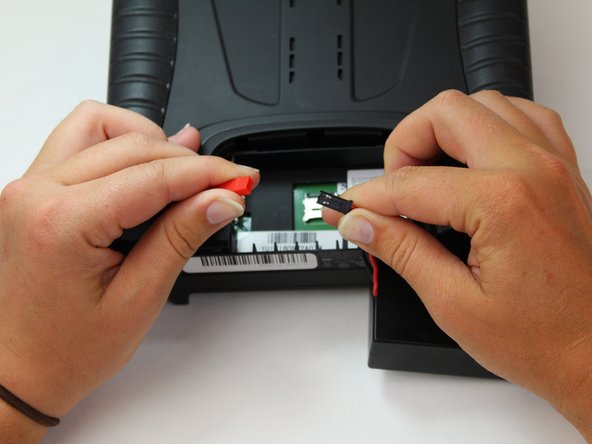
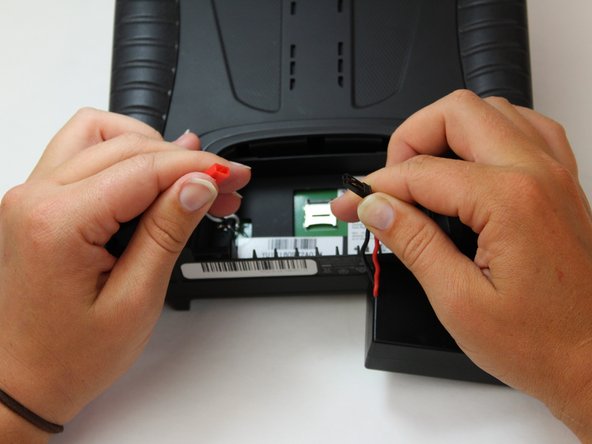
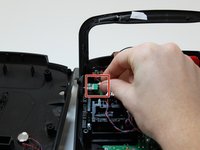
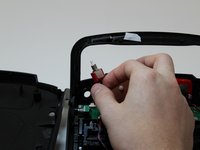
Once the switch is removed, disconnect the switch from the circuit board by pulling the cable from the cable connector.
-
-
-
-
-
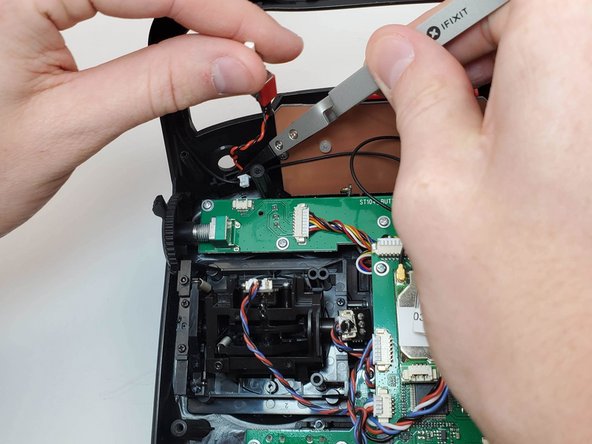
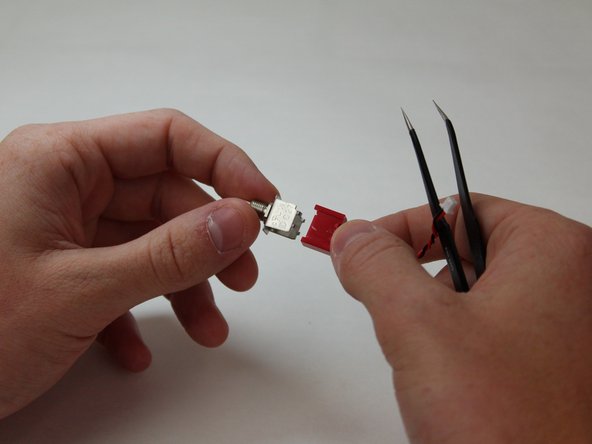
Carefully pry up the small metal feet surrounding the red switch connector on both sides using a metal spudger.
-
-
Tool used on this step:Tweezers$3.99
-
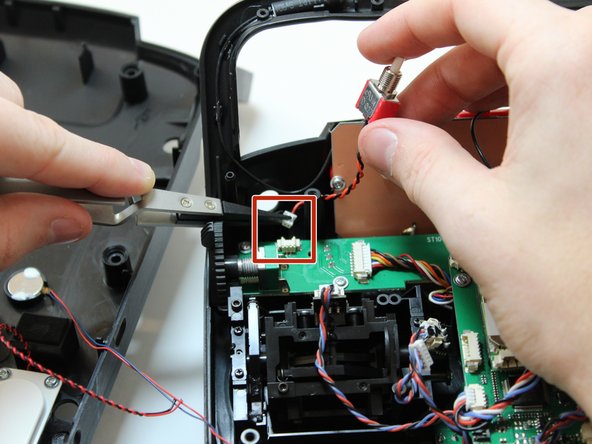
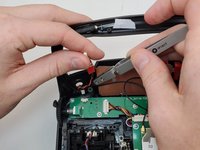
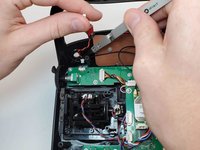
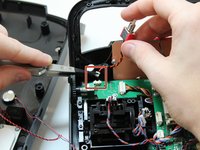
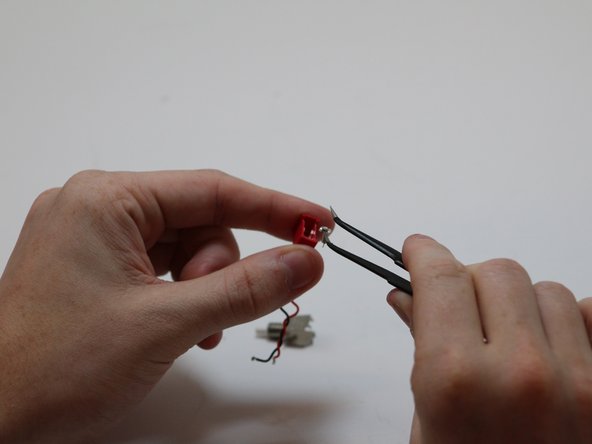
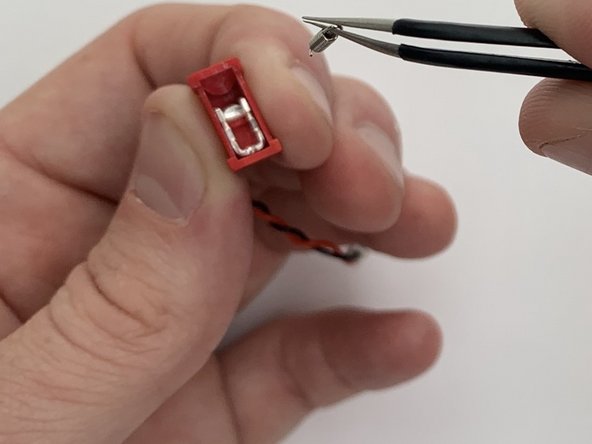
With the angled tweezers pinch the end of the spring with the loop and gently push the spring down and back, then lift up.
-
Pinch the spring with the angled tweezers, bringing it to a vertical position. Then push down on the spring to remove it from the port that it is connected to.
-
Pull the spring away from the housing.
-
-







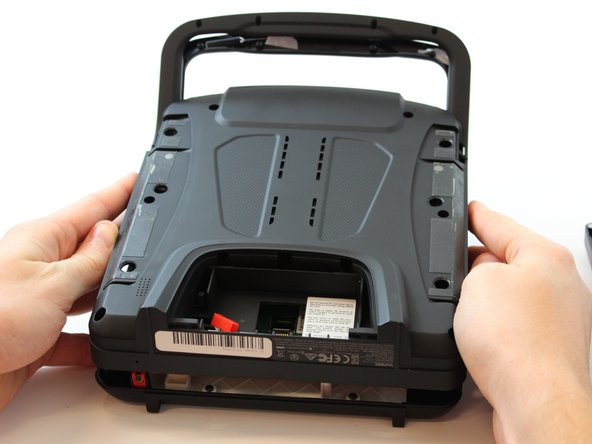
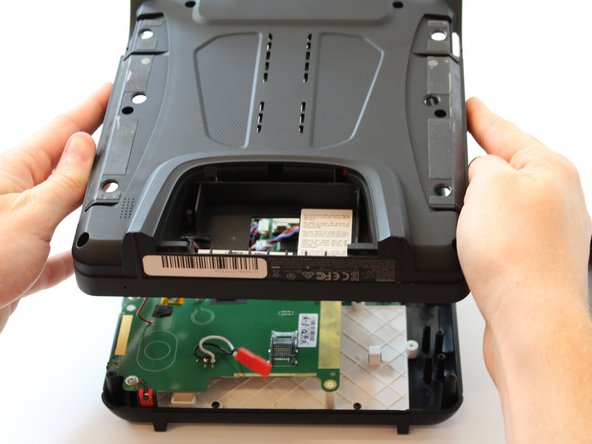





To reassemble your device, follow these instructions in reverse order.

Team

Embry-Riddle Aeronautical University, Team S6-G6, Watkins Spring 2020 Member of Embry-Riddle Aeronautical University, Team S6-G6, Watkins Spring 2020
ERAU-WATKINS-S20S6G6
5 Members
60 Guides authored
