
Yoton YB02 Motion Sensor Replacement

hsisson and one other contributor
Last updated on May 16, 2024
Views: 390
View statistics:
- Past 24 Hours:
- 0
- Past 7 Days:
- 13
- Past 30 Days:
- 72
- All Time:
- 390
Comments: 0
No one has left comments on this guide. Will you be first?
Go to guide commentsCompleted: 0 1
No one has marked this guide "completed." Will you be the first?
1 person has marked this guide "completed." It's you — great job!
Favorites: 0 1
No one has favorited (and subscribed to) this guide. Will you be the first?
1 person has favorited (and subscribed to) this guide — and that's you!
Introduction
Go to step 1 ↓If the camera is not activating with detected movement, then the likely cause is a faulty motion sensor. Use this guide to replace the motion sensor of the YOTON YB02 which is within the camera part itself. The motion sensor of the camera detects the movement of the child and therefore activates the camera so the user can view it on the monitor. Before starting with this guide, make sure to clean the camera as a dirty camera could affect the performance of the motion sensor. Step 3 requires you to desolder the camera from the motherboard so a soldering iron device will be required. Be sure to completely turn off the device before beginning.
What you need
Tools


-
-
-
Use a Phillips #0 screwdriver to remove the single 7 mm screw from the back of the panel from the camera.
 Ask FixBot
-
-
-
-
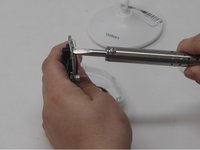
With the soldering iron, desolder the pins holding the camera in place onto the motherboard on the other side of the motherboard.
-
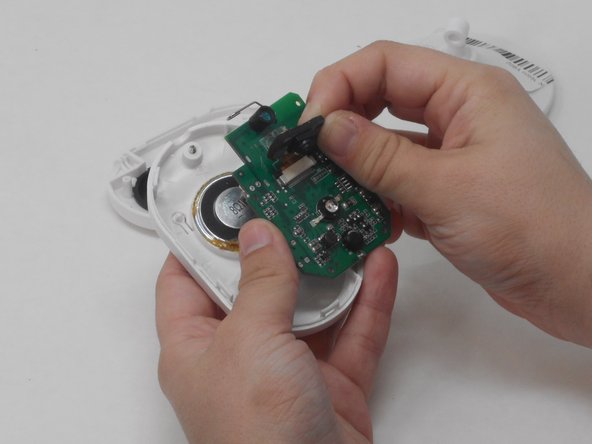
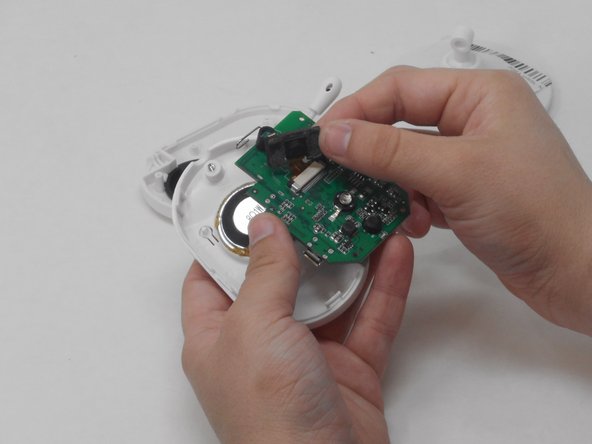
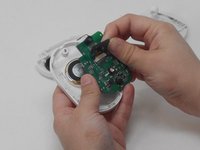
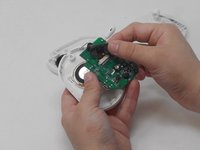
Carefully pry off the camera unit, including the motion sensor, with your hands.
-
-


To reassemble your device, follow these instructions in reverse order.

Team

University of Memphis, Team 4-3, Sneed Spring 2024 Member of University of Memphis, Team 4-3, Sneed Spring 2024
UM-SNEED-S24S4G3
4 Members
72 Guides authored
