
Yamaha DM1000 Faders Replacement

F. Jeanneret and one other contributor
Last updated on Sep 26, 2024
Views: 4.1K
View statistics:
- Past 24 Hours:
- 6
- Past 7 Days:
- 37
- Past 30 Days:
- 149
- All Time:
- 4,051
Comments: 14
14 comments on steps.
Completed: 2 3
2 people have marked this guide "completed." Will you be next?
3 people have marked this guide "completed." Including you — great job!
Favorites: 1 2
1 person has favorited (and subscribed to) this guide. Will you be next?
2 people have favorited (and subscribed to) this guide — including you!
Featured Guide
This guide has been found to be exceptionally cool by the iFixit staff.
Community-Contributed Guide
An awesome member of our community made this guide. It was not created by iFixit staff.
Introduction
Go to step 1 ↓Open the console and replacing the faders, step by step. This job need soldering skills an couple of hour.
What you need
Tools


-
-
-
Remove 5 screws:
-
Three screws for the lower part
-
Two screws for the upper part
-
Use a #4 Phillips screwdriver.
 Ask FixBot
-
-
-
Remove sub-d connector from bargraph.
-
Remove 4 screws (2shorts/2 long) from metal bracket and mixing desk.
-
-
-
Remove 15 screws:
-
Remove 1 smaller screw
-
remove Phillip screw #2
-
Attention: these are self-tapping screws => risk of creating chips when screwing.
-
-
-
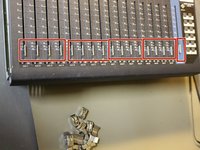
remove 16 + 1 fader with fingers or a with a plastic card.
-
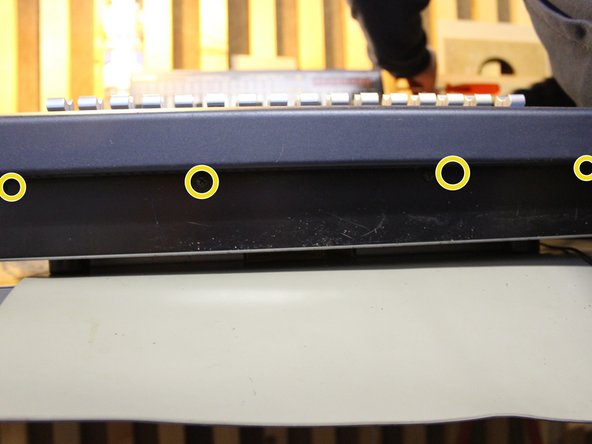
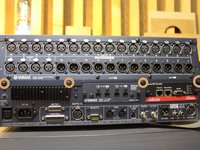
remove 4 screws at the back.
-
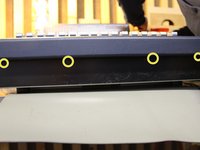
remove 4 screws at the front (bad pic here).
-
-
-
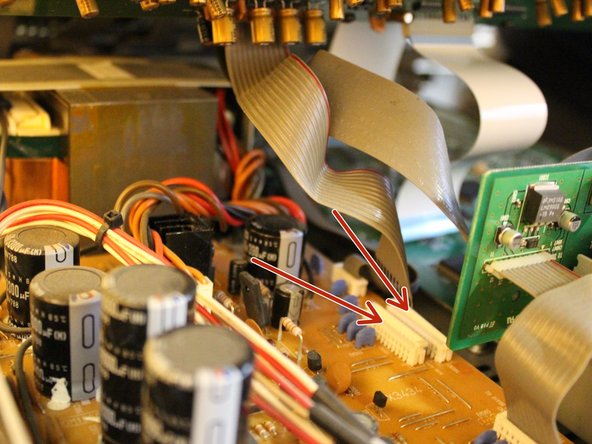
remove carrefully from the side the 2 withe connectors.
-
remove carrefully 2 cables from the power unit, unlock first the connector.
-
-
-
open carefully the console from back to front by graping the sides.
-
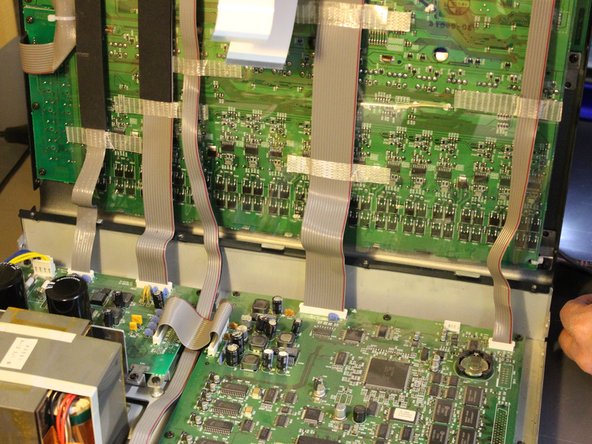
open connectors and remove 5 cables.
-
you can now remove the upper part of the console.
-
-
-
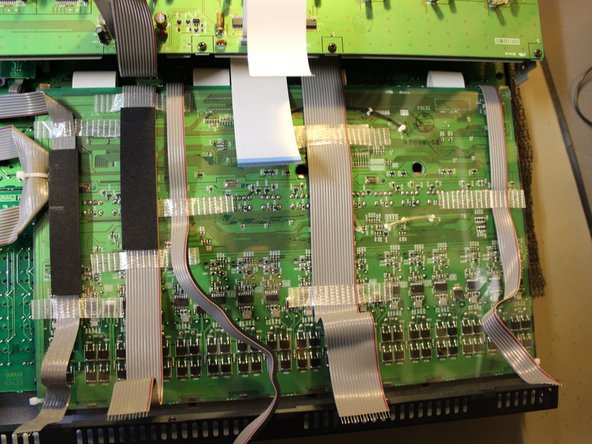
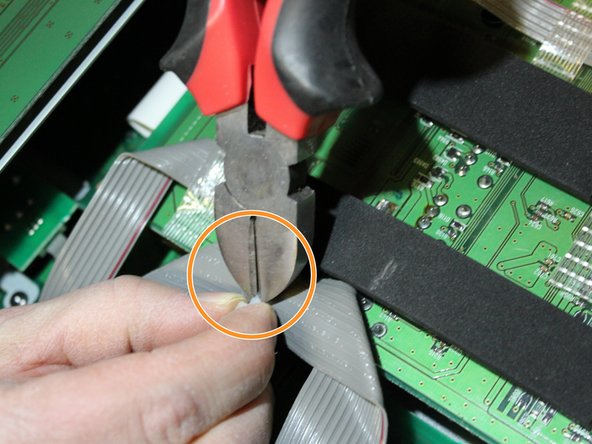
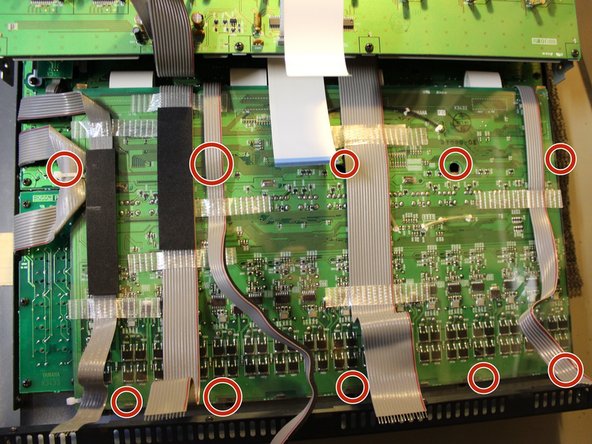
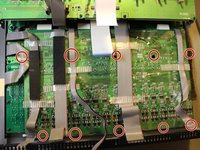
Cut the plastic clamps. Their are 4 clamps in the corners and 1 clamp holding flat cable in place.
-
Unscrew the 10 screws with a Phillips #2 screwdriver.
-
-
-
For each fader remove the 2 blacks screws with a philips #2.
-
-
-
-
remove solder from 4 metal bracket that are fixed to the PCB from the cover.
-
remove solder with a pump from 6 pin of the fader.
-
remove solder from the 2 pin of the motor of the fader.
-
-
-
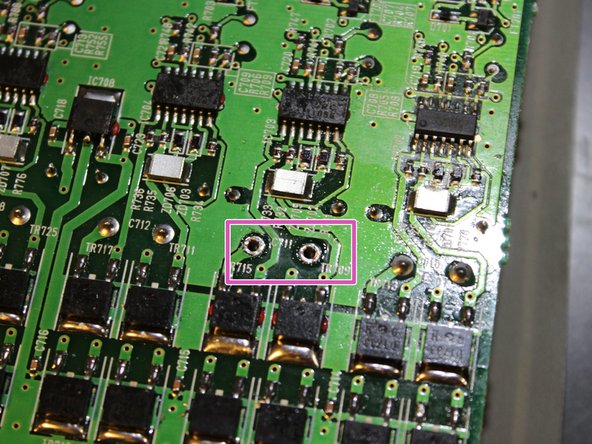
Replace transistors by new ones.
-
2SB1181.
-
2SD1733.
-
they are hard to find as the are being obsolete.
-
-
-
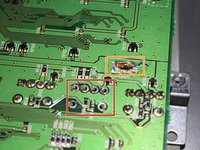
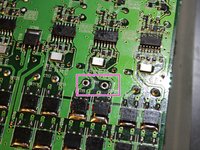
An idea from web forum from a Yamaha Technician that propose to add 4X 1N4148 diode by fader to protect the transistor. as free wheel.
-
add diode between base and collector as show here.
-
-









To reassemble your device follow the following instructions in reverse order.
Cancel: I did not complete this guide.
2 other people completed this guide.
Special thanks to these translators:
100%


These translators are helping us fix the world! Want to contribute?
Start translating ›

