Free Shipping on Domestic Orders $75+

YCCTEAM YCC-SW4001 Joystick Replacement

What you need

  1. YCCTEAM YCC-SW4001 Joystick Replacement, Front Case: step 1, image 1 of 1
    • Use a Phillips screwdriver to remove the eight 9.15 mm screws that secure the rear case.

    Ask FixBot

    Add Comment

  2. YCCTEAM YCC-SW4001 Joystick Replacement: step 2, image 1 of 3 YCCTEAM YCC-SW4001 Joystick Replacement: step 2, image 2 of 3 YCCTEAM YCC-SW4001 Joystick Replacement: step 2, image 3 of 3
    • Use an opening pick to pry the back cover off of the controller.

    Ask FixBot

    Add Comment

  3. YCCTEAM YCC-SW4001 Joystick Replacement: step 3, image 1 of 1
    • Use a Phillips screwdriver to remove the three 9.15 mm screws from the back of the controller.

    Ask FixBot

    Add Comment

  4. YCCTEAM YCC-SW4001 Joystick Replacement, Remove two additional screws: step 4, image 1 of 1
    • On some models there are two more Phillips head screws on the sides that need to be removed before the front and back panels can be separated.

    Ask FixBot

    Add Comment

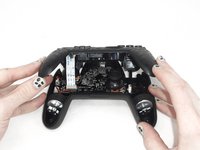
  5. YCCTEAM YCC-SW4001 Joystick Replacement: step 5, image 1 of 3 YCCTEAM YCC-SW4001 Joystick Replacement: step 5, image 2 of 3 YCCTEAM YCC-SW4001 Joystick Replacement: step 5, image 3 of 3
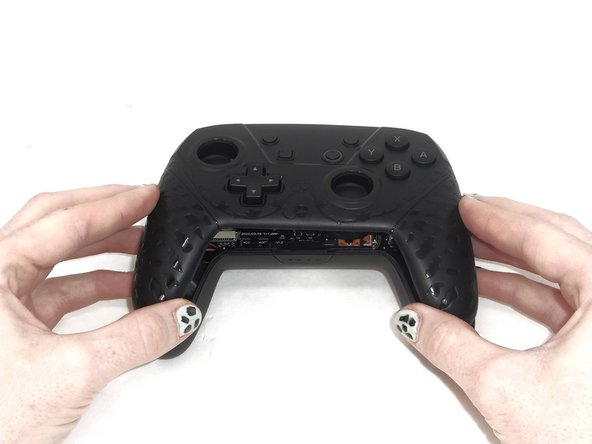
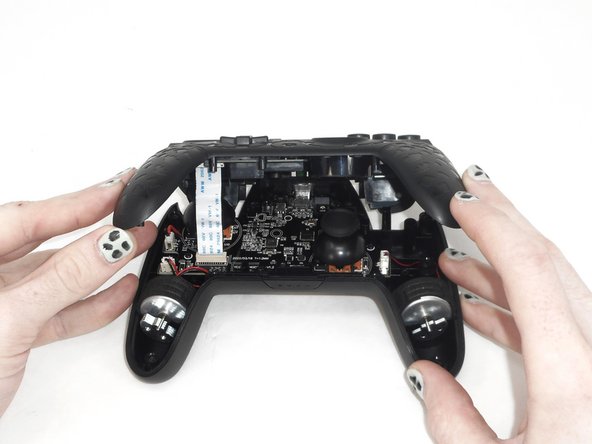
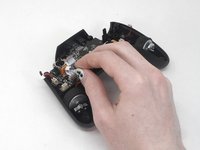
    • Slightly lift the front case.

    • Do not remove the front cover completely; it is still attached to the motherboard by a white ribbon cable.

    Ask FixBot

    Add Comment

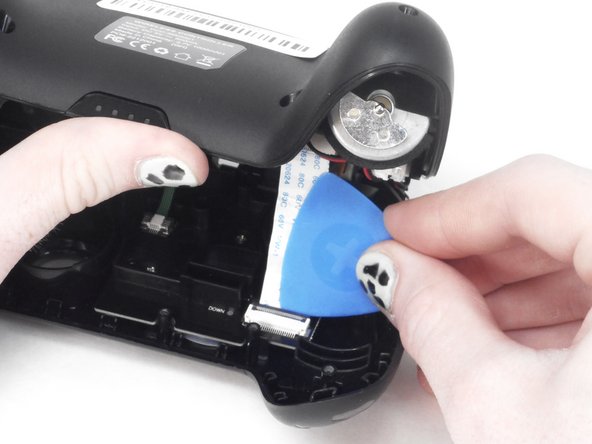
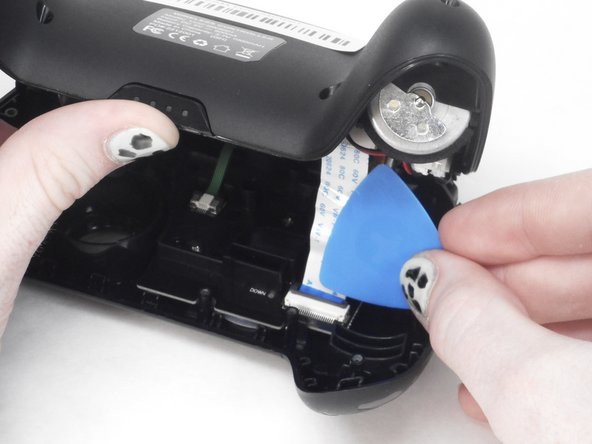
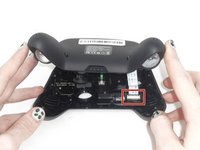
  6. YCCTEAM YCC-SW4001 Joystick Replacement: step 6, image 1 of 3 YCCTEAM YCC-SW4001 Joystick Replacement: step 6, image 2 of 3 YCCTEAM YCC-SW4001 Joystick Replacement: step 6, image 3 of 3
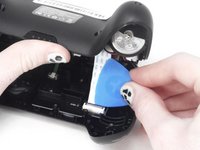
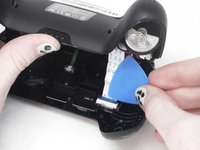
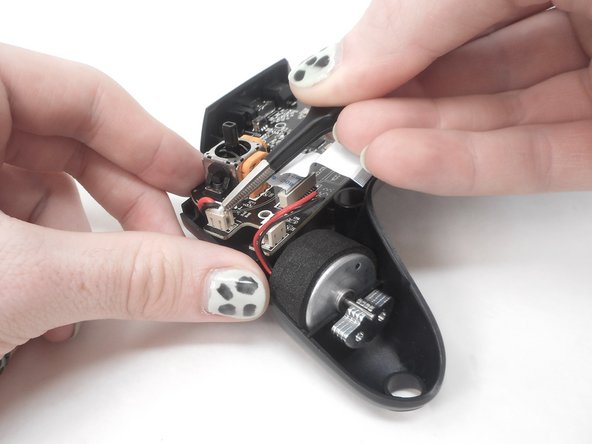
    • Use the tip of the opening pick to flip up the black locking flap of the ZIF connector.

    • The black flap holds the white ribbon cable in place.

    Ask FixBot

    Add Comment

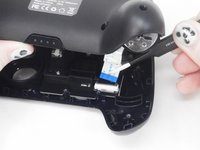
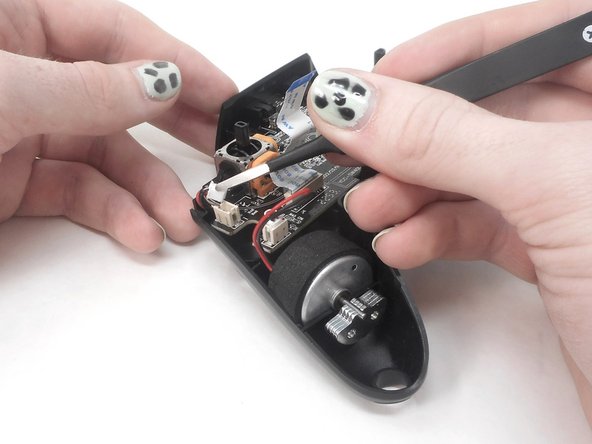
  7. YCCTEAM YCC-SW4001 Joystick Replacement: step 7, image 1 of 2 YCCTEAM YCC-SW4001 Joystick Replacement: step 7, image 2 of 2
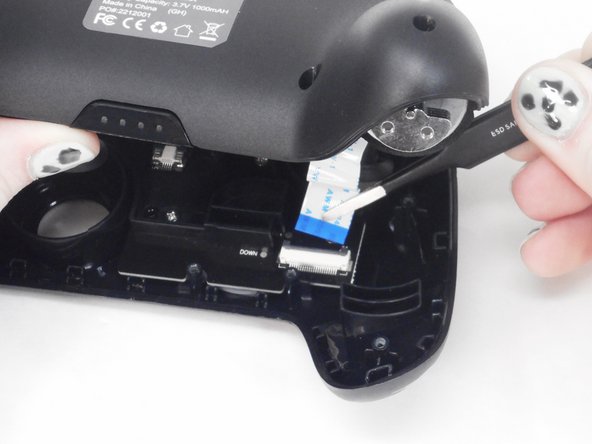
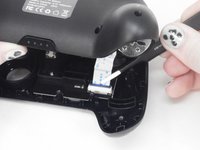
    • Use tweezers to disconnect the white ribbon cable from the ZIF connector.

    Ask FixBot

    Add Comment

  8. YCCTEAM YCC-SW4001 Joystick Replacement: step 8, image 1 of 1
    • Remove the front case.

    Ask FixBot

    Add Comment

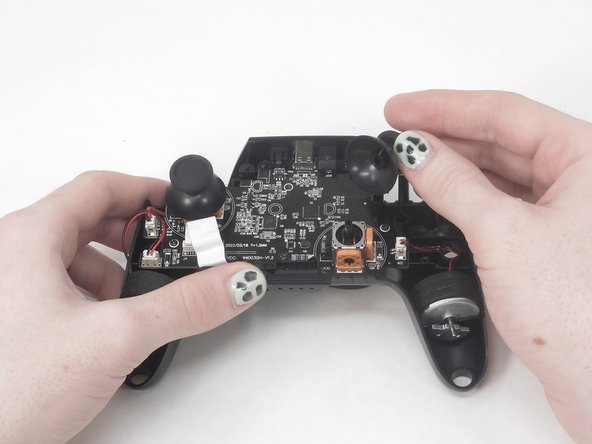
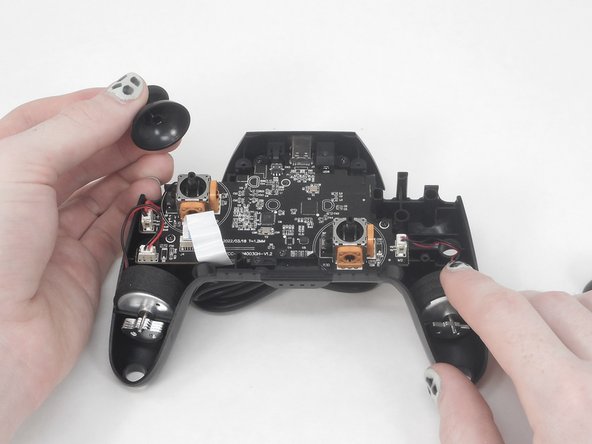
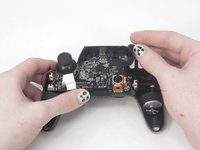
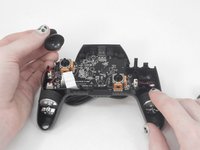
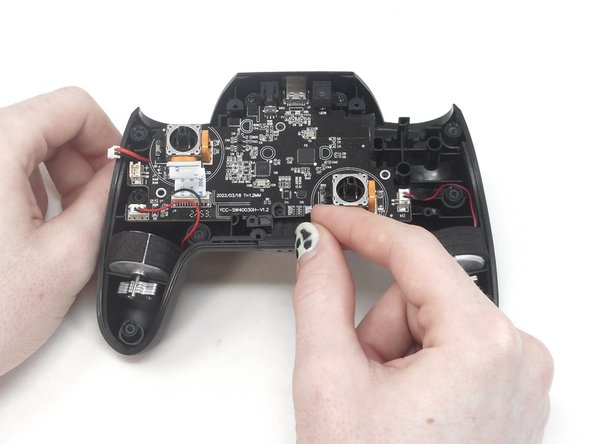
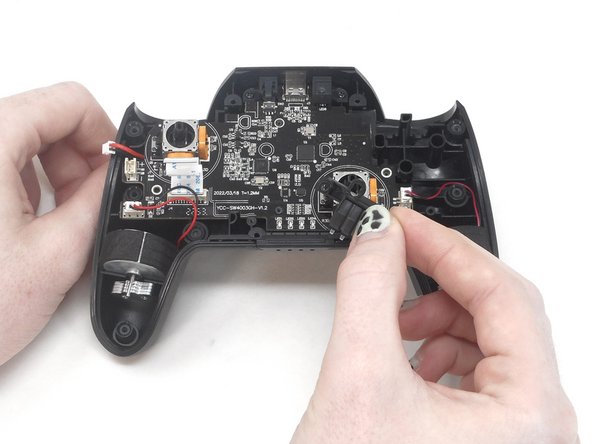
  9. YCCTEAM YCC-SW4001 Joystick Replacement, Joystick: step 9, image 1 of 3 YCCTEAM YCC-SW4001 Joystick Replacement, Joystick: step 9, image 2 of 3 YCCTEAM YCC-SW4001 Joystick Replacement, Joystick: step 9, image 3 of 3
    • Remove the two joystick covers from the motherboard by gripping them and pulling them straight upward with moderate force.

    Ask FixBot

    Add Comment

  10. YCCTEAM YCC-SW4001 Joystick Replacement: step 10, image 1 of 3 YCCTEAM YCC-SW4001 Joystick Replacement: step 10, image 2 of 3 YCCTEAM YCC-SW4001 Joystick Replacement: step 10, image 3 of 3
    • Use tweezers to lift the battery connector directly up and out of its motherboard port.

    Ask FixBot

    Add Comment

  11. YCCTEAM YCC-SW4001 Joystick Replacement: step 11, image 1 of 3 YCCTEAM YCC-SW4001 Joystick Replacement: step 11, image 2 of 3 YCCTEAM YCC-SW4001 Joystick Replacement: step 11, image 3 of 3
    • Use a Phillips screwdriver to remove the three 7.5 mm screws that secure the motherboard.

    • Remove the player LEDs.

    Ask FixBot

    Add Comment

  12. YCCTEAM YCC-SW4001 Joystick Replacement: step 12, image 1 of 3 YCCTEAM YCC-SW4001 Joystick Replacement: step 12, image 2 of 3 YCCTEAM YCC-SW4001 Joystick Replacement: step 12, image 3 of 3
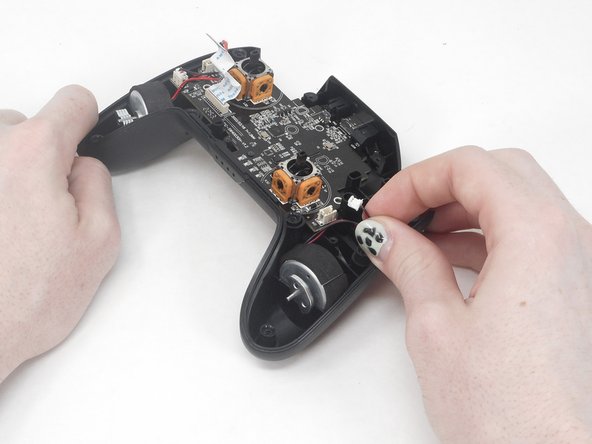
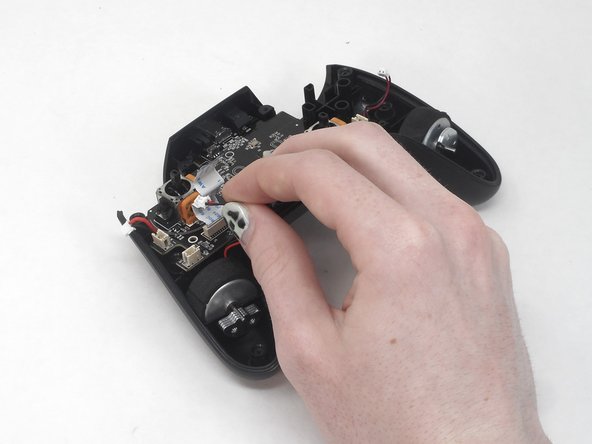
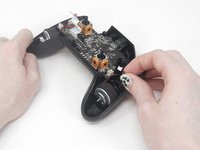
    • Grip the white rumble motor motherboard connections and pull them directly out of their ports.

    • When replacing the rumble motors, press each plug down into its socket until it snaps into place.

    Ask FixBot

    Add Comment

  13. YCCTEAM YCC-SW4001 Joystick Replacement: step 13, image 1 of 2 YCCTEAM YCC-SW4001 Joystick Replacement: step 13, image 2 of 2
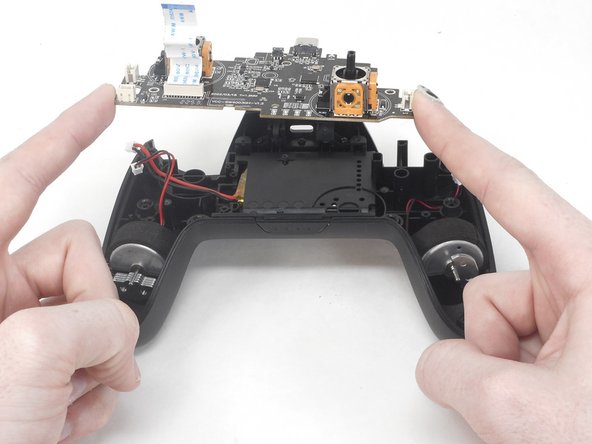
    • Lift the motherboard out of the controller.

    Ask FixBot

    Add Comment

  14. YCCTEAM YCC-SW4001 Joystick Replacement: step 14, image 1 of 1
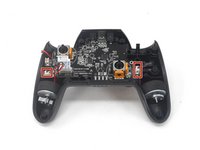
    • To remove each joystick module, desolder the marked connections using a soldering iron and solder wick.

    • Check out this guide to learn the soldering basics.

    Ask FixBot

    Add Comment

Conclusion

To reassemble your device, follow these instructions in reverse order.

Cancel: I did not complete this guide.

0 Guide Comments

Add Comment

View Statistics:

Past 24 Hours: 2

Past 7 Days: 6

Past 30 Days: 44

All Time: 545