Introduction
The ABXY buttons are important because they are the primary method of controlling inputs to a game or menu. These buttons are easy to take out after taking off the front cover, so they are popular to customize and modify. If you are experiencing ABXY buttons that stick or are unresponsive, it may be time to clean or replace them.
In replacing the ABXY buttons, you will need a Phillips #1 screwdriver, an opening pick, and a pair of tweezers.
If the ABXY buttons (A, B, X, Y, D-Pad, +, –, HOME, and Screenshot buttons) on your YCCTEAM YCC-SW4001 have debris under them, are broken, or are not functioning properly, you can follow this guide to clean or replace them.
What you need
-
-
-
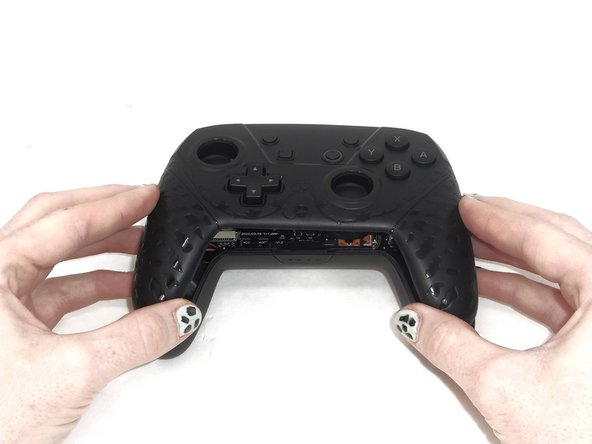
Use a Phillips screwdriver to remove the eight 9.15 mm screws that secure the rear case.
 Ask FixBot
-
-
-
Use a Phillips screwdriver to remove the three 9.15 mm screws from the back of the controller.
-
-
-
On some models there are two more Phillips head screws on the sides that need to be removed before the front and back panels can be separated.
-
-
-
-
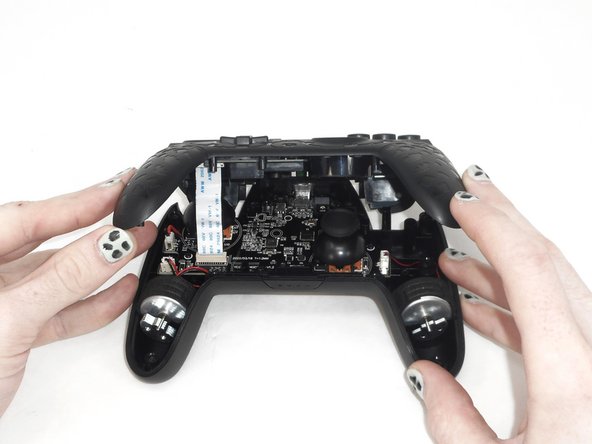
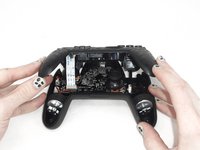
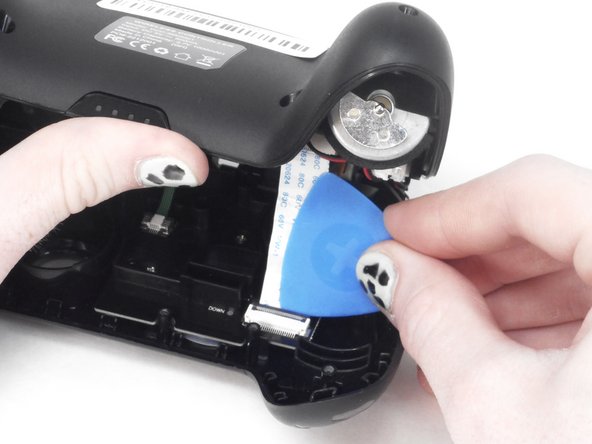
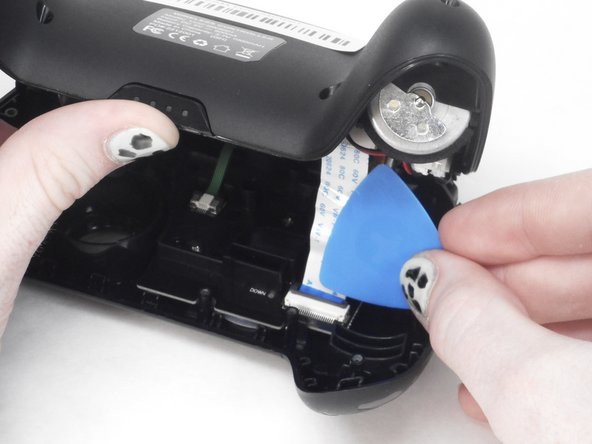
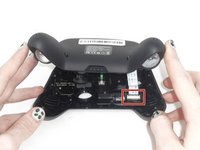
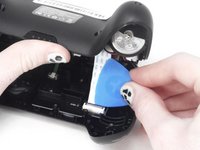
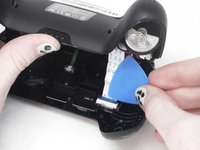
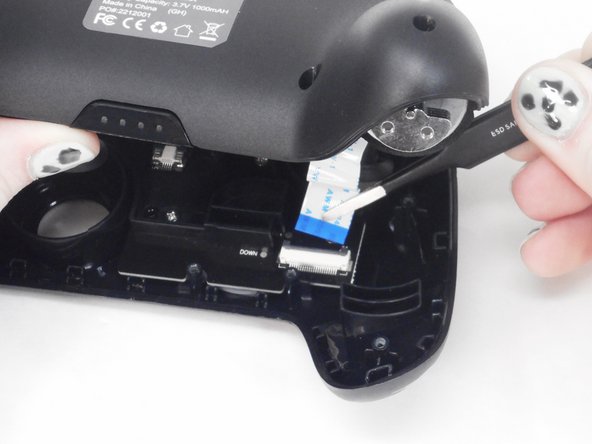
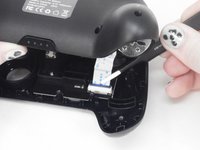
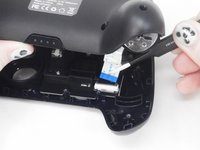
Use the tip of the opening pick to flip up the black locking flap of the ZIF connector.
-
-
-
-
-
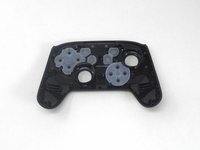
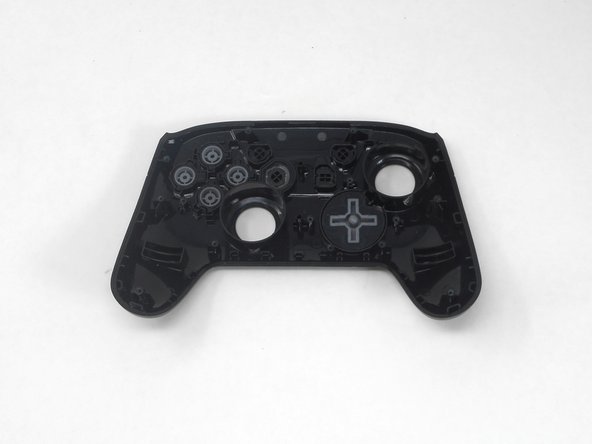
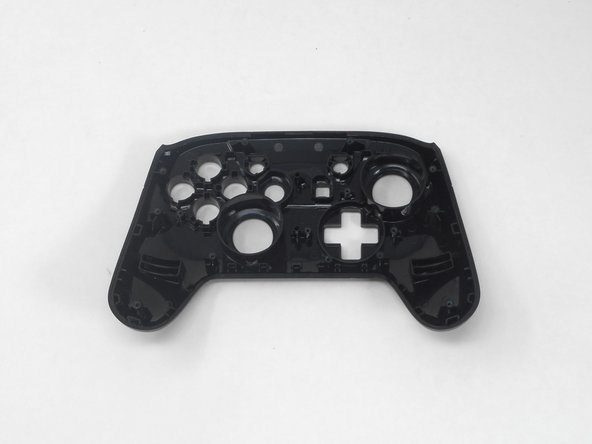
Isolate the front cover.
-
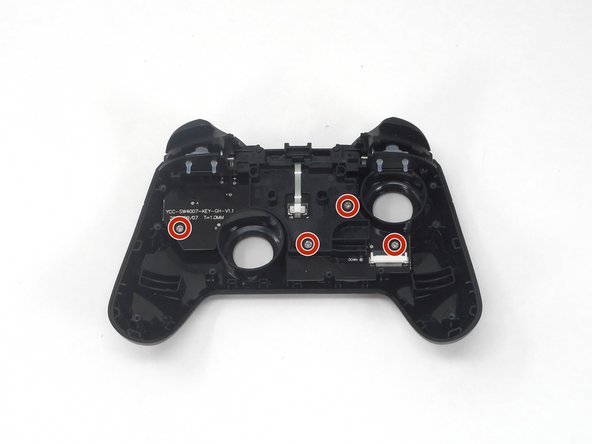
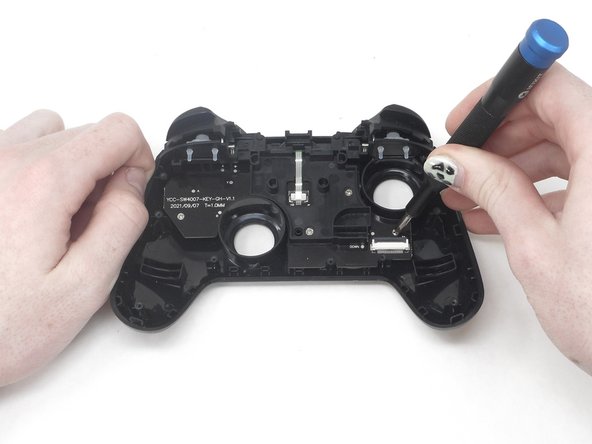
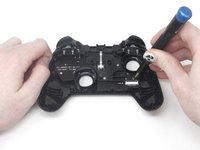
Flip over the front cover and remove the four 5.77 mm screws from the back of the front cover using the Phillips #1 Screwdriver.
-
-
-
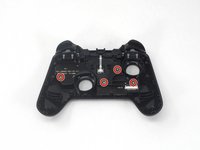
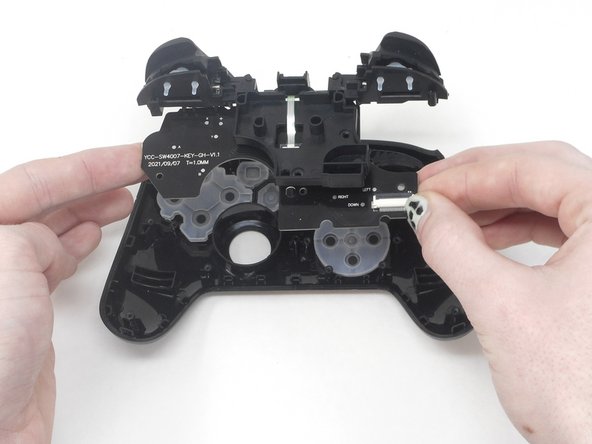
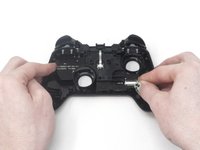
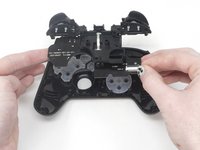
Lift the circuit board from the front cover to expose the back of the buttons.
-
-
-
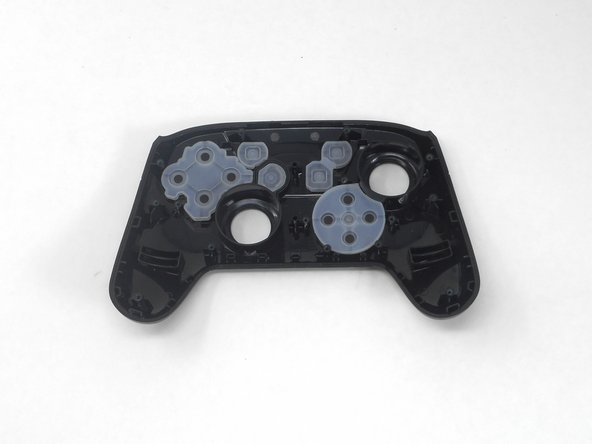
Remove the rubber caps and the button caps by either dumping them out or taking them out by hand.
-
-








To reassemble your device, follow these instructions in reverse order.
Cancel: I did not complete this guide.
One other person completed this guide.

Team

University of Memphis, Team 1-1, Sneed Spring 2024 Member of University of Memphis, Team 1-1, Sneed Spring 2024
UM-SNEED-S24S1G1
3 Members
72 Guides authored
