Free Shipping on Domestic Orders $75+

Xiaomi Redmi Note 3 Motherboard Replacement

What you need

  1. Xiaomi Redmi Note 3 Motherboard Replacement, Motherboard: step 1, image 1 of 3 Xiaomi Redmi Note 3 Motherboard Replacement, Motherboard: step 1, image 2 of 3 Xiaomi Redmi Note 3 Motherboard Replacement, Motherboard: step 1, image 3 of 3
    • Insert and gently push the SIM card ejector tool (or an unfolded paperclip) into the small hole on the left side of the phone's top edge.

    • Press gently to eject the SIM tray

    • Remove the SIM card tray from the device.

    • To reinsert the SIM card tray, orient the SIM card with the gold contacts facing up and the notch to the bottom right. Reinsert the SIM card by pressing the card gently into the SIM tray slot.

    Ask FixBot

    Add Comment

  2. Xiaomi Redmi Note 3 Motherboard Replacement: step 2, image 1 of 3 Xiaomi Redmi Note 3 Motherboard Replacement: step 2, image 2 of 3 Xiaomi Redmi Note 3 Motherboard Replacement: step 2, image 3 of 3
    • Insert a putty knife or opening tool into the seam between the phone's back cover and front cover.

    • Run the opening tool along the seam to loosen the back cover.

    • It may take quite a bit of prying and wiggling to remove the back cover.

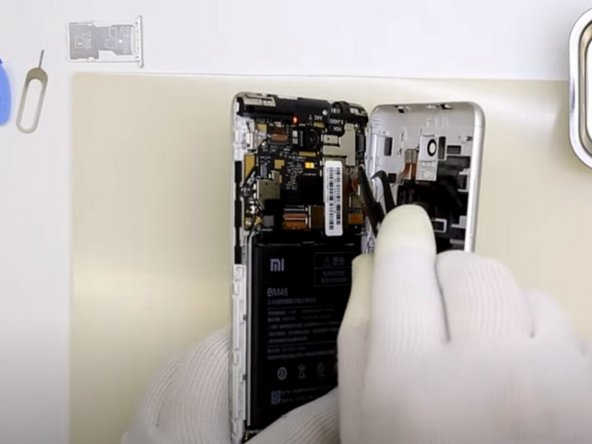
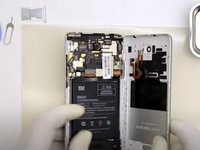
    • Open the back cover slightly so that you can see the flex cable connected between both halves of the phone.

    • The flex cable connects towards the top of the phone near the front-facing camera. To avoid tearing the cable, pull the back cover off gently.

    Ask FixBot

    Add Comment

  3. Xiaomi Redmi Note 3 Motherboard Replacement: step 3, image 1 of 3 Xiaomi Redmi Note 3 Motherboard Replacement: step 3, image 2 of 3 Xiaomi Redmi Note 3 Motherboard Replacement: step 3, image 3 of 3
    Tool used on this step:
    Tweezers
    $4.99
    Buy
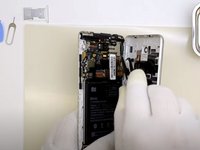
    • Disconnect the flex cable using the flat end of a spudger or a pair of tweezers.

    • Remove the phone's back cover.

    • To reconnect the flex cable during reassembly, angle the back cover until the flex cable lines up over its socket. Use the flat end of a spudger to snap the cable in place by gently pressing straight down.

    Ask FixBot

    Add Comment

  4. Xiaomi Redmi Note 3 Motherboard Replacement: step 4, image 1 of 1
    • Use a Phillips screwdriver to remove the five screws in the plastic covering at the bottom of the device.

    Ask FixBot

    Add Comment

  5. Xiaomi Redmi Note 3 Motherboard Replacement: step 5, image 1 of 3 Xiaomi Redmi Note 3 Motherboard Replacement: step 5, image 2 of 3 Xiaomi Redmi Note 3 Motherboard Replacement: step 5, image 3 of 3
    • Insert the flat end of a spudger under the plastic assembly cover at the bottom of the device.

    • Pry upwards with the spudger to lift the assembly cover.

    • Remove the assembly cover.

    Ask FixBot

    Add Comment

  6. Xiaomi Redmi Note 3 Motherboard Replacement: step 6, image 1 of 2 Xiaomi Redmi Note 3 Motherboard Replacement: step 6, image 2 of 2
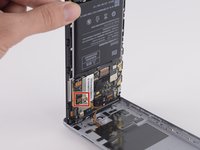
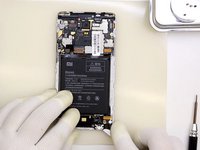
    • Use the flat end of a spudger to disconnect the battery flex cable from the lower assembly.

    • Use the flat end of a spudger to disconnect the ribbon cable on the left-hand side of the device.

    Ask FixBot

    Add Comment

  7. Xiaomi Redmi Note 3 Motherboard Replacement: step 7, image 1 of 3 Xiaomi Redmi Note 3 Motherboard Replacement: step 7, image 2 of 3 Xiaomi Redmi Note 3 Motherboard Replacement: step 7, image 3 of 3
    • Insert the flat end of a spudger under the assembly at the bottom of the device near the right-hand corner.

    • Pry upwards with the spudger to release the right-hand corner of the assembly.

    • Insert the flat end of a spudger under the assembly at the bottom of the device near the left-hand corner.

    • Pry upwards with the spudger to release the left-hand corner of the assembly.

    • Use your fingers to remove the assembly.

    Ask FixBot

    Add Comment

  8. Xiaomi Redmi Note 3 Motherboard Replacement: step 8, image 1 of 3 Xiaomi Redmi Note 3 Motherboard Replacement: step 8, image 2 of 3 Xiaomi Redmi Note 3 Motherboard Replacement: step 8, image 3 of 3
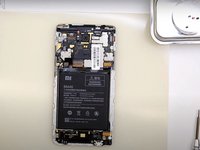
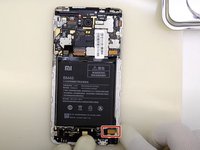
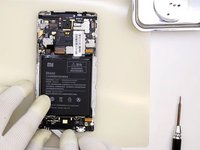
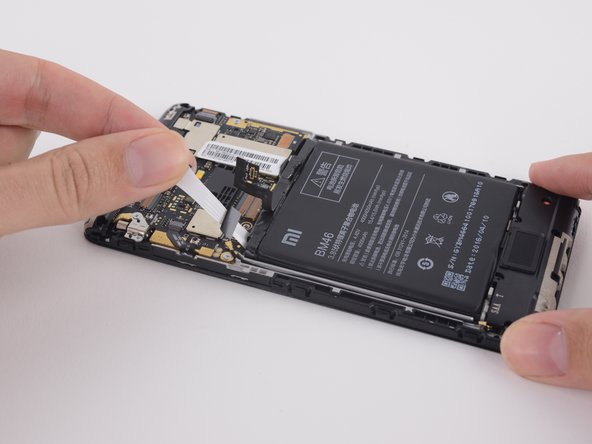
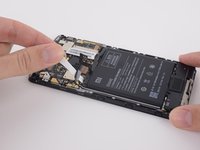
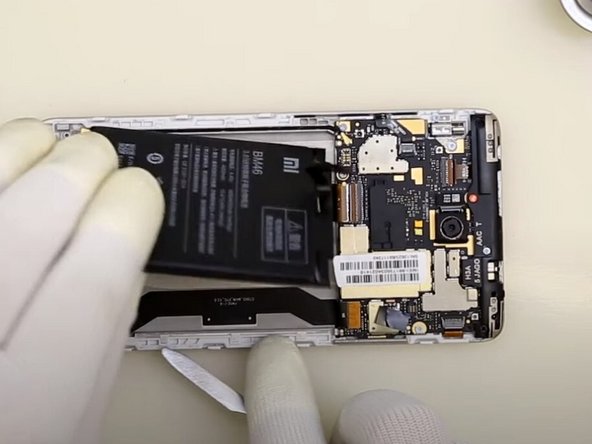
    • Peel back the barcode sticker so that it is disconnected from the battery.

    • Use your fingers to grasp the black battery adhesive tab and pull outwards firmly until the entire adhesive strip is released.

    • Repeat for the second battery adhesive strip.

    Ask FixBot

    Add Comment

  9. Xiaomi Redmi Note 3 Motherboard Replacement: step 9, image 1 of 2 Xiaomi Redmi Note 3 Motherboard Replacement: step 9, image 2 of 2
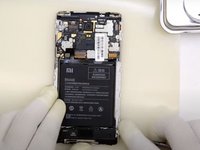
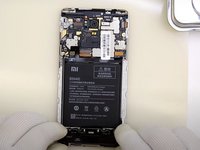
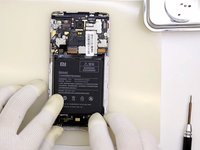
    • Insert the flat end of a spudger underneath the battery.

    • Use your fingers to remove the battery.

    Ask FixBot

    Add Comment

  10. Xiaomi Redmi Note 3 Motherboard Replacement: step 10, image 1 of 2 Xiaomi Redmi Note 3 Motherboard Replacement: step 10, image 2 of 2
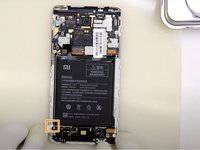
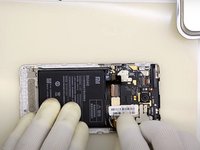
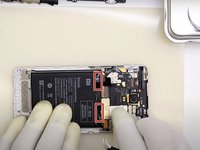
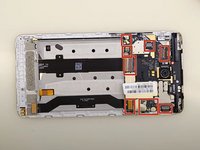
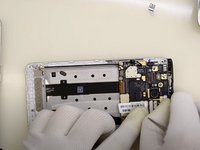
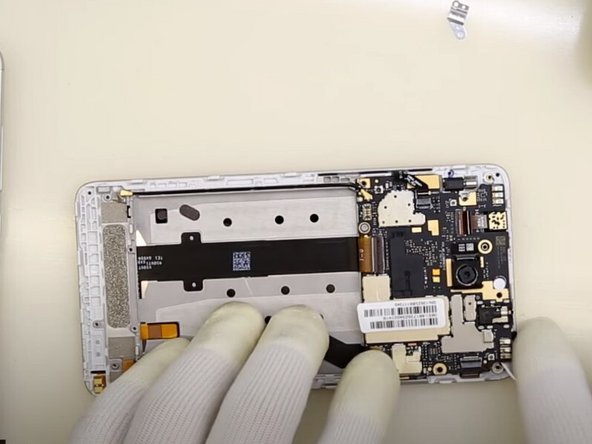
    • Use a spudger to disconnect all marked ribbon cables.

    Ask FixBot

    Add Comment

  11. Xiaomi Redmi Note 3 Motherboard Replacement: step 11, image 1 of 2 Xiaomi Redmi Note 3 Motherboard Replacement: step 11, image 2 of 2
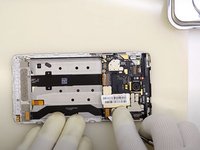
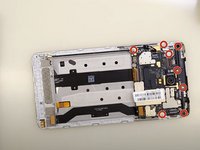
    • Use a Phillips #00 screwdriver to remove the eight screws fastening the motherboard to the phone's interior.

    Ask FixBot

    Add Comment

  12. Xiaomi Redmi Note 3 Motherboard Replacement: step 12, image 1 of 2 Xiaomi Redmi Note 3 Motherboard Replacement: step 12, image 2 of 2
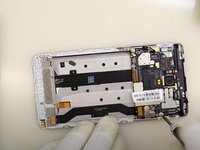
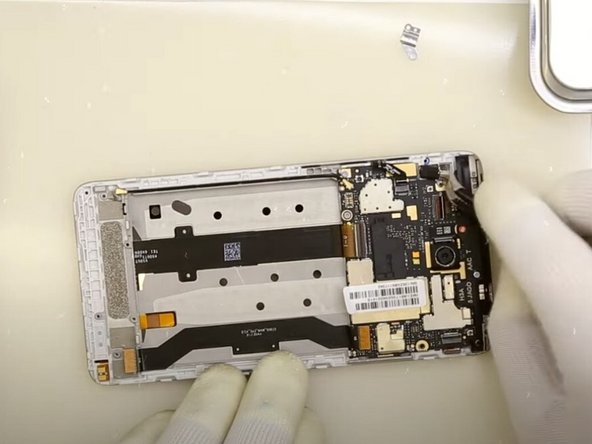
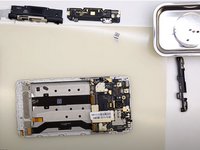
    • Use a pair of tweezers to remove the small metal piece from the top of the motherboard.

    Ask FixBot

    Add Comment

  13. Xiaomi Redmi Note 3 Motherboard Replacement: step 13, image 1 of 3 Xiaomi Redmi Note 3 Motherboard Replacement: step 13, image 2 of 3 Xiaomi Redmi Note 3 Motherboard Replacement: step 13, image 3 of 3
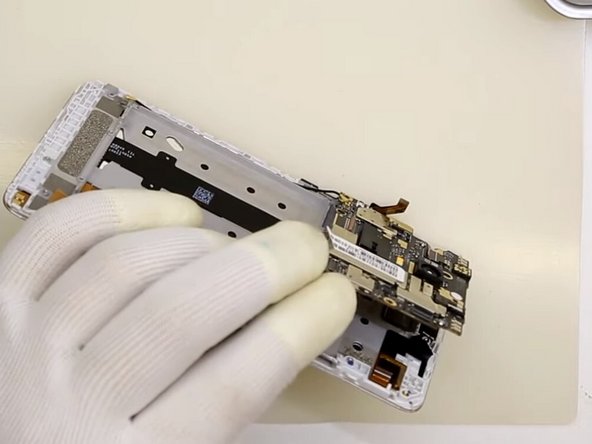
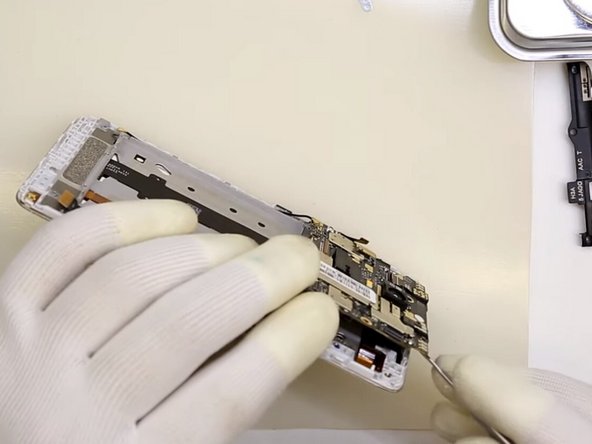
    • Slide an opening tool underneath the plastic assembly covering the upper portion of the motherboard.

    • Use your fingers or the opening tool to remove the plastic covering.

    Ask FixBot

    Add Comment

  14. Xiaomi Redmi Note 3 Motherboard Replacement: step 14, image 1 of 2 Xiaomi Redmi Note 3 Motherboard Replacement: step 14, image 2 of 2
    • Slide an opening tool or the flat end of a spudger underneath the motherboard.

    • Pry upwards to loosen the motherboard from the phone's front cover.

    Ask FixBot

    Add Comment

  15. Xiaomi Redmi Note 3 Motherboard Replacement: step 15, image 1 of 3 Xiaomi Redmi Note 3 Motherboard Replacement: step 15, image 2 of 3 Xiaomi Redmi Note 3 Motherboard Replacement: step 15, image 3 of 3
    • Gently lift the motherboard from its slot.

    • Use the flat end of a spudger to disconnect the cable from the bottom of the motherboard.

    Ask FixBot

    Add Comment

  16. Xiaomi Redmi Note 3 Motherboard Replacement: step 16, image 1 of 2 Xiaomi Redmi Note 3 Motherboard Replacement: step 16, image 2 of 2
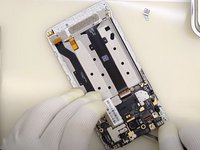
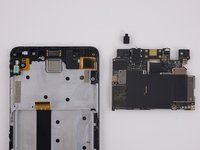
    • Use your fingers to remove the motherboard.

    Ask FixBot

    Add Comment

Conclusion

To reassemble your device, follow these instructions in reverse order.

Cancel: I did not complete this guide.

One other person completed this guide.

Arielle Sampson

Member since: 07/05/20

17,095 Reputation

1 Guide authored

1 Guide Comment

mother board not starting and not working

Rinku Prajapati - Reply Share

Add Comment

View Statistics:

Past 24 Hours: 3

Past 7 Days: 19

Past 30 Days: 60

All Time: 1,681