Introduction
If your Xiaomi Redmi Note 13 Pro Plus 5G (Models 23090RA98C, 23090RA98G, 23090RA98I) randomly turns off or shuts down, and has issues with receiving or transmitting data, a damaged motherboard might be the cause. The motherboard is the main circuit board that allows communication between key components of your phone.
This guide will walk you through the removal or replacement of the motherboard of your Xiaomi Redmi Note 13 Pro Plus 5G. You will need to use an iOpener to remove the phone's back panel by melting the adhesive that keeps it shut.
Disconnect the device from all external power sources before disassembling.
What you need
-
-
Heat the iOpener up, then place it on every edge of the phone so the glue underneath the back panel melts.
-
-
-
Place the suction handle on the back panel of the phone.
-
While lifting the suction handle, insert the opening tool in the space created by the pulling. Try to widen the space between the back panel and the rest of the phone.
-
When that space is wide enough, insert at least two opening picks.
-
-
-
Drag the opening picks along the borders of the back panel to lift it up.
-
The back panel should pop out. Remove it.
-
-
-
-
Remove the seven 5.2 mm black motherboard cover screws using a JIS #000 screwdriver.
-
Remove the three 4.4 mm grey motherboard-cover screws using a JIS #000 screwdriver.
-
Using the picks, remove the motherboard cover. The black strip covering the battery should be attached to the motherboard cover and removed at the same time.
-
Lift up the two ribbons holding the battery.
-
-
-
Remove the eight 5.3 mm black ringer-cover screws using a JIS #000 screwdriver.
-
Remove the 4.5 mm grey ringer-screw using a JIS #000 screwdriver.
-
Using the opening tool, carefully remove the ringer-cover and the blue wire attached to it.
-
Disconnect the blue wire by unclipping the metal head of the wire.
-
-
-
Lift up the two press connectors above the battery using an opening tool.
-
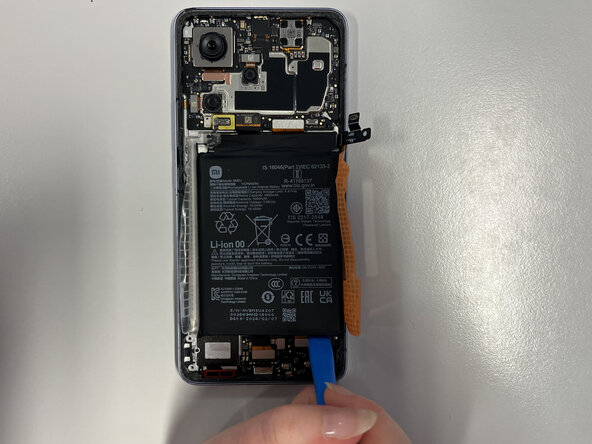
Peel off the stickers on either side of the battery.
-
Pull on the "A" orange sticker to prop up the battery.
-
-
-
Disconnect the black wire by unclipping the metal head of the wire.
-
-
-
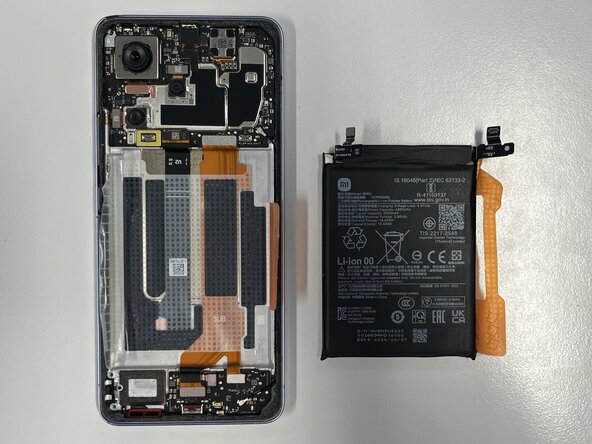
Using the picks, lift up the motherboard from the bottom-right corner.
-
Remove the motherboard.
-



 Ask FixBot






To reassemble your device, follow these instructions in reverse order.

Team

Université Paris Cité, Team 5-5, Grohan Winter 2026 Member of Université Paris Cité, Team 5-5, Grohan Winter 2026
UPARIS-GROHAN-W26S5G5
4 Members
5 Guides authored
