Free Shipping on Domestic Orders $75+

Xiaomi Mi 9 Loudspeaker Unit Replacement

What you need

  1. Xiaomi Mi 9 Loudspeaker Unit Replacement, Rear Glass: step 1, image 1 of 1
    • Before you begin, switch off your phone.

    • Apply a heated iOpener to the rear glass to loosen the adhesive beneath the edges. Apply the iOpener for at least two minutes.

    Ask FixBot
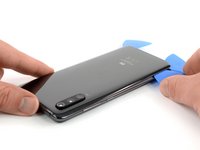
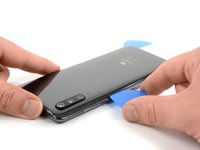
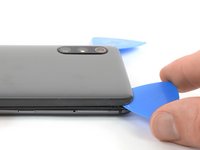
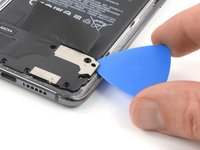
  2. Xiaomi Mi 9 Loudspeaker Unit Replacement: step 2, image 1 of 3 Xiaomi Mi 9 Loudspeaker Unit Replacement: step 2, image 2 of 3 Xiaomi Mi 9 Loudspeaker Unit Replacement: step 2, image 3 of 3
    • Secure a suction handle to the lower edge of the rear glass, as close to the edge as possible.

    • If the phone's rear glass is cracked, the suction handle may not stick. Try lifting it with strong tape, or superglue the suction handle in place and allow it to cure so you can proceed.

    • Lift the rear glass with the suction handle to create a gap between the glass and the frame.

    • Insert an opening pick into the gap.

    • If you have trouble, apply more heat to further soften the adhesive. Follow the iOpener instructions to avoid overheating.

    • Slide the opening pick to the bottom right corner of the phone.

    Ask FixBot
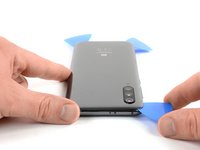
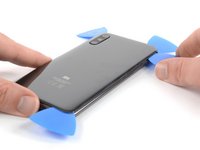
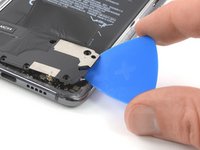
  3. Xiaomi Mi 9 Loudspeaker Unit Replacement: step 3, image 1 of 2 Xiaomi Mi 9 Loudspeaker Unit Replacement: step 3, image 2 of 2
    • Insert a second opening pick and slide it to the bottom left corner to cut the adhesive.

    • Leave the opening picks in place to prevent the adhesive from resealing.

    Ask FixBot
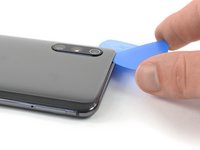
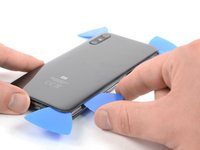
  4. Xiaomi Mi 9 Loudspeaker Unit Replacement: step 4, image 1 of 3 Xiaomi Mi 9 Loudspeaker Unit Replacement: step 4, image 2 of 3 Xiaomi Mi 9 Loudspeaker Unit Replacement: step 4, image 3 of 3
    • Insert a third opening pick at the bottom left corner.

    • Start to slide the opening pick from the bottom left corner along the side of the Xiaomi Mi 9 to cut the adhesive.

    • Be aware of the rear cameras and only insert the tip of the opening pick. As the adhesive cools down it gets harder to cut. If necessary use your iOpener to reheat it.

    • Leave the opening pick in the top left corner to prevent the adhesive from resealing.

    Ask FixBot
  5. Xiaomi Mi 9 Loudspeaker Unit Replacement: step 5, image 1 of 2 Xiaomi Mi 9 Loudspeaker Unit Replacement: step 5, image 2 of 2
    • Insert a fourth opening pick under the top left corner of the rear glass.

    • Slide the opening pick along the top to cut the adhesive.

    • Leave the opening pick in the top right corner to prevent the adhesive from resealing.

    Ask FixBot
  6. Xiaomi Mi 9 Loudspeaker Unit Replacement: step 6, image 1 of 2 Xiaomi Mi 9 Loudspeaker Unit Replacement: step 6, image 2 of 2
    • Insert a fifth opening pick at the top right corner of the phone.

    • Slide the opening pick along the right edge to cut the remaining adhesive.

    Ask FixBot
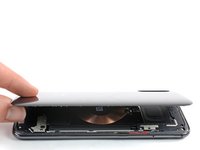
  7. Xiaomi Mi 9 Loudspeaker Unit Replacement: step 7, image 1 of 2 Xiaomi Mi 9 Loudspeaker Unit Replacement: step 7, image 2 of 2
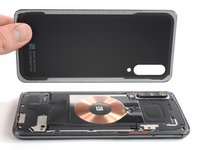
    • Carefully lift the rear glass and remove it.

    • Before installing new adhesive and reassembly, remove any remaining adhesive from the phone, and clean the glued areas with isopropyl alcohol and a lint-free cloth.

    Ask FixBot
  8. Xiaomi Mi 9 Loudspeaker Unit Replacement, Motherboard Cover with Charging Coil: step 8, image 1 of 1
    • Remove the ten Phillips #00 screws (3 mm length) that secure the motherboard cover.

    • There might be tamper proof sticker on some of the screws.

    Ask FixBot
  9. Xiaomi Mi 9 Loudspeaker Unit Replacement: step 9, image 1 of 2 Xiaomi Mi 9 Loudspeaker Unit Replacement: step 9, image 2 of 2
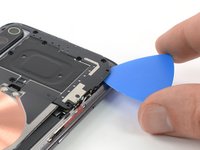
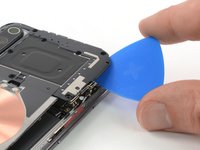
    • Insert an opening pick at the top right corner of the motherboard cover.

    • Twist the opening pick sideways to pry up and slightly lift the motherboard cover.

    Ask FixBot
  10. Xiaomi Mi 9 Loudspeaker Unit Replacement: step 10, image 1 of 2 Xiaomi Mi 9 Loudspeaker Unit Replacement: step 10, image 2 of 2
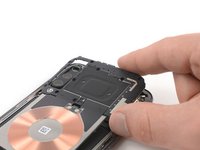
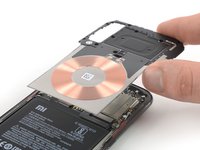
    • Carefully remove the motherboard cover including the charging coil / NFC antenna.

    Ask FixBot
  11. Xiaomi Mi 9 Loudspeaker Unit Replacement, Battery Disconnect: step 11, image 1 of 2 Xiaomi Mi 9 Loudspeaker Unit Replacement, Battery Disconnect: step 11, image 2 of 2
    • Use a spudger to pry up and disconnect the battery flex cable.

    Ask FixBot
  12. Xiaomi Mi 9 Loudspeaker Unit Replacement, Loudspeaker Unit: step 12, image 1 of 1
    • Remove the seven Phillips #00 screws securing the loudspeaker unit:

    • Four silver 3.2 mm long screws

    • Two yellowish 3.8 mm long screws

    • One black 2.8 mm long screw

    • Some screws may be hidden beneath tamper proof stickers.

    Ask FixBot
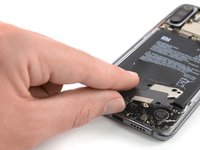
  13. Xiaomi Mi 9 Loudspeaker Unit Replacement: step 13, image 1 of 2 Xiaomi Mi 9 Loudspeaker Unit Replacement: step 13, image 2 of 2
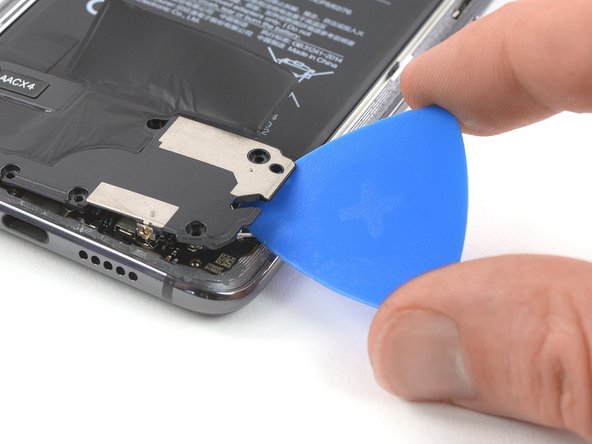
    • Slide an opening pick under the right side of the loudspeaker unit.

    • Twist the opening pick sideways to pry up the loudspeaker unit until you can get a good grip.

    • There is still an antenna cable connected to the back of the unit.

    Ask FixBot
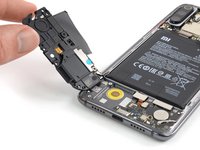
  14. Xiaomi Mi 9 Loudspeaker Unit Replacement: step 14, image 1 of 2 Xiaomi Mi 9 Loudspeaker Unit Replacement: step 14, image 2 of 2
    • There is still an antenna cable connected to the back of the unit.

    • Carefully lift the loudspeaker unit and hinge it open towards the left side.

    Ask FixBot
  15. Xiaomi Mi 9 Loudspeaker Unit Replacement: step 15, image 1 of 2 Xiaomi Mi 9 Loudspeaker Unit Replacement: step 15, image 2 of 2
    Tool used on this step:
    Tweezers
    $4.99
    Buy
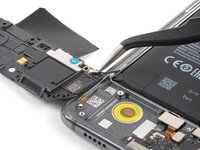
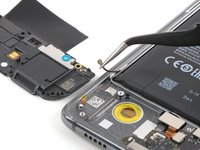
    • Use a pair of tweezers to pry off and disconnect the antenna cable from the loudspeaker unit.

    • Remove the loudspeaker unit.

    • Before reassembly check your old loudspeaker for components that might need to be transferred to the replacement part such as the antenna flex cable with its coax connector.

    Ask FixBot
Conclusion

If possible, turn on your phone and test your repair before installing new adhesive and resealing the phone.

To reassemble your device, follow these instructions in reverse order.

Take your e-waste to an R2 or e-Stewards certified recycler.

Repair didn’t go as planned? Check out our Answers community for troubleshooting help.

5 other people completed this guide.

Dominik Schnabelrauch

Member since: 11/23/16

258,327 Reputation

682 Guides authored

Team

iFixit Member of iFixit

Staff

123 Members

25,713 Guides authored

0 Guide Comments

Add Comment

View Statistics:

Past 24 Hours: 0

Past 7 Days: 12

Past 30 Days: 104

All Time: 6,689