Introduction
For problems pertaining to poor camera quality, read this guide. This guide is for replacing the back-facing Camera on the Xgody D300. By the end, your phone should be operating as normal.
What you need
-
-
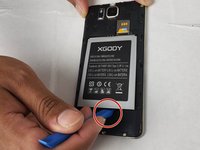
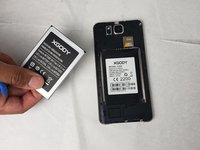
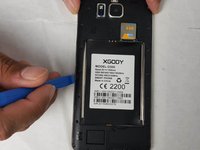
Insert the pry tool into the seam and pry the back cover of the case along the seam until the cover is free of the case.
-
-
-
-
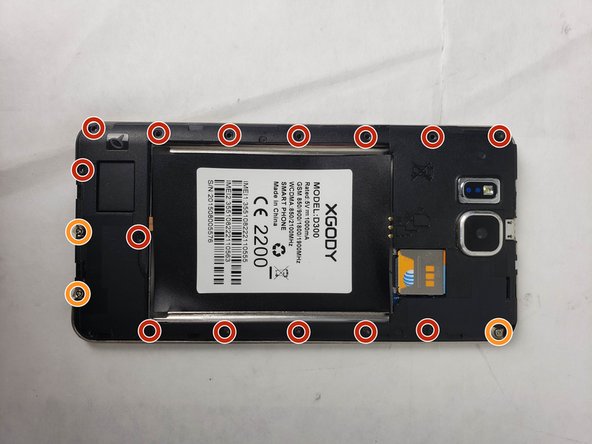
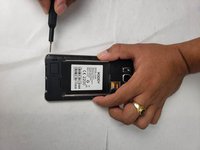
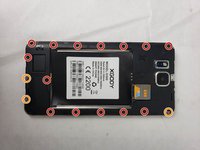
Using the Phillips #00 screwdriver, remove the screws that hold the protective backing to the smartphone.
-
Three of the screws will not come loose from the protective backing and can be identified by a metal plate that is underneath them.
-
-
Tool used on this step:Tweezers$4.99
-
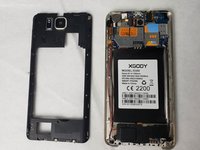
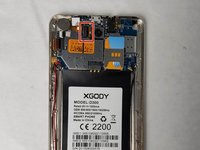
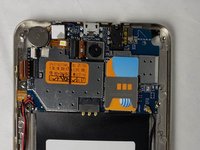
Lift the housing along the edges using the opening tool and tweezers.
-
-
-
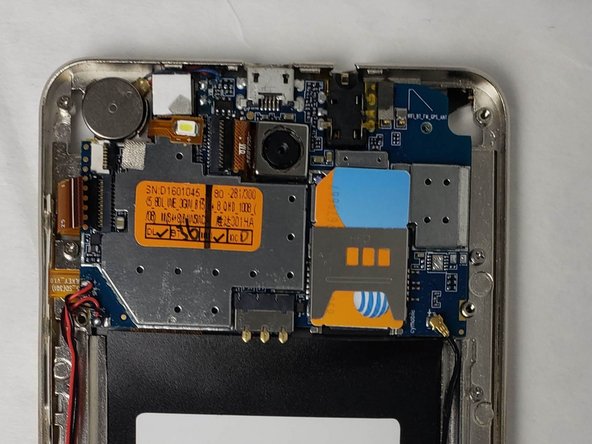
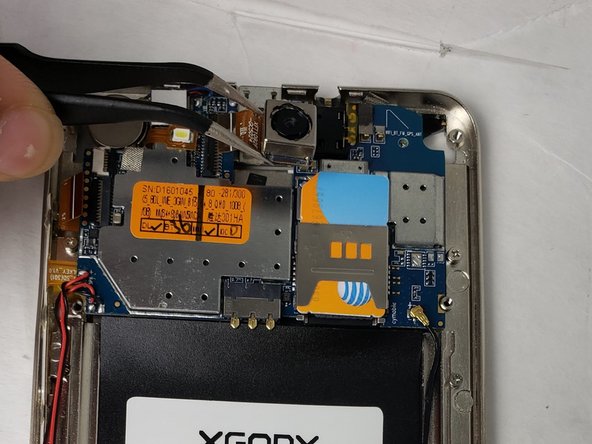
Disconnect the camera by grabbing the connector with tweezers and firmly pulling until it pops out.
-


To reassemble your device, follow these instructions in reverse order.
Cancel: I did not complete this guide.
One other person completed this guide.
Team

Embry-Riddle Aeronautical University, Team S24-G5, McClure Fall 2019 Member of Embry-Riddle Aeronautical University, Team S24-G5, McClure Fall 2019
ERAU-MCCLURE-F19S24G5
4 Members
10 Guides authored