Introduction
If the rear camera on your Xelio P1001A-BK tablet isn't working properly, such as displaying no image, showing static, or failing to connect, this guide will help you safely remove and replace it.
This repair is usually necessary when the camera is physically damaged, disconnected internally, or has stopped functioning due to normal wear. Replacing the camera often resolves issues like blank screens, distorted images, or no camera output at all.
No specialized skills are required of the user for this repair. However, the camera and surrounding components are small, delicate, and plastic, making them vulnerable to damage. Handle each piece carefully, move slowly, and apply gentle pressure to avoid breaking parts during the repair process.
What you need
-
-
Remove the two 3 mm retaining screws from the side of the tablet with a Phillips #0 screwdriver.
 Ask FixBot
-
-
-
Insert the plastic opening tool in between the shelf halves and lift the top shelf half to detach the securing tabs.
-
Before fully separating the shell halves, observe if the speakers are separated from the shell half. If they are still in their sockets, gently pry them loose with the plastic opening tool.
-
-
-
-
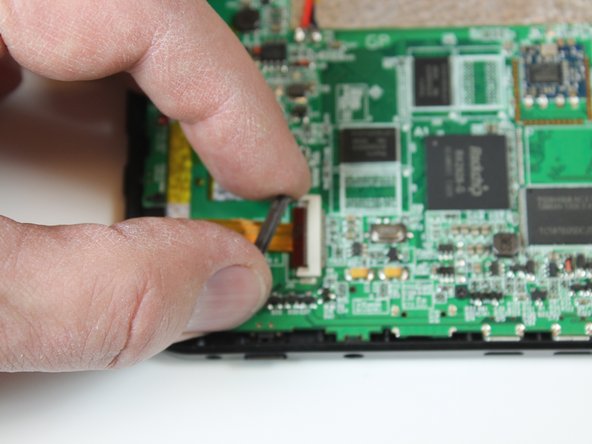
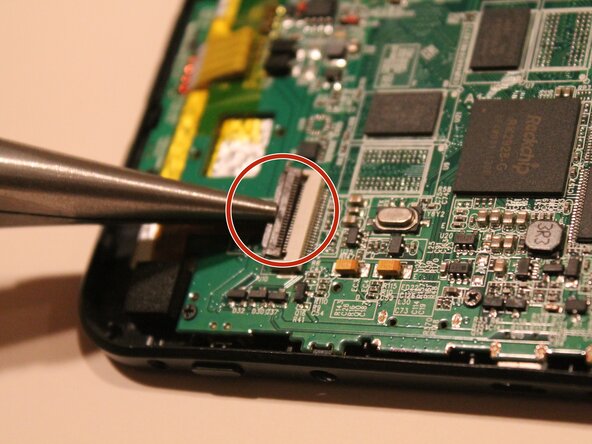
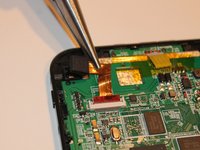
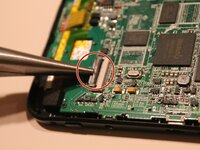
Use a plastic opening tool to gently lift the small locking flap on the ZIF (Zero Insertion Force) connector.
-
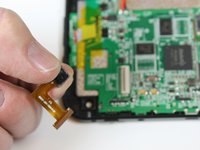
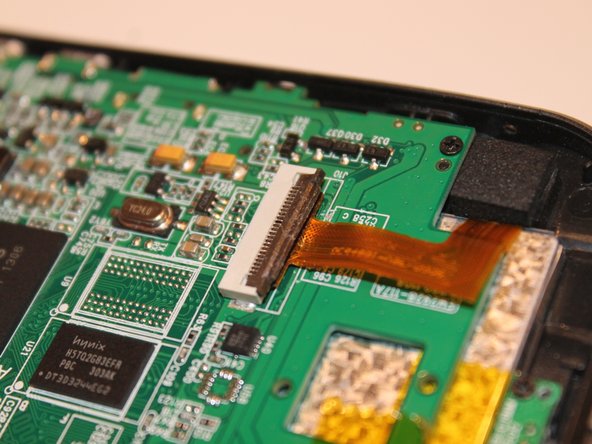
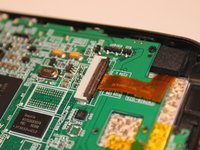
Once the flap is unlocked, gently pull the ribbon cable straight out of the connector.
-
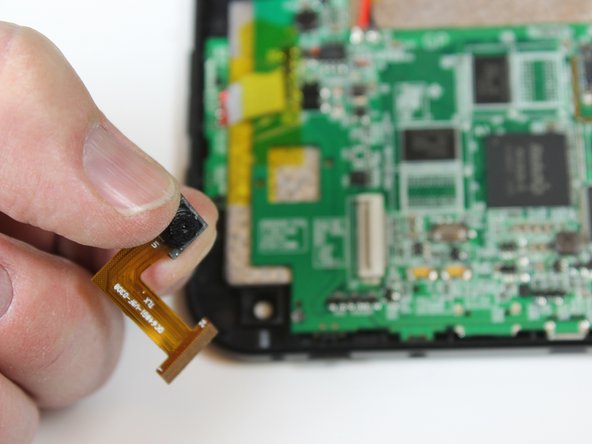
Carefully lift the camera out of the tablet.
-
-
Tool used on this step:Microfiber Cleaning Cloths$3.99
-
With a microfiber lens cleaning cloth, clean the camera lens.
-
-
-
Slide the ribbon cable straight into the ZIF connector.
-
Press the locking flap down to secure the cable in place.
-
Place the camera into its socket.
-




To reassemble your device, follow these instructions in reverse order. Take your e-waste to an R2 or e-Stewards certified recycler.

Team

Colorado Springs, Team 4-2, Panko Spring 2015 Member of Colorado Springs, Team 4-2, Panko Spring 2015
UCCS-PANKO-S15S4G2
3 Members
12 Guides authored
