Free Shipping on Domestic Orders $75+

Xbox Series X (Digital Edition) Fan Replacement

What you need

    1. Xbox Series X (Digital Edition) Fan Replacement, Uncover the back panel screws: step 1, image 1 of 2 Xbox Series X (Digital Edition) Fan Replacement, Uncover the back panel screws: step 1, image 2 of 2
      • Before you begin, completely power down and unplug all cables from your console.

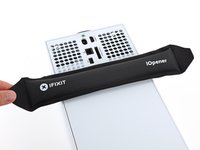
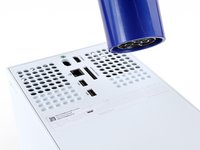
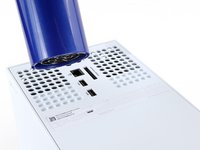
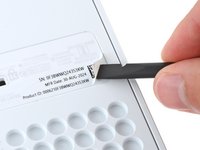
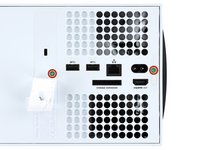
      • Two stickers cover the back panel screws. You can remove the stickers without heating them, though it makes them much easier to remove cleanly.

      • Heat an iOpener and lay it on the smaller sticker near the bottom of the back panel for two minutes.

      • Alternatively, you can use a hair dryer to heat the sticker.

      Ask FixBot

      Add Comment

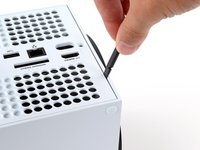
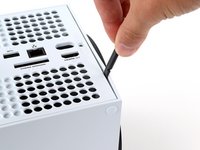
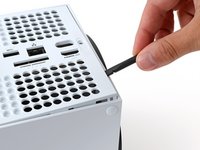
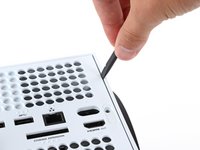
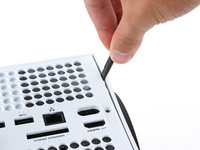
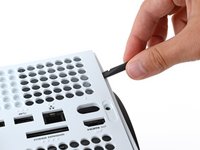
    2. Xbox Series X (Digital Edition) Fan Replacement: step 2, image 1 of 3 Xbox Series X (Digital Edition) Fan Replacement: step 2, image 2 of 3 Xbox Series X (Digital Edition) Fan Replacement: step 2, image 3 of 3
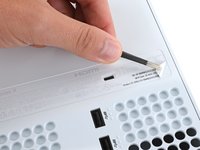
      • Use a pair of angled tweezers to remove the sticker hiding the first screw on the back panel, near the base.

      Ask FixBot

      Add Comment

    3. Xbox Series X (Digital Edition) Fan Replacement: step 3, image 1 of 3 Xbox Series X (Digital Edition) Fan Replacement: step 3, image 2 of 3 Xbox Series X (Digital Edition) Fan Replacement: step 3, image 3 of 3
      • Use an iOpener or hair dryer to heat the larger sticker near the center of the back panel.

      Ask FixBot

      Add Comment

    4. Xbox Series X (Digital Edition) Fan Replacement: step 4, image 1 of 3 Xbox Series X (Digital Edition) Fan Replacement: step 4, image 2 of 3 Xbox Series X (Digital Edition) Fan Replacement: step 4, image 3 of 3
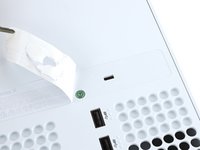
      • Use the flat end of a spudger to scrape up a corner of the larger sticker until you can grip it with a pair of blunt tweezers.

      • Use blunt tweezers to peel back the sticker to reveal the second screw.

      • You only need to peel this sticker to where you can access the hidden screw. You don't need to pull it completely off.

      • Technically, these are tamper-evident stickers, but don't worry—Microsoft can't legally void your warranty, as long as you don't damage anything. Have fun!

      Ask FixBot

      Add Comment

    5. Xbox Series X (Digital Edition) Fan Replacement, Remove the back panel screws: step 5, image 1 of 2 Xbox Series X (Digital Edition) Fan Replacement, Remove the back panel screws: step 5, image 2 of 2
      Tool used on this step:
      Magnetic Project Mat
      $19.95
      Buy
      • Throughout this repair, keep track of each screw and make sure it goes back exactly where it came from to avoid damaging your console.

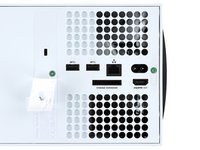
      • Use a T8 Torx driver to remove the two 7.4 mm‑long screws securing the back panel.

      Ask FixBot

      Add Comment

    6. Xbox Series X (Digital Edition) Fan Replacement, Unclip the back panel: step 6, image 1 of 3 Xbox Series X (Digital Edition) Fan Replacement, Unclip the back panel: step 6, image 2 of 3 Xbox Series X (Digital Edition) Fan Replacement, Unclip the back panel: step 6, image 3 of 3
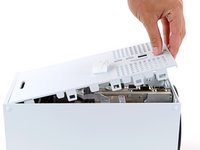
      • Insert the flat end of a spudger into the gap between the back panel and the shell, near the left side of the base.

      • Pry up the back panel to release it from the locking clips.

      Ask FixBot

      Add Comment

    7. Xbox Series X (Digital Edition) Fan Replacement: step 7, image 1 of 3 Xbox Series X (Digital Edition) Fan Replacement: step 7, image 2 of 3 Xbox Series X (Digital Edition) Fan Replacement: step 7, image 3 of 3
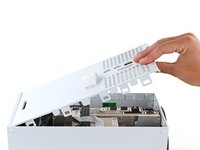
      • Insert the flat end of a spudger into the gap between the back panel and the shell, near the right side of the base.

      • Pry up the back panel to release it from the locking clips.

      Ask FixBot

      Add Comment

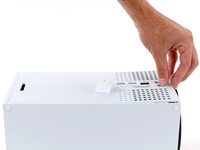
    8. Xbox Series X (Digital Edition) Fan Replacement, Remove the back panel: step 8, image 1 of 3 Xbox Series X (Digital Edition) Fan Replacement, Remove the back panel: step 8, image 2 of 3 Xbox Series X (Digital Edition) Fan Replacement, Remove the back panel: step 8, image 3 of 3
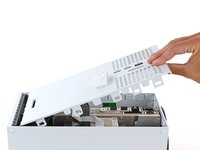
      • Grip the back panel at the opening you just created and pull it up and away from the shell to unclip the long edges.

      • During reassembly, press along the edges of the back panel to snap it into place.

      Ask FixBot

      Add Comment

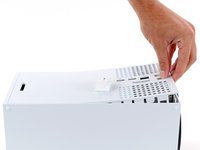
    9. Xbox Series X (Digital Edition) Fan Replacement: step 9, image 1 of 3 Xbox Series X (Digital Edition) Fan Replacement: step 9, image 2 of 3 Xbox Series X (Digital Edition) Fan Replacement: step 9, image 3 of 3
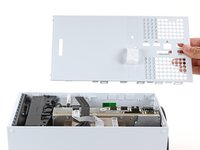
      • The back panel slots into a gap at the top of the shell.

      • Tilt the back panel up and pull it away from the top edge of the shell to release it from the gap.

      • Remove the back panel.

      Ask FixBot

      Add Comment

    1. Xbox Series X (Digital Edition) Fan Replacement, Remove the fan screws: step 10, image 1 of 2 Xbox Series X (Digital Edition) Fan Replacement, Remove the fan screws: step 10, image 2 of 2
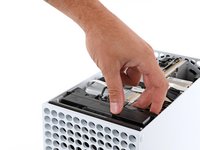
      • Use a T8 Torx driver to remove the three screws securing the fan to the center chassis:

      • One 10.3 mm‑long pancake screw

      • Two 9 mm‑long screws

      Ask FixBot

      Add Comment

    2. Xbox Series X (Digital Edition) Fan Replacement, Disconnect the fan cable: step 11, image 1 of 3 Xbox Series X (Digital Edition) Fan Replacement, Disconnect the fan cable: step 11, image 2 of 3 Xbox Series X (Digital Edition) Fan Replacement, Disconnect the fan cable: step 11, image 3 of 3
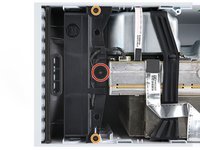
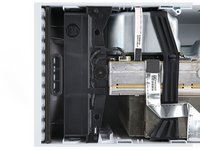
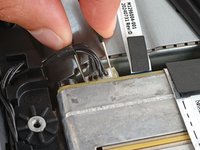
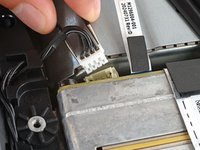
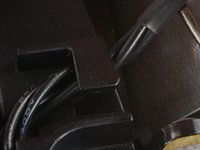
      • Use your fingernails or a pair of angled tweezers to firmly grip the edges of the fan cable connector.

      • Grip your tweezers close the connector to get a better grip.

      • Pull the connector straight out of the socket to disconnect it.

      • If you're having trouble, gently rock the connector side to side to loosen it.

      • Always pull cables by their connectors and not the wires themselves.

      • During reassembly, route the fan cable underneath its small cable guide on the fan housing so it doesn't interfere with the back panel.

      Ask FixBot

      Add Comment

    3. Xbox Series X (Digital Edition) Fan Replacement, Remove the fan: step 12, image 1 of 3 Xbox Series X (Digital Edition) Fan Replacement, Remove the fan: step 12, image 2 of 3 Xbox Series X (Digital Edition) Fan Replacement, Remove the fan: step 12, image 3 of 3
      Tool used on this step:
      Dust Blower
      $19.99
      Buy
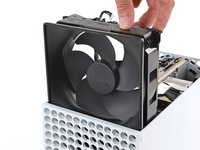
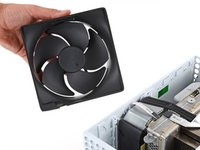
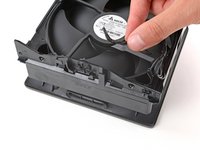
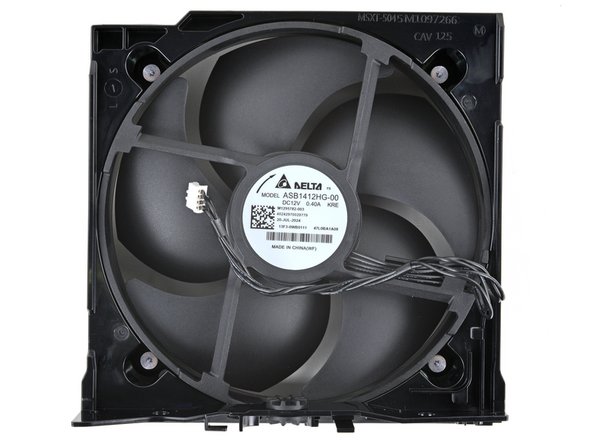
      • Slide the fan out of its slot to remove it.

      • During reassembly:

      • Before installing the fan, make sure it's clean! Use a dust blower or compressed air to blow off any dust or debris, and wipe the fan clean with a clean cloth.

      • Use a finger to keep the fan blades steady—it makes them easier to clean.

      • Note that the fan can only be installed one way—make sure Master Chief is facing you.

      Ask FixBot

      Add Comment

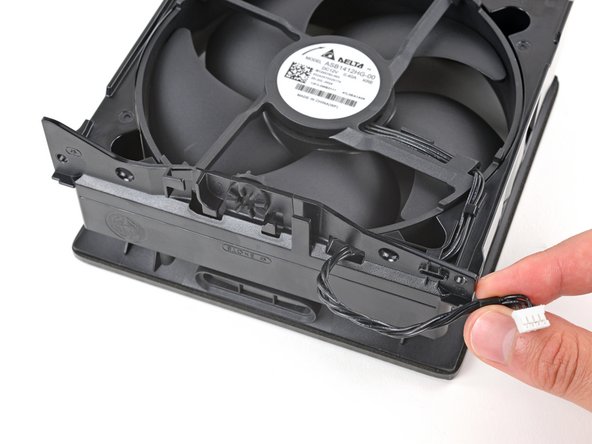
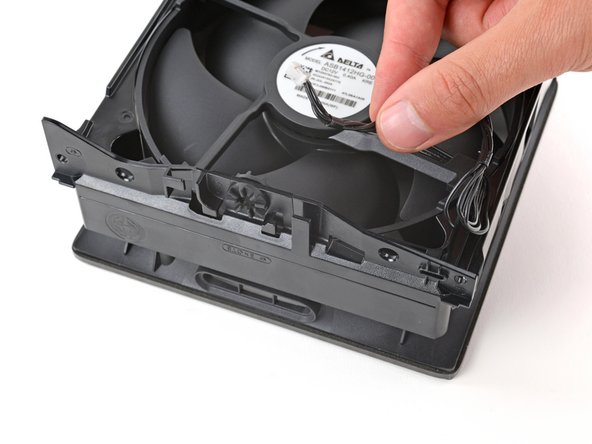
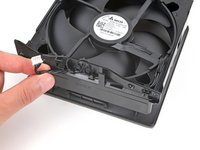
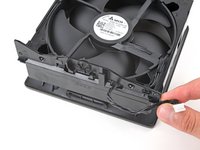
    1. Xbox Series X (Digital Edition) Fan Replacement, De‑route the fan cable: step 13, image 1 of 3 Xbox Series X (Digital Edition) Fan Replacement, De‑route the fan cable: step 13, image 2 of 3 Xbox Series X (Digital Edition) Fan Replacement, De‑route the fan cable: step 13, image 3 of 3
      • Check if your replacement fan includes a plastic bracket. If it doesn't, follow the next three steps to remove and transfer it.

      • Use your fingers to completely de‑route the fan cable from its grooves on the bracket and pull the connector through its rectangular cutout.

      Ask FixBot

      Add Comment

    2. Xbox Series X (Digital Edition) Fan Replacement, Remove the fan bracket screws: step 14, image 1 of 2 Xbox Series X (Digital Edition) Fan Replacement, Remove the fan bracket screws: step 14, image 2 of 2
      • Use a T8 Torx driver to remove the four 9 mm‑long screws securing the bracket to the fan.

      Ask FixBot

      Add Comment

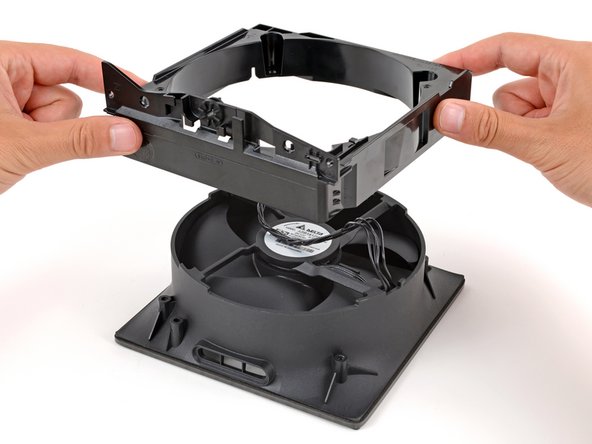
    3. Xbox Series X (Digital Edition) Fan Replacement, Remove the fan bracket: step 15, image 1 of 2 Xbox Series X (Digital Edition) Fan Replacement, Remove the fan bracket: step 15, image 2 of 2
      • Lift the bracket off the fan to remove it.

      Ask FixBot

      Add Comment

Conclusion

To reassemble your device, follow these instructions in reverse order.

Take your e-waste to an R2 or e-Stewards certified recycler.

Repair didn’t go as planned? Try some basic troubleshooting, or ask our Answers community for help.


Cancel: I did not complete this guide.

Spencer Day

Member since: 09/14/22

201,142 Reputation

1,243 Guides authored

Team

iFixit Member of iFixit

Staff

123 Members

85,826 Guides authored

0 Guide Comments

Add Comment

View Statistics:

Past 24 Hours: 8

Past 7 Days: 41

Past 30 Days: 168

All Time: 2,500