Free Shipping on Domestic Orders $75+

Xbox One X Project Scorpio Edition Motherboard Replacement

What you need

    1. Xbox One X Project Scorpio Edition Motherboard Replacement, Outer Case: step 1, image 1 of 2 Xbox One X Project Scorpio Edition Motherboard Replacement, Outer Case: step 1, image 2 of 2
      • Use a T9 Torx screwdriver to remove the 13mm screw which is under and to the left of the power input.

      Ask FixBot

      Add Comment

    2. Xbox One X Project Scorpio Edition Motherboard Replacement: step 2, image 1 of 3 Xbox One X Project Scorpio Edition Motherboard Replacement: step 2, image 2 of 3 Xbox One X Project Scorpio Edition Motherboard Replacement: step 2, image 3 of 3
      Tool used on this step:
      Tweezers
      $4.99
      Buy
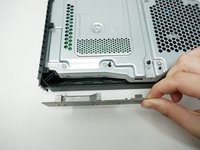
      • Using precision tweezers, remove the screw tab located on opposite side of the box.

      • Use a T9 Torx screwdriver to remove the 13mm screw revealed underneath the tab.

      Ask FixBot

      Add Comment

    3. Xbox One X Project Scorpio Edition Motherboard Replacement: step 3, image 1 of 3 Xbox One X Project Scorpio Edition Motherboard Replacement: step 3, image 2 of 3 Xbox One X Project Scorpio Edition Motherboard Replacement: step 3, image 3 of 3
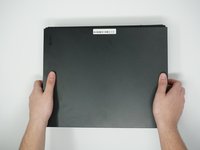
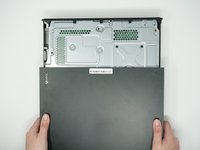
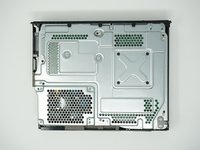
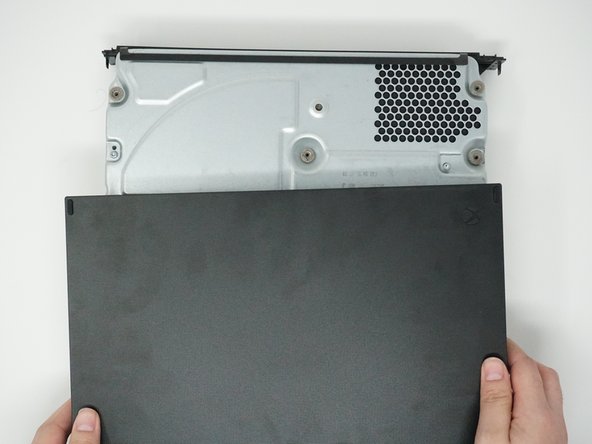
      • Orient the case so that the front of the Xbox (the side with the power button) is facing you.

      • Remove the top of the case by sliding the case towards you.

      Ask FixBot

      Add Comment

    4. Xbox One X Project Scorpio Edition Motherboard Replacement: step 4, image 1 of 3 Xbox One X Project Scorpio Edition Motherboard Replacement: step 4, image 2 of 3 Xbox One X Project Scorpio Edition Motherboard Replacement: step 4, image 3 of 3
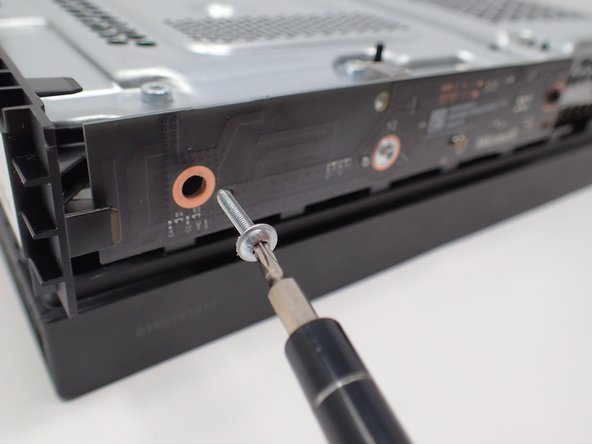
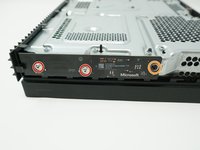
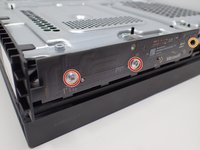
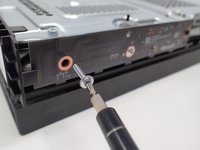
      • Using a T8 Torx screwdriver, remove the two 15mm silver screws that are holding a circuit board/panel to the side of the interior metal casing.

      • Using the same screwdriver, remove the 9mm black screw located farther to the right on the same circuit board/panel.

      Ask FixBot

      Add Comment

    5. Xbox One X Project Scorpio Edition Motherboard Replacement: step 5, image 1 of 2 Xbox One X Project Scorpio Edition Motherboard Replacement: step 5, image 2 of 2
      • Remove the unscrewed panel from the side of the device by pulling it toward you.

      • Be mindful of the connector, as it is fragile.

      Ask FixBot

      Add Comment

    6. Xbox One X Project Scorpio Edition Motherboard Replacement: step 6, image 1 of 2 Xbox One X Project Scorpio Edition Motherboard Replacement: step 6, image 2 of 2
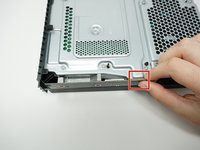
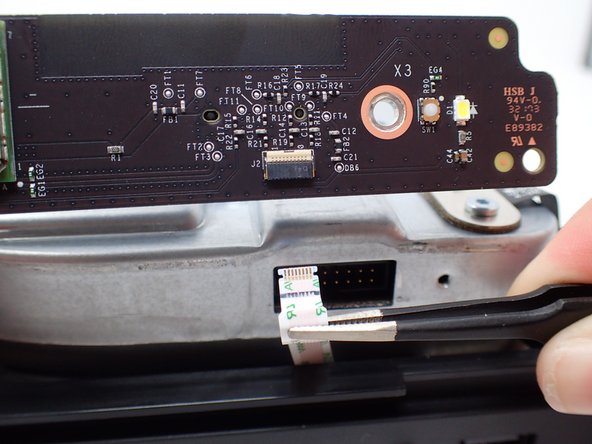
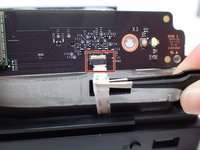
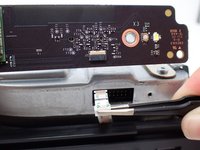
      • Pull the upper edge of the white clip down, and then remove the white connector from the dislocated panel using precision tweezers.

      • Do not force the connector out, as it is fragile. Wiggling may be necessary.

      Ask FixBot

      Add Comment

    7. Xbox One X Project Scorpio Edition Motherboard Replacement: step 7, image 1 of 3 Xbox One X Project Scorpio Edition Motherboard Replacement: step 7, image 2 of 3 Xbox One X Project Scorpio Edition Motherboard Replacement: step 7, image 3 of 3
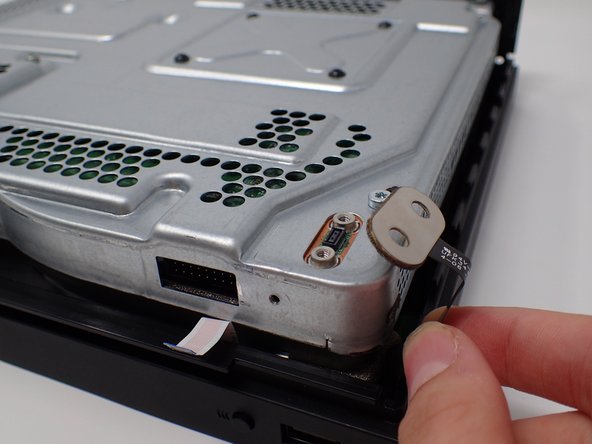
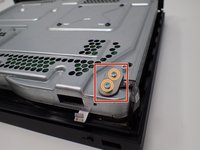
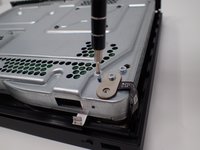
      • On the top of the device in the corner directly above the white connector, there is an oval plate held in place by two screws.

      • Remove both of these 7mm screws with a Torx T9 screwdriver.

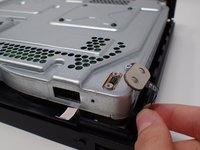
      • Lift the detached plate off to the side.

      • The plate is still connected to the device.

      Ask FixBot

      Add Comment

    8. Xbox One X Project Scorpio Edition Motherboard Replacement: step 8, image 1 of 2 Xbox One X Project Scorpio Edition Motherboard Replacement: step 8, image 2 of 2
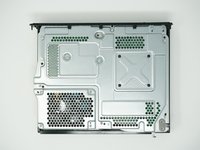
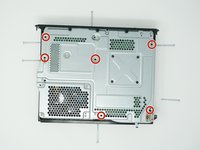
      • Use a Torx T9 screwdriver to remove the six 47mm long screws, which attach the bottom side of the outer case.

      Ask FixBot

      Add Comment

    9. Xbox One X Project Scorpio Edition Motherboard Replacement: step 9, image 1 of 3 Xbox One X Project Scorpio Edition Motherboard Replacement: step 9, image 2 of 3 Xbox One X Project Scorpio Edition Motherboard Replacement: step 9, image 3 of 3
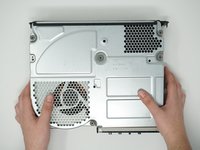
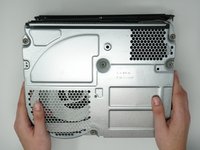
      • Turn the Xbox over, so that the bottom of the case is on top.

      • Lift the bottom of the case off of the Xbox by pulling it up and toward you.

      Ask FixBot

      Add Comment

    1. Xbox One X Project Scorpio Edition Motherboard Replacement, BD-ROM Drive: step 10, image 1 of 1
      • Flip over the device again, so that the top is facing upwards.

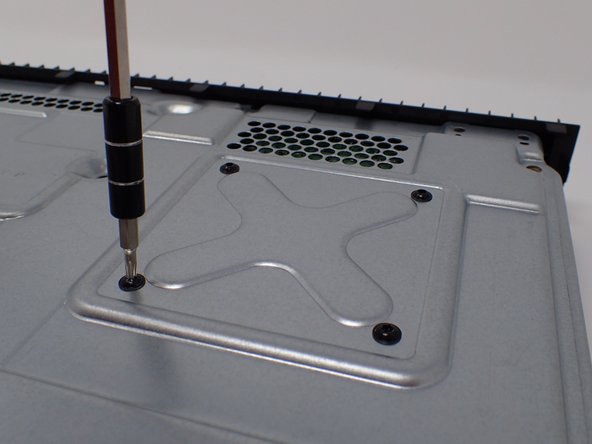
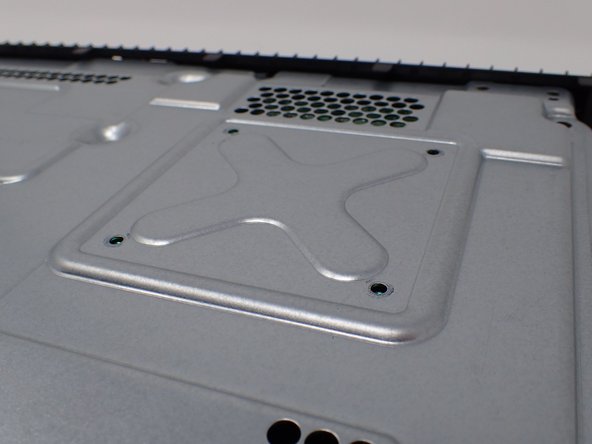
      • Remove the 4 smaller 11mm screws in the lower left corner on the metal casing using a Torx T9 screwdriver.

      Ask FixBot

      Add Comment

    2. Xbox One X Project Scorpio Edition Motherboard Replacement: step 11, image 1 of 2 Xbox One X Project Scorpio Edition Motherboard Replacement: step 11, image 2 of 2
      • Flip over the device again, so that the bottom is facing upwards.

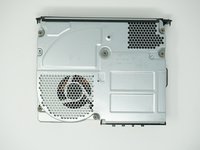
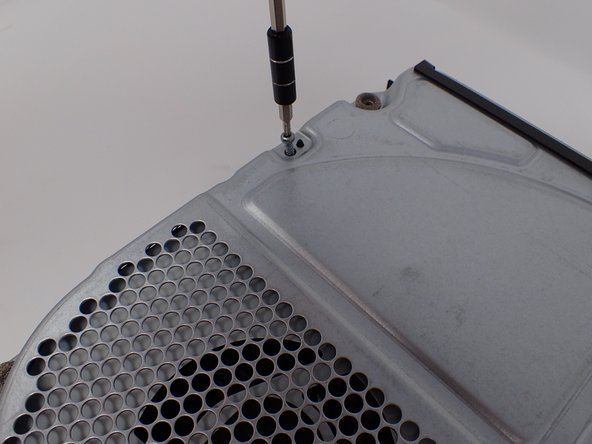
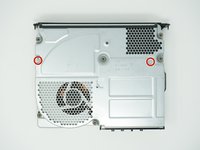
      • Using a Torx T10 screwdriver, remove the two screws located on opposite sides of the metal casing. One is near the fan vent, and the other is near the power supply vent.

      • The left screw is 11mm and the right screw is 7.5 mm.

      Ask FixBot

      Add Comment

    3. Xbox One X Project Scorpio Edition Motherboard Replacement: step 12, image 1 of 3 Xbox One X Project Scorpio Edition Motherboard Replacement: step 12, image 2 of 3 Xbox One X Project Scorpio Edition Motherboard Replacement: step 12, image 3 of 3
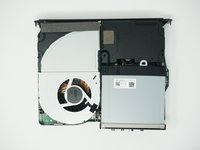
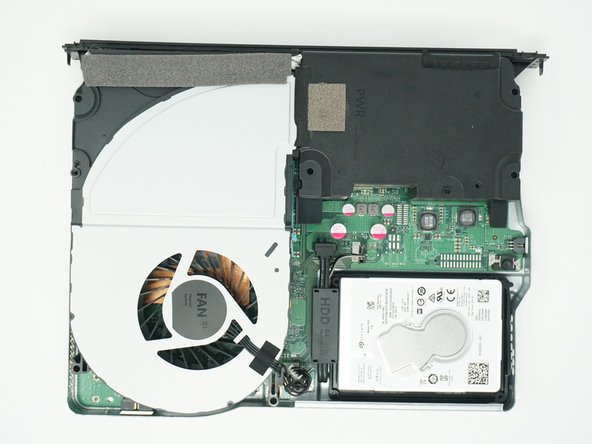
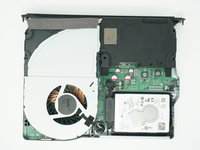
      • Remove the metal casing by pulling it upward, revealing the interior components of the device.

      Ask FixBot

      Add Comment

    4. Xbox One X Project Scorpio Edition Motherboard Replacement: step 13, image 1 of 3 Xbox One X Project Scorpio Edition Motherboard Replacement: step 13, image 2 of 3 Xbox One X Project Scorpio Edition Motherboard Replacement: step 13, image 3 of 3
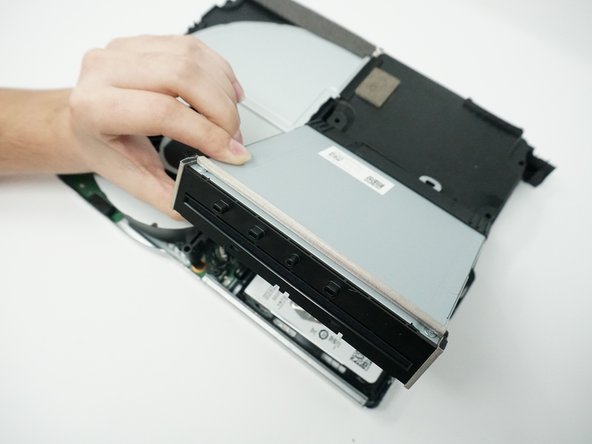
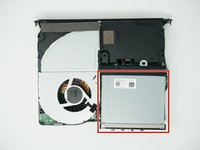
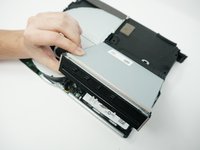
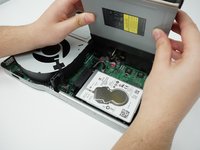
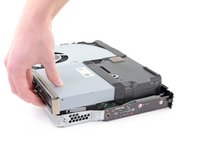
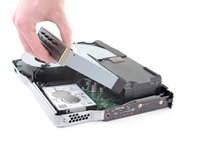
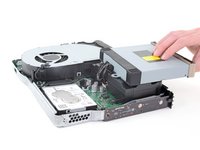
      • Lift and rotate the BD drive to reveal the wires that connect it to the motherboard.

      Ask FixBot

      Add Comment

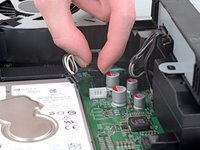
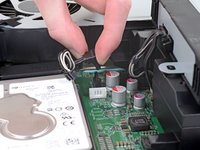
    5. Xbox One X Project Scorpio Edition Motherboard Replacement: step 14, image 1 of 3 Xbox One X Project Scorpio Edition Motherboard Replacement: step 14, image 2 of 3 Xbox One X Project Scorpio Edition Motherboard Replacement: step 14, image 3 of 3
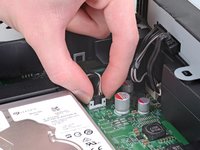
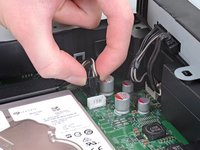
      • Using your fingers, gently unplug the two sets of wires connecting the drive to the motherboard.

      • Alternatively, you can disconnect the wires from the drive-side sockets. This is much easier if you have not removed the power supply.

      • The BD drive should now be completely detached from the rest of the device, and it can be set aside.

      Ask FixBot

      Add Comment

    1. Xbox One X Project Scorpio Edition Motherboard Replacement, Remove the screws holding the hard drive to the case: step 15, image 1 of 1
      • Flip the console over.

      • The disc drive is only attached to the motherboard by two cable connectors. Hold the disc drive when flipping the console over to avoid damaging it.

      • Use a T10 Torx screwdriver to remove the four 11.4 mm screws securing the hard drive to the upper metal case.

      Ask FixBot

      Add Comment

    2. Xbox One X Project Scorpio Edition Motherboard Replacement, Move the disc drive: step 16, image 1 of 3 Xbox One X Project Scorpio Edition Motherboard Replacement, Move the disc drive: step 16, image 2 of 3 Xbox One X Project Scorpio Edition Motherboard Replacement, Move the disc drive: step 16, image 3 of 3
      • Flip the console back over, keeping in mind the disc drive is loose.

      • Lift the disc drive up so that its metal tab is unhooked from the power supply.

      • Flip the disc drive over and place it on the power supply. The disc drive should end up facing the opposite direction it started in.

      • The disc drive is plugged into the motherboard. Avoid pulling and bending the cables more than necessary to prevent damage.

      Ask FixBot

      Add Comment

    3. Xbox One X Project Scorpio Edition Motherboard Replacement, Unplug the bundled cable connector: step 17, image 1 of 2 Xbox One X Project Scorpio Edition Motherboard Replacement, Unplug the bundled cable connector: step 17, image 2 of 2
      • Unplug the bundled cable connector connecting the hard drive to the motherboard by pulling directly upward.

      Ask FixBot

      Add Comment

    4. Xbox One X Project Scorpio Edition Motherboard Replacement, Unplug the SATA cable: step 18, image 1 of 2 Xbox One X Project Scorpio Edition Motherboard Replacement, Unplug the SATA cable: step 18, image 2 of 2
      • Unplug the SATA cable connecting the hard drive to the motherboard by pulling directly upward.

      Ask FixBot

      Add Comment

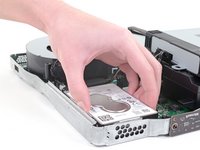
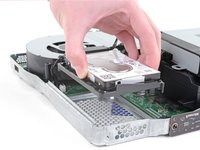
    5. Xbox One X Project Scorpio Edition Motherboard Replacement, Remove the hard drive: step 19, image 1 of 2 Xbox One X Project Scorpio Edition Motherboard Replacement, Remove the hard drive: step 19, image 2 of 2
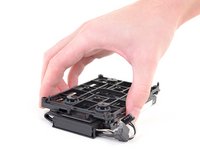
      • Lift the hard drive assembly up out of the upper metal case.

      • When moving the hard drive, hold it by the sides to prevent damage.

      Ask FixBot

      Add Comment

    6. Xbox One X Project Scorpio Edition Motherboard Replacement, Remove the mounting bracket: step 20, image 1 of 1
      • Flip the hard drive over so that the plastic mounting bracket is facing upward.

      • Use a T10 Torx screwdriver to remove the four 8.6 mm screws attaching the hard drive to the mounting bracket.

      Ask FixBot

      Add Comment

    7. Xbox One X Project Scorpio Edition Motherboard Replacement: step 21, image 1 of 2 Xbox One X Project Scorpio Edition Motherboard Replacement: step 21, image 2 of 2
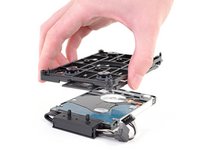
      • Lift the mounting bracket off the hard drive.

      Ask FixBot

      Add Comment

    8. Xbox One X Project Scorpio Edition Motherboard Replacement, Unplug the hard drive connector: step 22, image 1 of 2 Xbox One X Project Scorpio Edition Motherboard Replacement, Unplug the hard drive connector: step 22, image 2 of 2
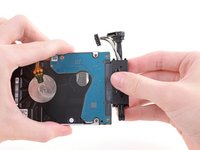
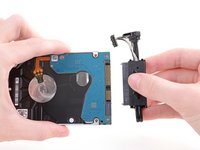
      • Unplug the hard drive connector from the hard drive by pulling parallel to the length of the drive.

      Ask FixBot

      Add Comment

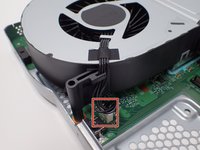
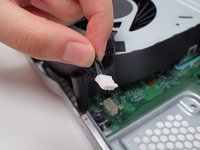
    1. Xbox One X Project Scorpio Edition Motherboard Replacement, Fan: step 23, image 1 of 2 Xbox One X Project Scorpio Edition Motherboard Replacement, Fan: step 23, image 2 of 2
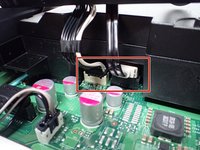
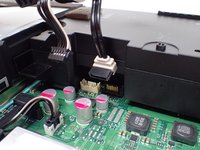
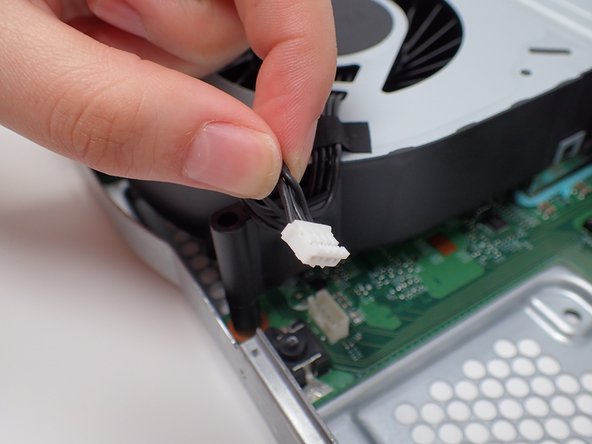
      • Disconnect the plastic wire connector from the motherboard.

      Ask FixBot

      Add Comment

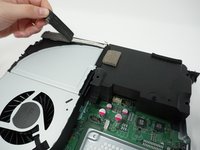
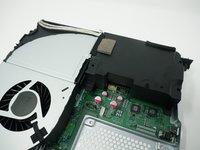
    2. Xbox One X Project Scorpio Edition Motherboard Replacement: step 24, image 1 of 2 Xbox One X Project Scorpio Edition Motherboard Replacement: step 24, image 2 of 2
      • Remove the piece of foam by gently peeling it off the cooling system.

      • After the foam has been removed, its adhesive may not work as well.

      Ask FixBot

      Add Comment

    3. Xbox One X Project Scorpio Edition Motherboard Replacement: step 25, image 1 of 2 Xbox One X Project Scorpio Edition Motherboard Replacement: step 25, image 2 of 2
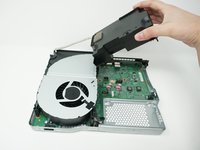
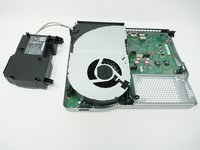
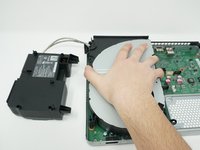
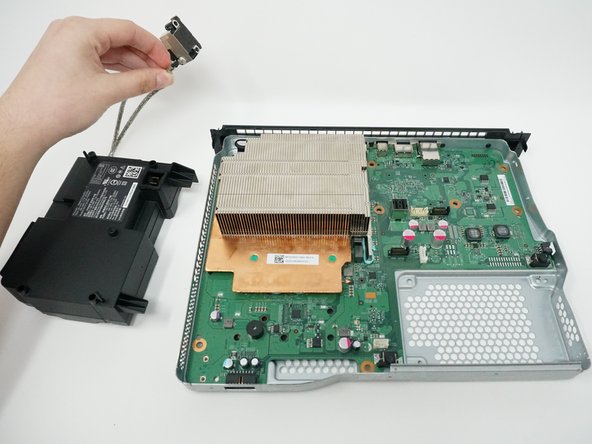
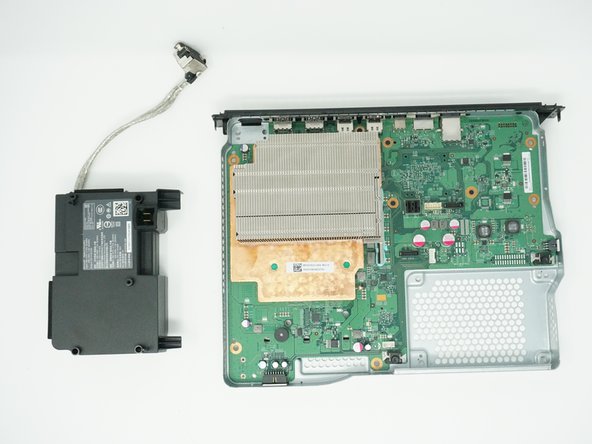
      • Remove the power supply by lifting it off the motherboard, while leaving its cord attached.

      • Set the power supply outside of the case so that the cord is no longer over the cooling system.

      Ask FixBot

      Add Comment

    4. Xbox One X Project Scorpio Edition Motherboard Replacement: step 26, image 1 of 2 Xbox One X Project Scorpio Edition Motherboard Replacement: step 26, image 2 of 2
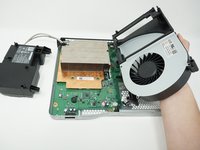
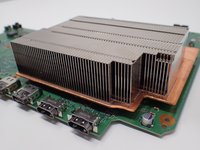
      • Remove the cooling system by lifting it vertically off of the motherboard.

      Ask FixBot

      Add Comment

    1. Xbox One X Project Scorpio Edition Motherboard Replacement, Power Supply: step 27, image 1 of 3 Xbox One X Project Scorpio Edition Motherboard Replacement, Power Supply: step 27, image 2 of 3 Xbox One X Project Scorpio Edition Motherboard Replacement, Power Supply: step 27, image 3 of 3
      • Lift the metal piece connected to the cord out of the case.

      Ask FixBot

      Add Comment

    1. Xbox One X Project Scorpio Edition Motherboard Replacement, Heat Sink: step 28, image 1 of 2 Xbox One X Project Scorpio Edition Motherboard Replacement, Heat Sink: step 28, image 2 of 2
      • Flip the device over, so the bottom of the metal casing is facing up.

      Ask FixBot

      Add Comment

    2. Xbox One X Project Scorpio Edition Motherboard Replacement: step 29, image 1 of 3 Xbox One X Project Scorpio Edition Motherboard Replacement: step 29, image 2 of 3 Xbox One X Project Scorpio Edition Motherboard Replacement: step 29, image 3 of 3
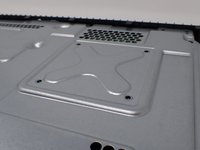
      • Using a T9 Torx screwdriver, remove the four 9mm screws that are holding the heat sink to the outer metal casing.

      Ask FixBot

      Add Comment

    3. Xbox One X Project Scorpio Edition Motherboard Replacement: step 30, image 1 of 3 Xbox One X Project Scorpio Edition Motherboard Replacement: step 30, image 2 of 3 Xbox One X Project Scorpio Edition Motherboard Replacement: step 30, image 3 of 3
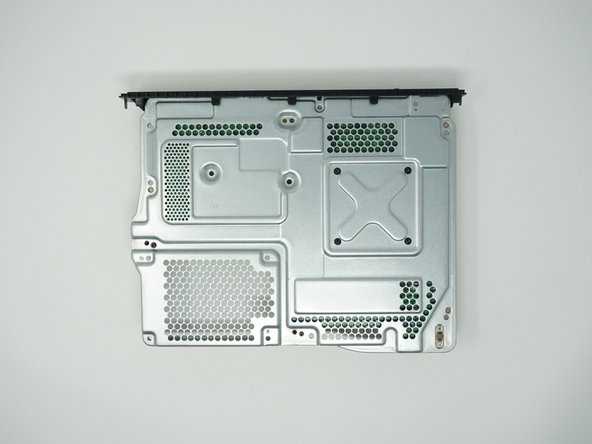
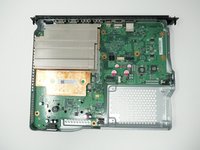
      • Flip over the device again, so that the metal casing is on the bottom.

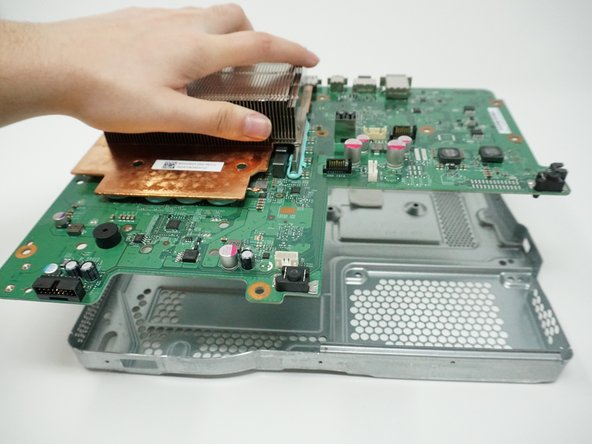
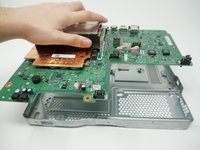
      • Lift the motherboard vertically to remove it from the casing.

      Ask FixBot

      Add Comment

    4. Xbox One X Project Scorpio Edition Motherboard Replacement: step 31, image 1 of 3 Xbox One X Project Scorpio Edition Motherboard Replacement: step 31, image 2 of 3 Xbox One X Project Scorpio Edition Motherboard Replacement: step 31, image 3 of 3
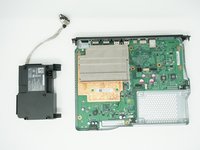
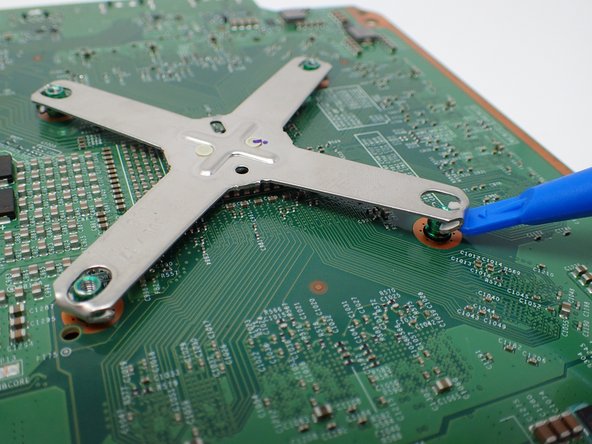
      • Flip the motherboard over.

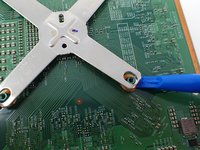
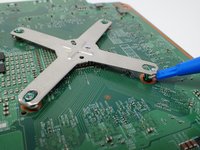
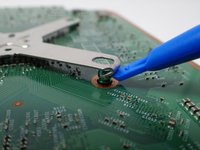
      • Using a plastic opening tool, pry the corners of the x-shaped metal piece so that they each detach from the motherboard.

      • Be sure to pry each metal corner up slowly to avoid damaging the motherboard.

      • It is not recommended to use screwdriver/other metal tools not meant to pry things open. Use an opening tool or spudger.

      Ask FixBot

      Add Comment

    5. Xbox One X Project Scorpio Edition Motherboard Replacement: step 32, image 1 of 2 Xbox One X Project Scorpio Edition Motherboard Replacement: step 32, image 2 of 2
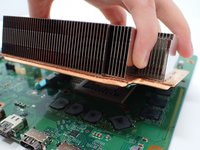
      • Lift the heat sink to detach it from the motherboard.

      Ask FixBot

      Add Comment

Conclusion

To reassemble your device, follow these instructions in reverse order.

Cancel: I did not complete this guide.

14 other people completed this guide.

Ashley Masuda

Member since: 01/24/18

2,994 Reputation

7 Guides authored

Team

Cal Poly, Team S2-G6, Livingston Winter 2018 Member of Cal Poly, Team S2-G6, Livingston Winter 2018

CPSU-LIVINGSTON-W18S2G6

4 Members

82 Guides authored

3 Guide Comments

Hi mate,

Can anyone help me please? Can anyone please send me just one picture closer to this component (Q2)?

I will really appreciate that thanks.

I have circled in red.

https://postimg.cc/nMTpbqwv

Mohammad Basafat - Reply Share

anyone can answer me or not?

Mohammad Basafat - Reply Share

my xbox one x will turn ON then OFF. Power supply is good, what is the nearest cause of it. Thanks

Arnel Lopez - Reply Share
Add Comment

View Statistics:

Past 24 Hours: 13

Past 7 Days: 55

Past 30 Days: 271

All Time: 23,811