
Xbox One Kinect Colour Camera Replacement

Malak Anshassi and 3 other contributors
Last updated on Jan 10, 2015
Views: 2.5K
View statistics:
- Past 24 Hours:
- 3
- Past 7 Days:
- 19
- Past 30 Days:
- 103
- All Time:
- 2,509
Comments: 1
1 comment on steps.
Completed: 1 2
1 person has marked this guide "completed." Will you be next?
2 people have marked this guide "completed." Including you — great job!
Favorites: 1 2
1 person has favorited (and subscribed to) this guide. Will you be next?
2 people have favorited (and subscribed to) this guide — including you!
Needs Better Images
Better photos will improve this guide. Help out by taking, editing, or uploading new ones!
Missing Steps
Oops! This guide is currently missing one or more important steps.
Introduction
Go to step 1 ↓The colour camera is used to capture visual data. It is mounted on the heat sink inside the Kinect.
What you need
Tools
-
Spudger4.9
-


-
-
-
Remove the sticker on the underside of the device.
-
Remove the four 3.1x23.5 mm T10 screws underneath the sticker.
-
While you're at it, remove the four 3.1x7.5 mm T10 screws beneath the sticker. Make note of the sizes and locations of the screws.
 Ask FixBot
-
-
-
Remove the back panel.
-
Remove the black panels on either side of the Kinect, and remove the 3.1x7.5mm T10 screws underneath them.
-
-
-
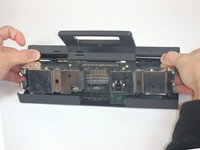
Using your thumbs, press firmly against the outer case on either side of the stand. This will disengage the internal assembly.
-
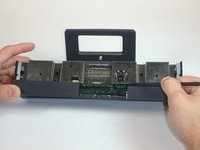
Lift the internal assembly with the spudger.
-
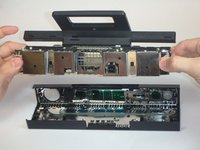
Remove the assembly from the case. You now have access to the inner shell of the kinect, along with the heat sink, microphone, and LED sensor.
-
-
-
-
-
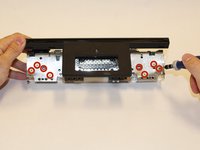
Remove the eight 2.9x7.6 mm T9 screws from the rear of the internal case.
-
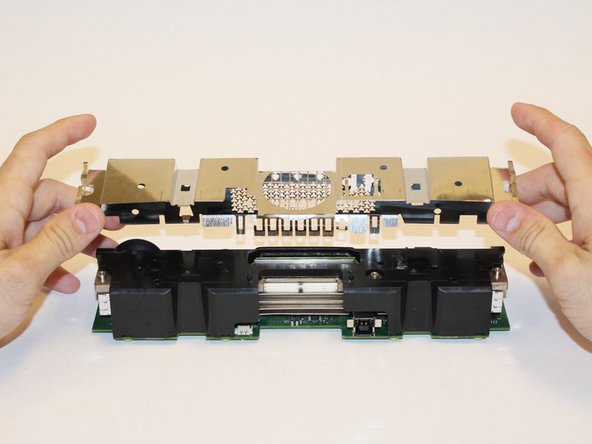
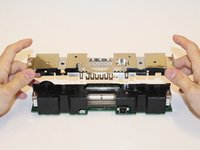
Lift the internal metal case from the plastic shell enclosing the heat sink assembly.
-
-
-
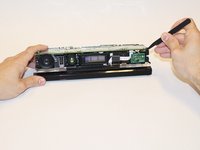
Disconnect the ribbon cable between the sensor driver board and the motherboard.
-
Remove the 3.0x7.5 mm T9 screw holding the sensor driver board to the heat sink.
-
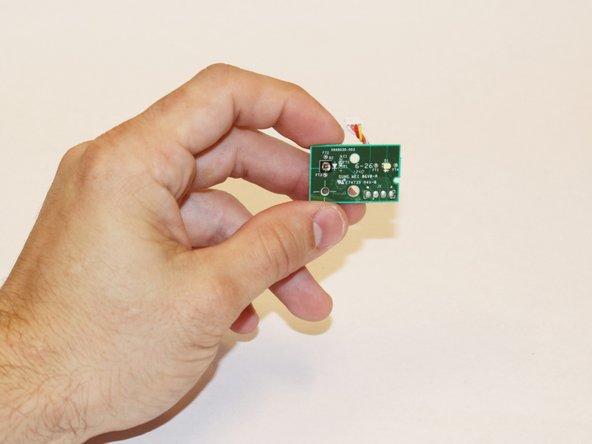
Remove the infrared sensor board for the Kinect.
-
-
Tool used on this step:Tweezers$4.99
-
Detach the ribbon cable leading to the microphone with the tweezers.
-
Remove the four 3.1x7.7 mm T9 screws connecting the microphone to the heat sink assembly.
-
Remove the stand.
-
-
-
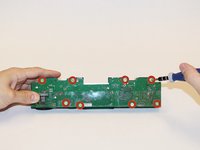
Remove the eight 3.0x7.6 mm T9 screws from the motherboard.
-
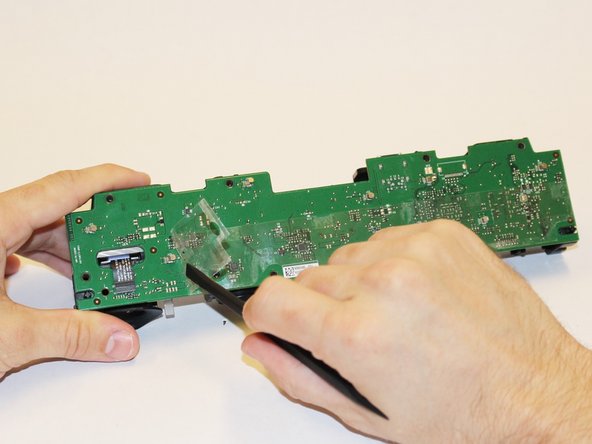
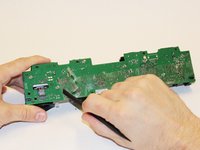
Peel away the plastic film from the motherboard using the spudger.
-
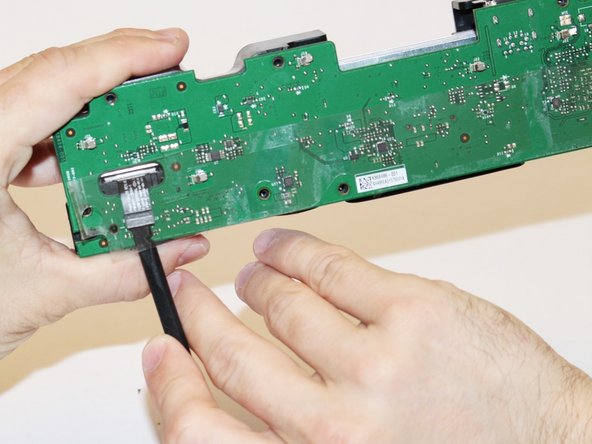
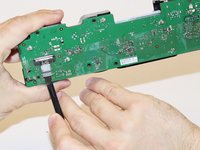
Detach the ribbon cable leading to the color camera using the spudger.
-
-
-
-
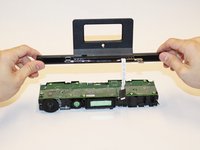
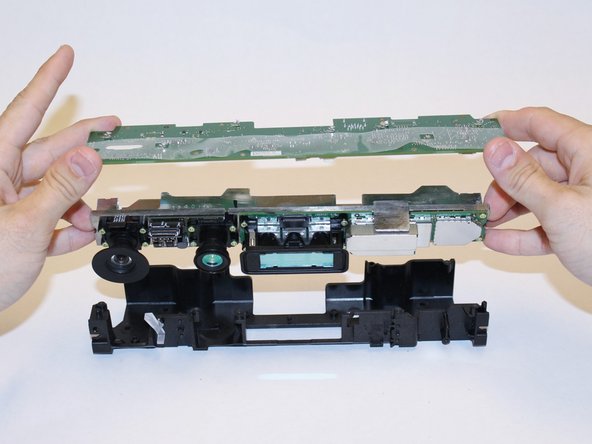
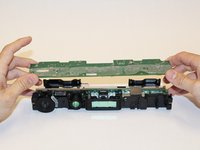
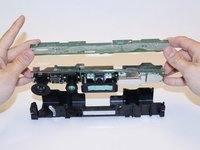
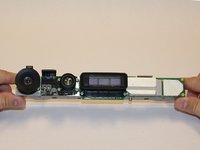
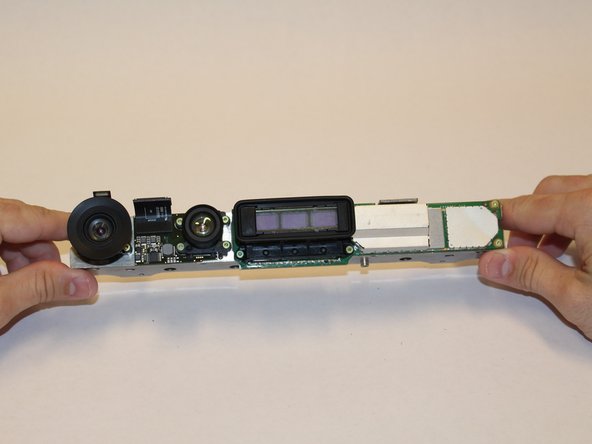
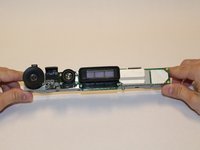
Lift the motherboard and the heat sink assembly from the plastic shell. The components attached to the heat sink are now accessible.
-
-
-
-
-
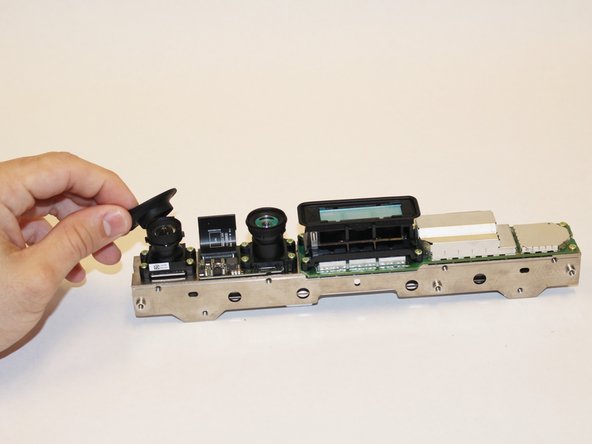
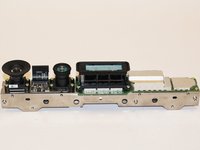
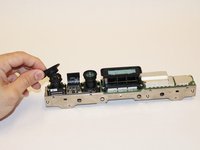
Go ahead and start by removing the Colour Camera's lens cap. This way you can remove the Camera without anything in your way.
-
-
-
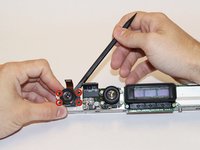
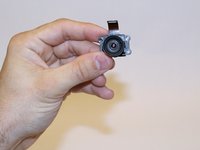
Using the T5 screwdriver, remove the four 1.9x10.2 mm screws from the four corners of the camera.
-
With the spudger inserted in between the camera and the metal casing, carefully prop up the camera.
-
-





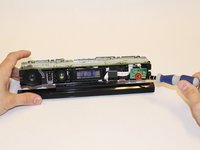
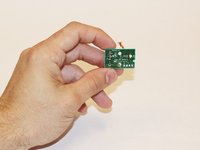


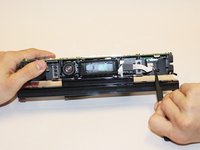
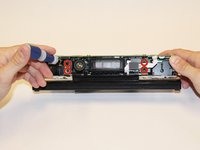





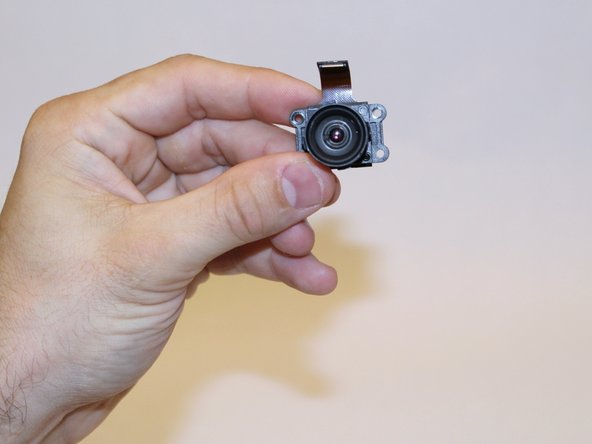
To reassemble your device, follow these instructions in reverse order.
Cancel: I did not complete this guide.
One other person completed this guide.

Team

USF Tampa, Team 1-3, Hickman Fall 2014 Member of USF Tampa, Team 1-3, Hickman Fall 2014
USFT-HICKMAN-F14S1G3
4 Members
84 Guides authored
