
Xbox Duke Controller 6-Pin Cable Replacement

Anthony Casino and one other contributor
Last updated on May 23, 2025
Views: 1.2K
View statistics:
- Past 24 Hours:
- 7
- Past 7 Days:
- 26
- Past 30 Days:
- 107
- All Time:
- 1,159
Comments: 0
No one has left comments on this guide. Will you be first?
Go to guide commentsCompleted: 2 3
2 people have marked this guide "completed." Will you be next?
3 people have marked this guide "completed." Including you — great job!
Favorites: 0 1
No one has favorited (and subscribed to) this guide. Will you be the first?
1 person has favorited (and subscribed to) this guide — and that's you!
Introduction
Go to step 1 ↓If your Xbox Duke Controller isn't registering input of any kind or the console doesn't recognize that the controller is plugged in, use this guide to replace the 6-pin cable connected to the controller.
Before using this guide, check to see if the port on the Xbox console is damaged or needs to be cleaned. Then, check the end of the 6-pin cable to see if the connector itself is damaged or dirty. A small amount of contact cleaner will remove any dirt or debris within the port. If the cable or port show no visible signs of damage, then the Duke will need to be taken apart to disconnect the cable from the motherboard.
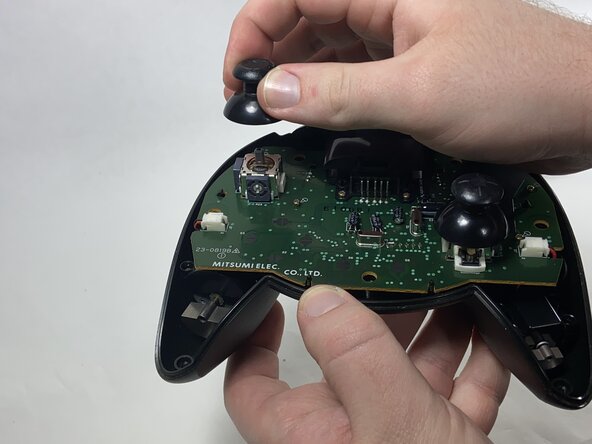
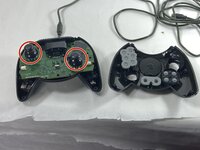
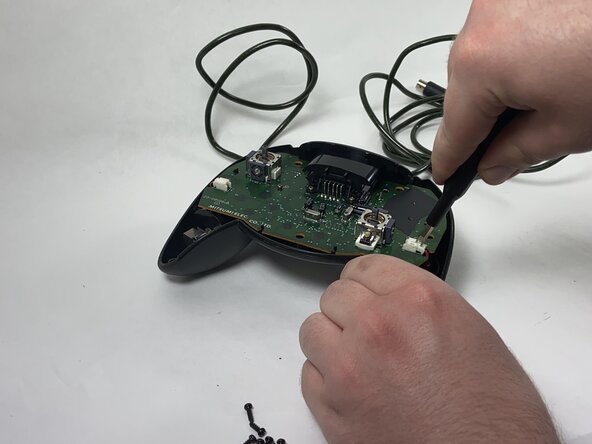
Follow the potentiometer replacement guide up to Step 9 to access the motherboard.
What you need
Tools


-
-
-
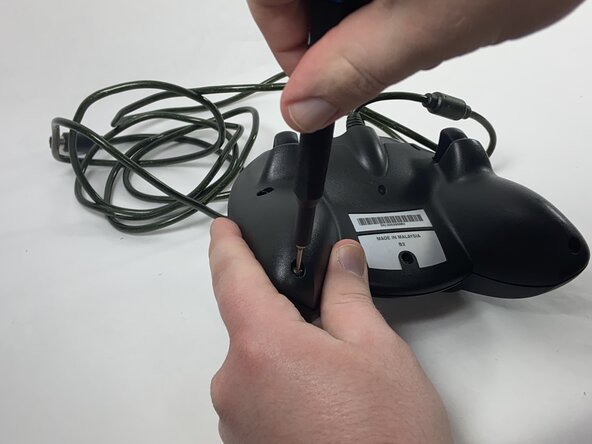
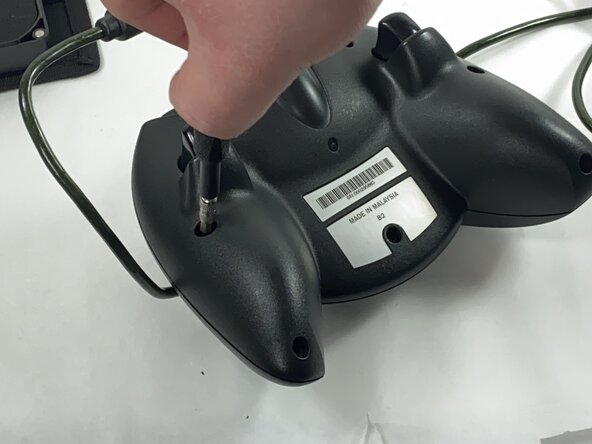
Remove the seven black 8 mm screws holding the two halves of the Duke together using a Phillips #1 screwdriver.
 Ask FixBot
-
-
-
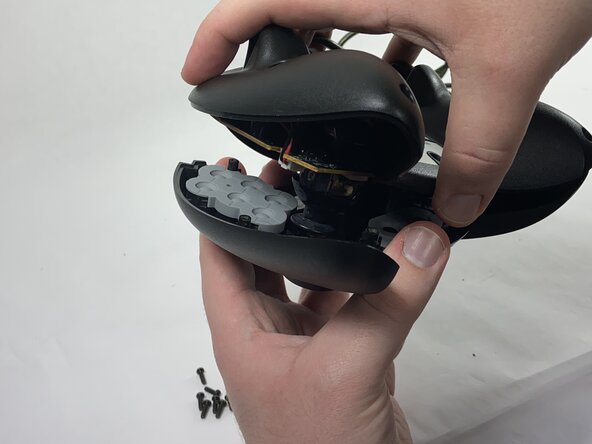
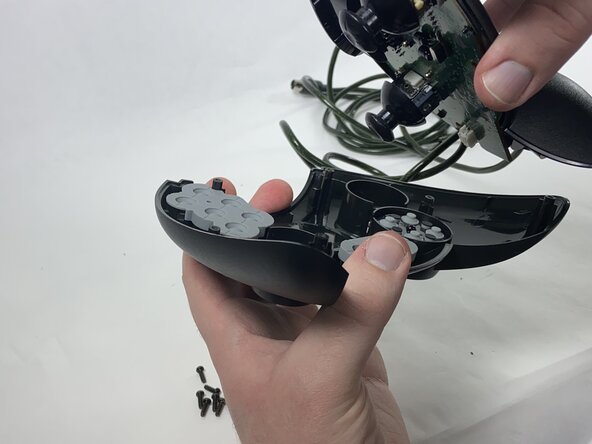
Remove the two halves of the Duke, placing the top plate face-down so the buttons don't fall out.
-
-
-
-
-
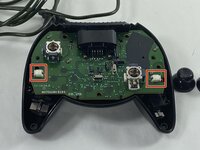
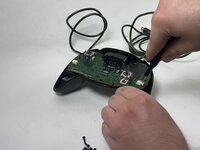
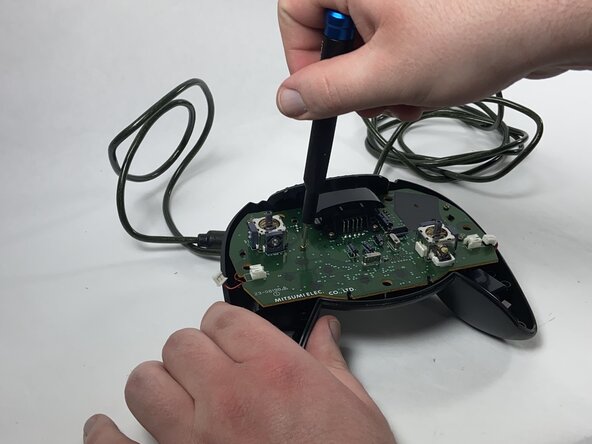
Disconnect the connectors attaching the rumble motors to the motherboard using a pair of tweezers.
-
-
-
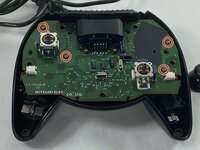
Using a Phillips #1 screwdriver, remove the four yellow 8 mm screws holding the motherboard to the bottom half of the controller.
-
-
-
Desolder the connector pins holding the left trigger assembly in place.
-
Remove the trigger assembly by pushing on the black connectors that hold them to the motherboard.
-
-
-
Desolder all of the connector pins holding the potentiometer in place.
-
Pull out the potentiometers and solder the new ones into place.
-
-
-
-
-
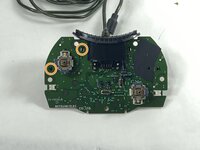
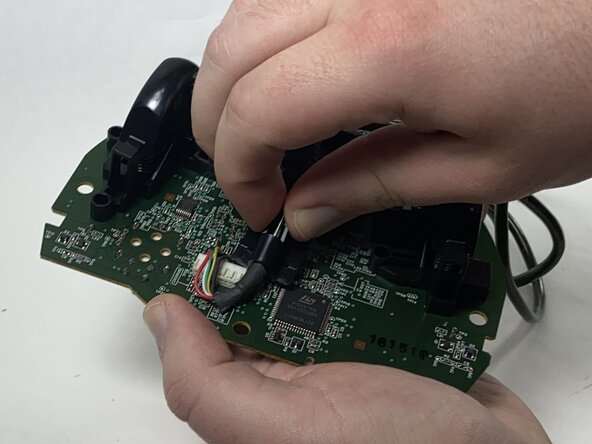
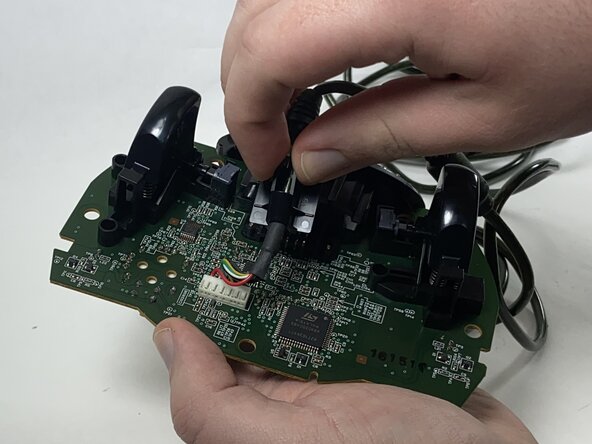
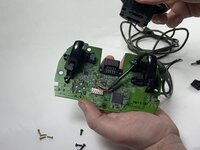
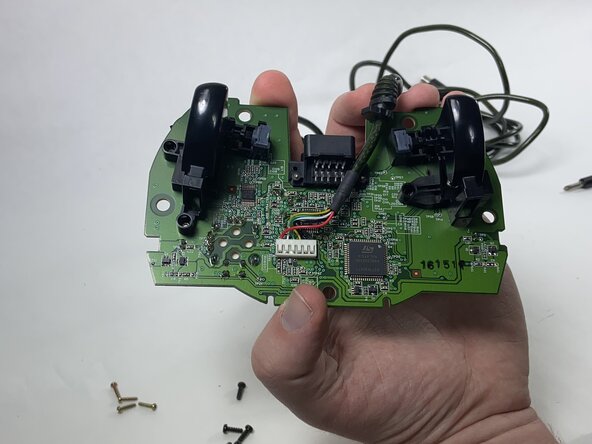
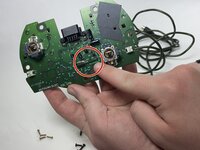
Disconnect the cable from the memory card slot, sliding the black plastic holder out of the slot.
-
Remove the plastic piece from the cable.
-
-
-
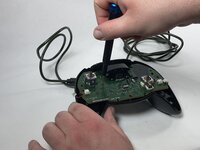
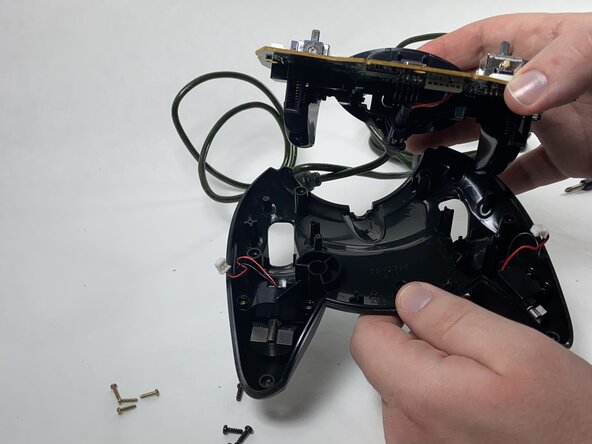
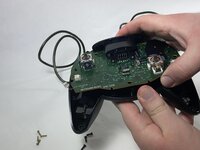
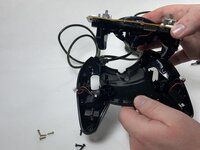
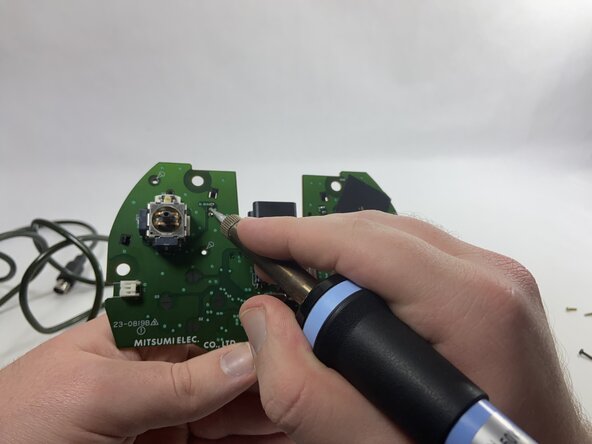
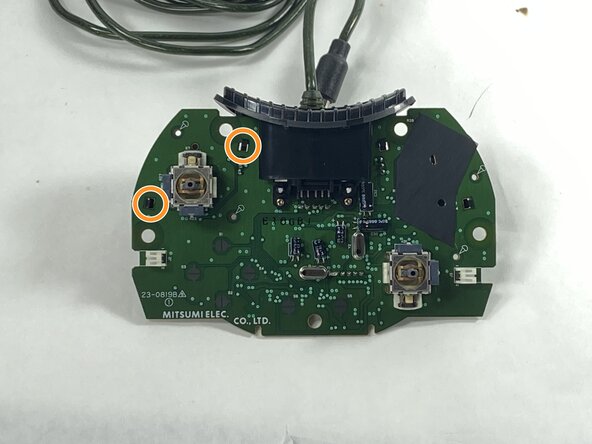
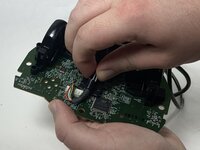
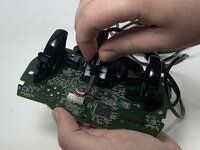
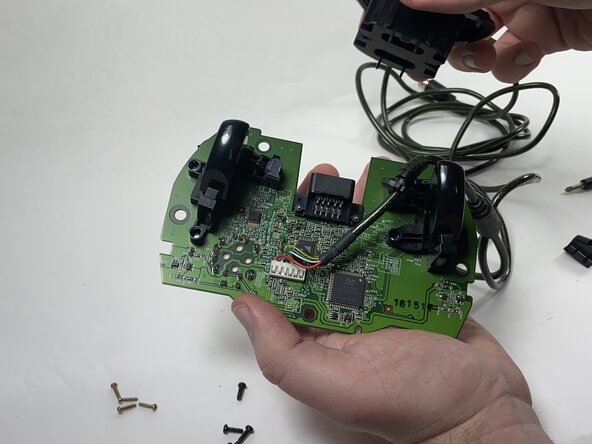
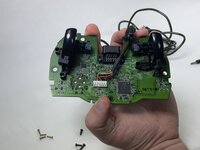
Desolder the pins holding the cable in place, then pull the cable away from the motherboard.
-
Solder the new cable into the motherboard.
-
-













To reassemble your device, follow these instructions in reverse order.
Cancel: I did not complete this guide.
2 other people completed this guide.

Team

UMass Dartmouth, Team 1-1, Gulbrandsen Spring 2025 Member of UMass Dartmouth, Team 1-1, Gulbrandsen Spring 2025
UMASSD-GULBRANDSEN-S25S1G1
1 Member
48 Guides authored
