Free Shipping on Domestic Orders $75+

Xbox 360 S Laser Lens Replacement

What you need

  1. Xbox 360 S Laser Lens Replacement, How to get to your optical drive (follow link in the instructions): step 1, image 1 of 1
    • Xbox 360 S Optical Drive Replacement

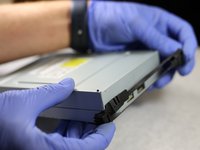
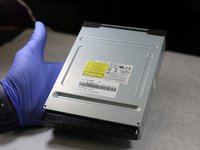
    • In order to get to the laser to replace it you first have to remove the disk drive.

    • The link at the top is an IFIXIT guide that helps you to remove and replace the optical disk drive.

    Ask FixBot

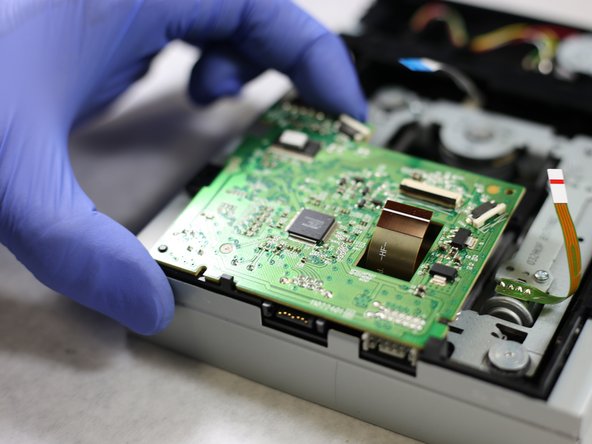
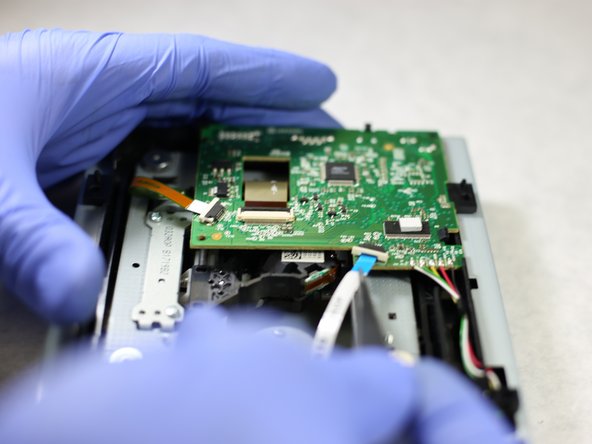
    Add Comment

    • For a new laser lens that comes with an anti-static solder joint consult the video guide to remove the solder joint.

    • https://youtu.be/iL8wVC9PLBk

    • When you purchase a new lens some come with the solder joint and some do not.

    • In the case that it does you'll need to desolder it. We provided a video to help you.

    Ask FixBot

    Add Comment

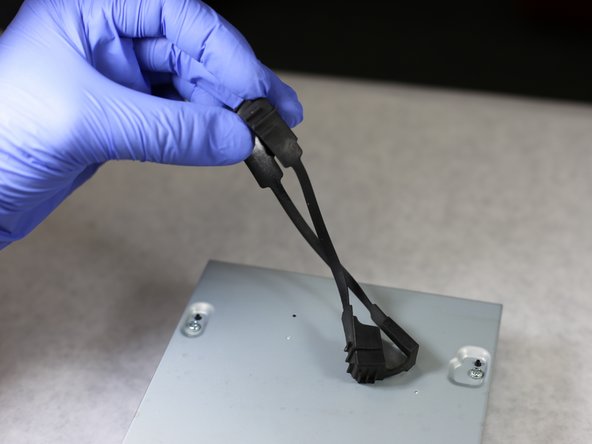
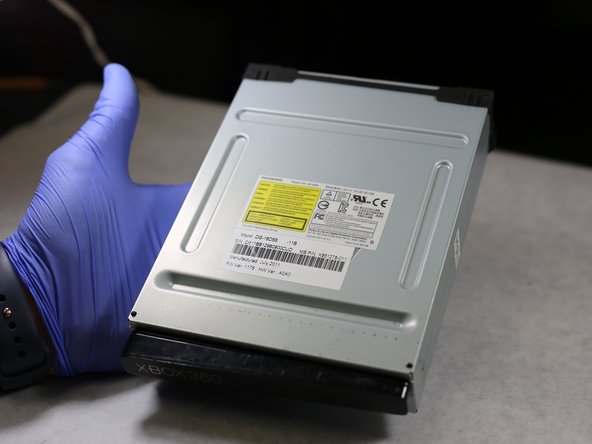
  2. Xbox 360 S Laser Lens Replacement, Start of the repair - how to get to the laser: step 3, image 1 of 3 Xbox 360 S Laser Lens Replacement, Start of the repair - how to get to the laser: step 3, image 2 of 3 Xbox 360 S Laser Lens Replacement, Start of the repair - how to get to the laser: step 3, image 3 of 3
    • Now that you have completed steps 1 and 2

    • Remove the elastic band on the disk drive.

    Ask FixBot

    Add Comment

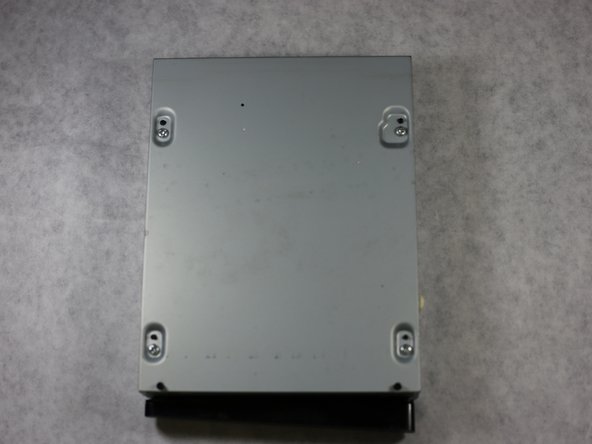
  3. Xbox 360 S Laser Lens Replacement: step 4, image 1 of 3 Xbox 360 S Laser Lens Replacement: step 4, image 2 of 3 Xbox 360 S Laser Lens Replacement: step 4, image 3 of 3
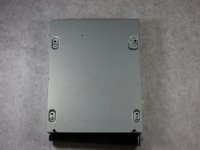
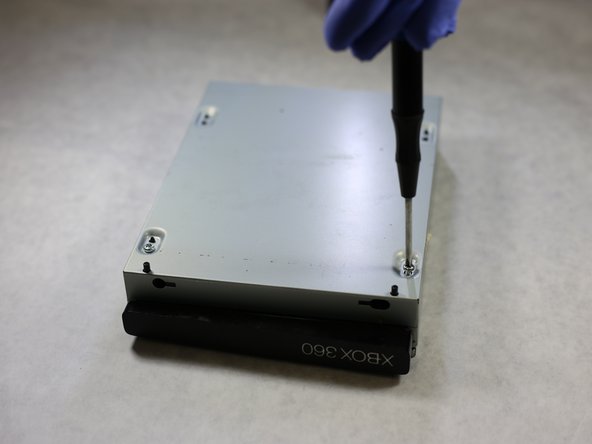
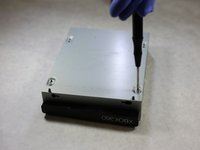
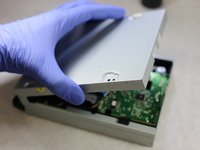
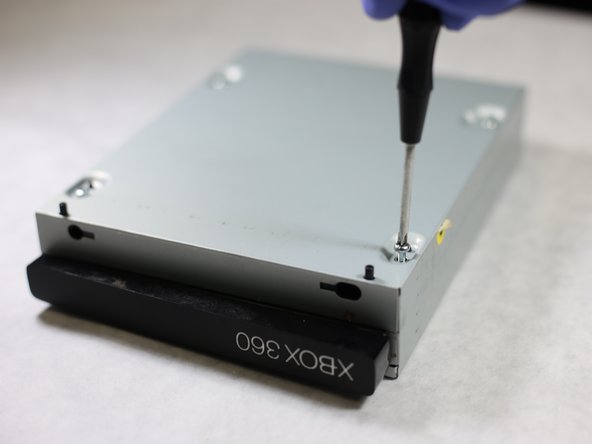
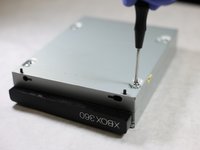
    • With the underside exposed, identity the 4 main screws.

    • Remove these 4 screws.

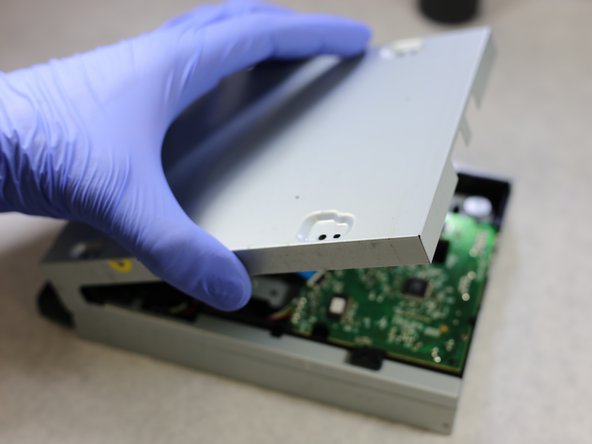
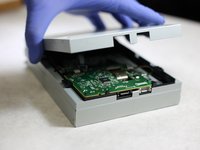
    • Remove the cover to expose the assembly

    Ask FixBot

    Add Comment

  4. Xbox 360 S Laser Lens Replacement: step 5, image 1 of 3 Xbox 360 S Laser Lens Replacement: step 5, image 2 of 3 Xbox 360 S Laser Lens Replacement: step 5, image 3 of 3
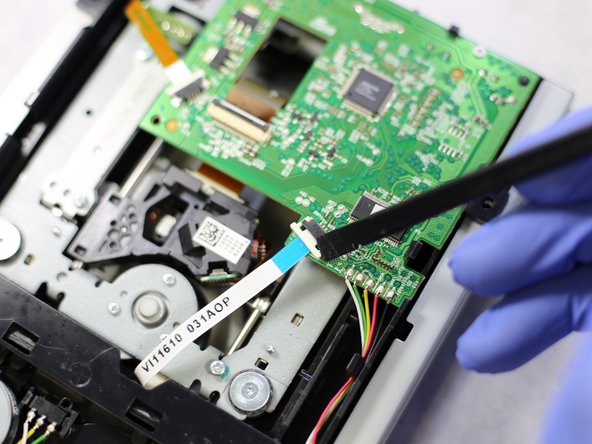
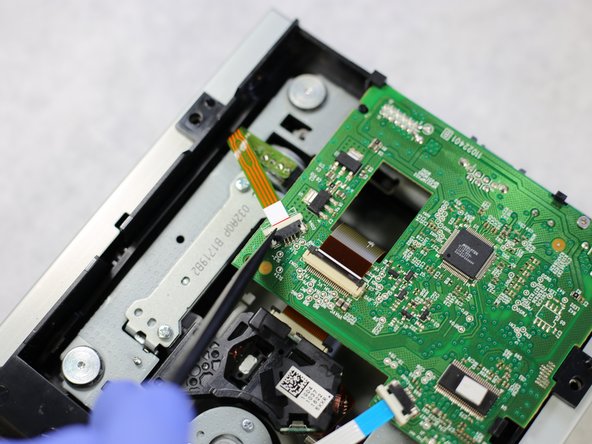
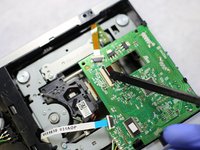
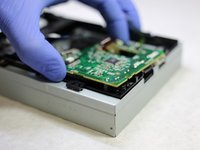
    • Locate the three ribbons connected to the board.

    • Use the plastic spudger to unclamp the ribbons from the board.

    Ask FixBot

    Add Comment

  5. Xbox 360 S Laser Lens Replacement: step 6, image 1 of 2 Xbox 360 S Laser Lens Replacement: step 6, image 2 of 2
    Tool used on this step:
    Tweezers
    $4.99
    Buy
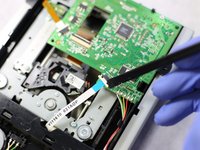
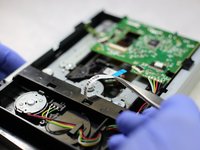
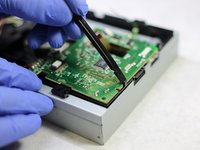
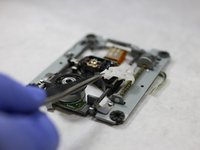
    • The ribbons will now be able to slip out. With the tweezers, gently pull the ribbons to completely detach them.

    Ask FixBot

    Add Comment

  6. Xbox 360 S Laser Lens Replacement: step 7, image 1 of 3 Xbox 360 S Laser Lens Replacement: step 7, image 2 of 3 Xbox 360 S Laser Lens Replacement: step 7, image 3 of 3
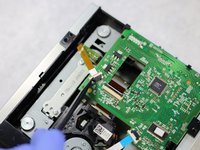
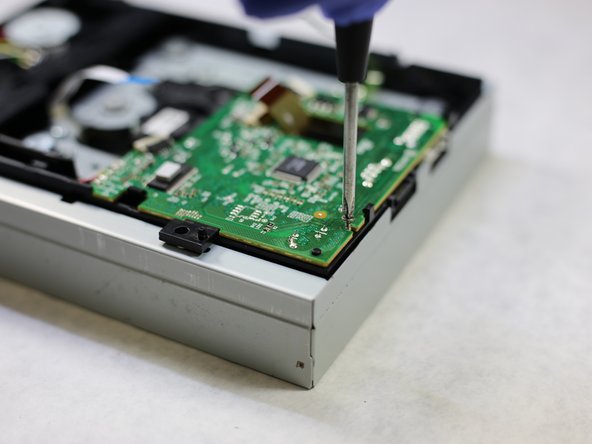
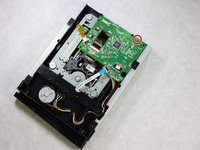
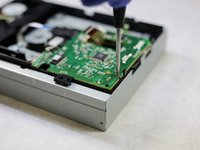
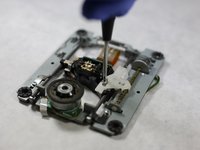
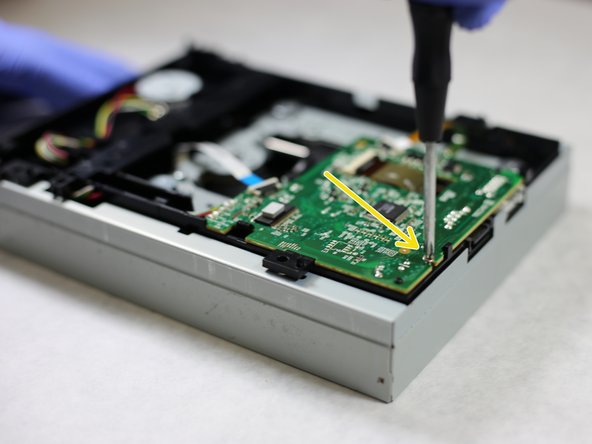
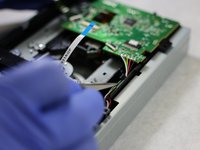
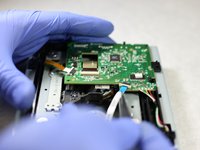
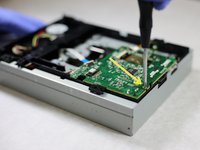
    • Locate the screw that holds the motherboard to the disk drive

    • Using your screwdriver, remove the motherboard screw.

    Ask FixBot

    Add Comment

  7. Xbox 360 S Laser Lens Replacement: step 8, image 1 of 3 Xbox 360 S Laser Lens Replacement: step 8, image 2 of 3 Xbox 360 S Laser Lens Replacement: step 8, image 3 of 3
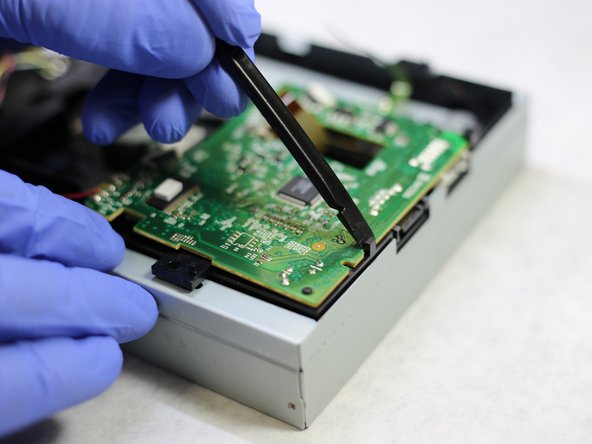
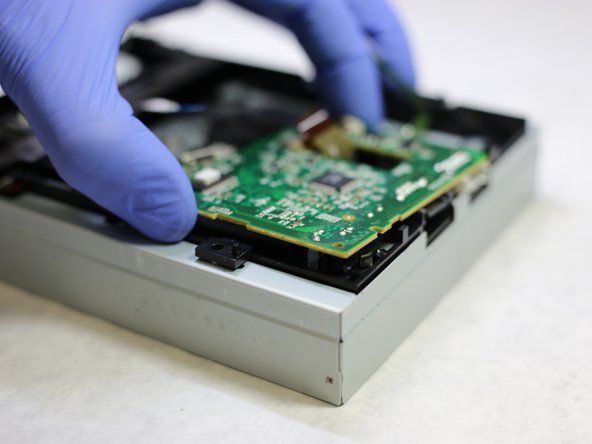
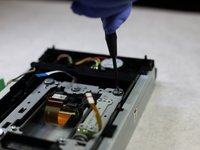
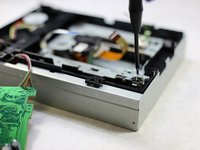
    • Use the spudger's flat side to get under the biggest plastic pin on edge of the board.

    • Push the pin backwards and off of the board.

    • Using your spudger again, push the second smaller pin backwards and off of the board.

    • Then, slide the board away from the pin slightly to be free of the last plastic element (the black corner thing).

    Ask FixBot

    Add Comment

  8. Xbox 360 S Laser Lens Replacement: step 9, image 1 of 3 Xbox 360 S Laser Lens Replacement: step 9, image 2 of 3 Xbox 360 S Laser Lens Replacement: step 9, image 3 of 3
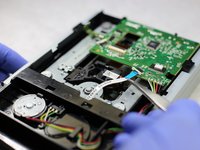
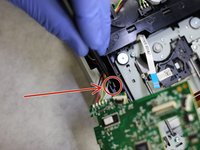
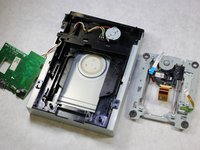
    • With the board freed from it's trappings, locate the pin securing the wires connected the board.

    • Be careful to not yank the motherboard or else the wires will rip from their sockets

    • Use your spudger to press this pin backwards.

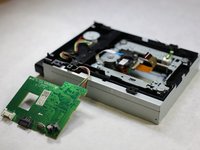
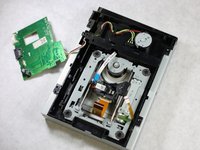
    • Lift the entire board up to free the wires.

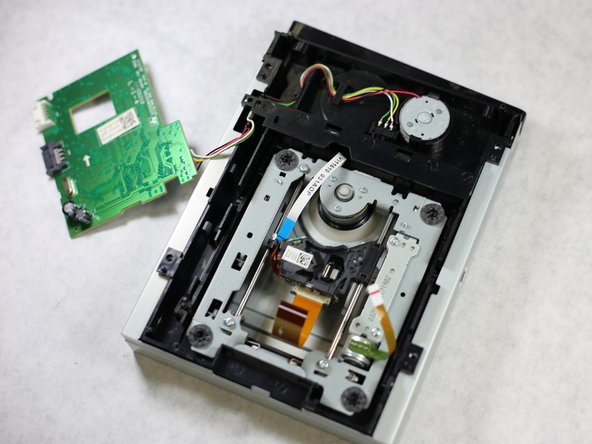
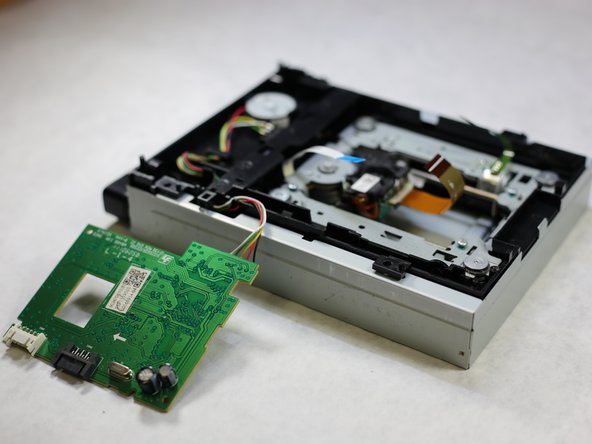
    • Lay the motherboard adjacent to the disk drive.

    Ask FixBot

    Add Comment

  9. Xbox 360 S Laser Lens Replacement: step 10, image 1 of 3 Xbox 360 S Laser Lens Replacement: step 10, image 2 of 3 Xbox 360 S Laser Lens Replacement: step 10, image 3 of 3
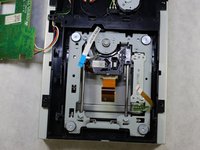
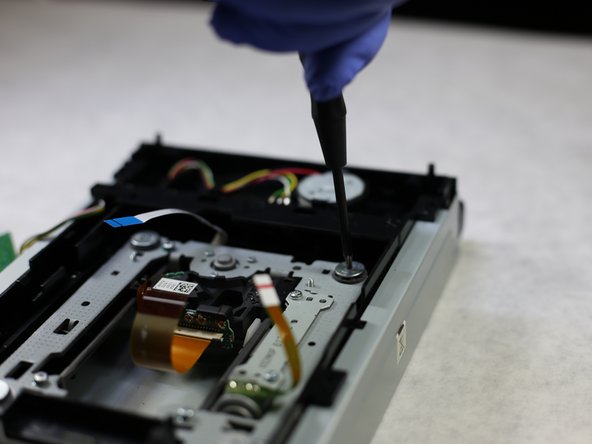
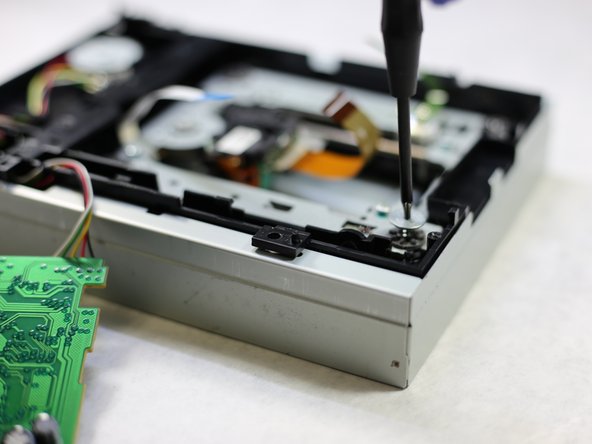
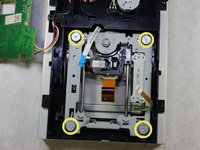
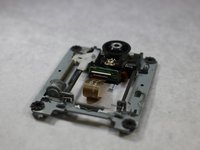
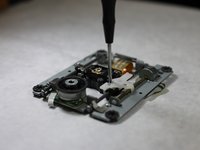
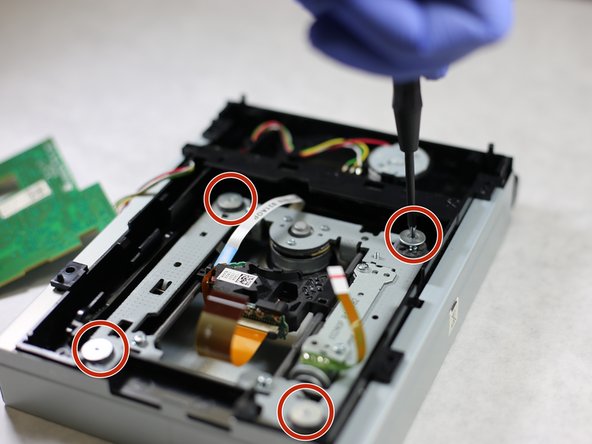
    • Locate the 4 circular hex screws that secure the laser rail assembly.

    • Using your T6 hex screw driver remove these 4 screws.

    Ask FixBot

    Add Comment

  10. Xbox 360 S Laser Lens Replacement: step 11, image 1 of 2 Xbox 360 S Laser Lens Replacement: step 11, image 2 of 2
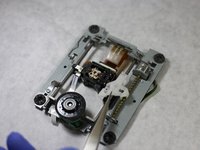
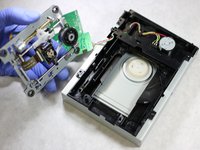
    • Lift the rail assembly out of the disk drive. Set the disk drive aside.

    Ask FixBot

    Add Comment

  11. Xbox 360 S Laser Lens Replacement: step 12, image 1 of 3 Xbox 360 S Laser Lens Replacement: step 12, image 2 of 3 Xbox 360 S Laser Lens Replacement: step 12, image 3 of 3
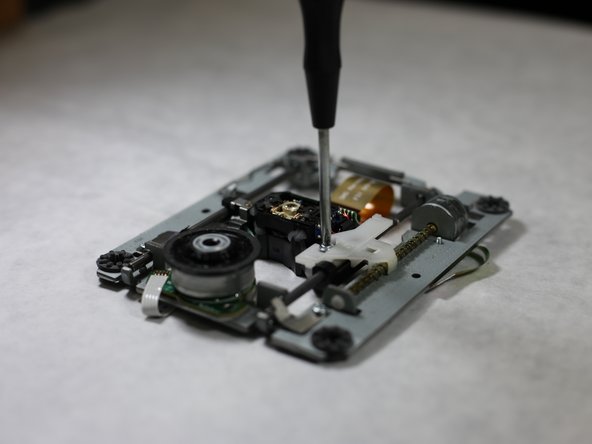
    • Flip the laser rail assembly over to expose the screws.

    • Remove the screw connecting the laser lens to the plastic fastener.

    Ask FixBot

    Add Comment

  12. Xbox 360 S Laser Lens Replacement: step 13, image 1 of 3 Xbox 360 S Laser Lens Replacement: step 13, image 2 of 3 Xbox 360 S Laser Lens Replacement: step 13, image 3 of 3
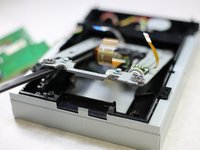
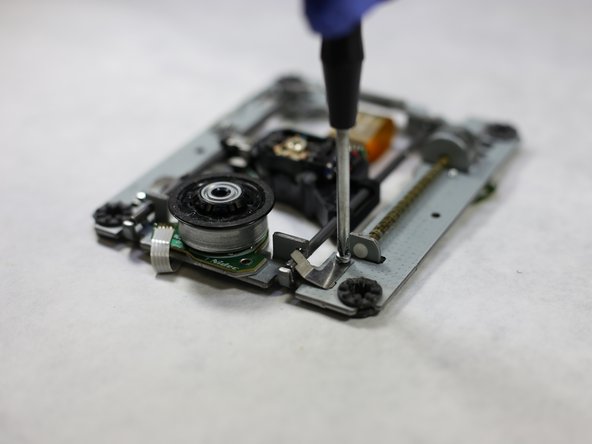
    • Remove the screw connecting the metal fastener to the rail.

    • Remove the metal fastener that holds the rod to the rail after removing the screw.

    Ask FixBot

    Add Comment

  13. Xbox 360 S Laser Lens Replacement: step 14, image 1 of 3 Xbox 360 S Laser Lens Replacement: step 14, image 2 of 3 Xbox 360 S Laser Lens Replacement: step 14, image 3 of 3
    • Push the rail end to the side and out from under the metal latch.

    • Slide the lens off the rail. Set aside the rail assembly.

    Ask FixBot

    Add Comment

  14. Xbox 360 S Laser Lens Replacement: step 15, image 1 of 2 Xbox 360 S Laser Lens Replacement: step 15, image 2 of 2
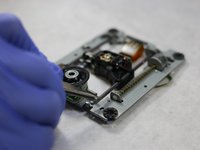
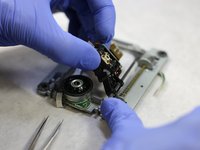
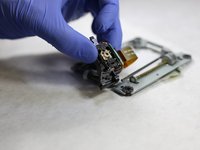
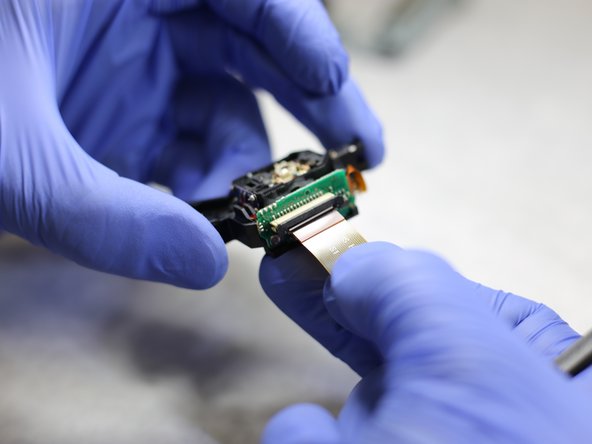
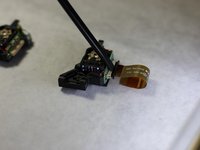
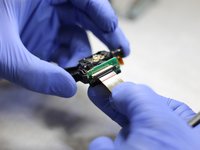
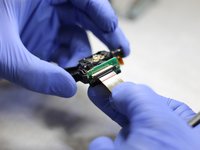
    • Using the spudger, release the plastic clamp holding the ribbon to the laser lens.

    • Using your fingers gently pull the ribbon out of the plastic clamp.

    Ask FixBot

    Add Comment

  15. Xbox 360 S Laser Lens Replacement: step 16, image 1 of 2 Xbox 360 S Laser Lens Replacement: step 16, image 2 of 2
    • This is the lens

    • Remove the screw holding the metal fastener to the old lense.

    • Remove the now unsecured metal fastener.

    Ask FixBot

    Add Comment

  16. Xbox 360 S Laser Lens Replacement: step 17, image 1 of 2 Xbox 360 S Laser Lens Replacement: step 17, image 2 of 2
    • Connect the ribbon to the replacement lens by sliding it in place then closing the plastic fastener.

    • Place the removed metal fastener on the new laser lens and use the removed screw to secure the fastener to the replacement lens.

    Ask FixBot

    Add Comment

  17. Xbox 360 S Laser Lens Replacement: step 18, image 1 of 2 Xbox 360 S Laser Lens Replacement: step 18, image 2 of 2
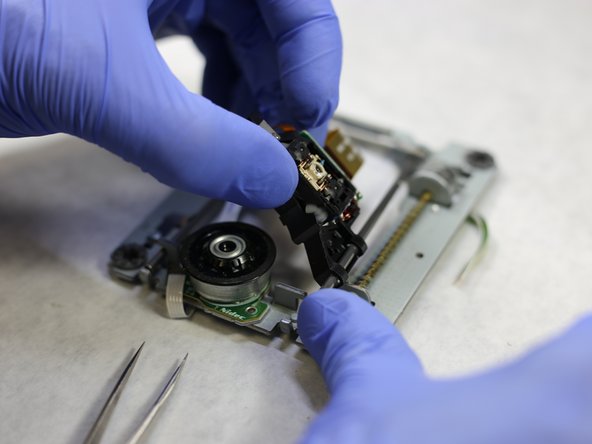
    • Slide the replacement lens onto the right rail

    • Make sure to clip the other side of the lens onto the left rail

    Ask FixBot

    Add Comment

  18. Xbox 360 S Laser Lens Replacement: step 19, image 1 of 2 Xbox 360 S Laser Lens Replacement: step 19, image 2 of 2
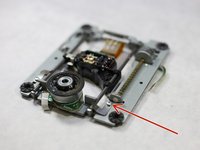
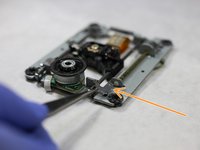
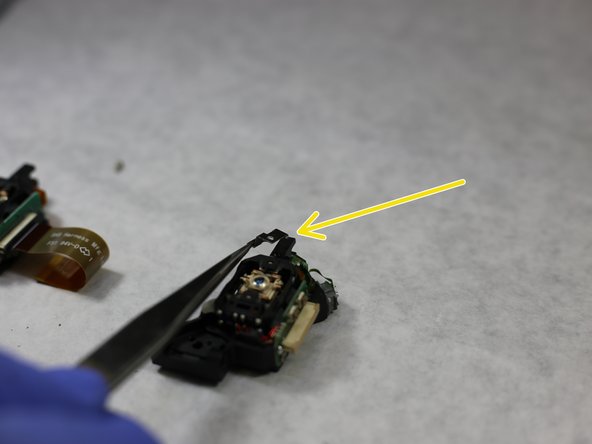
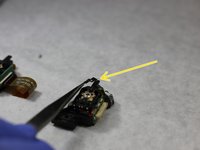
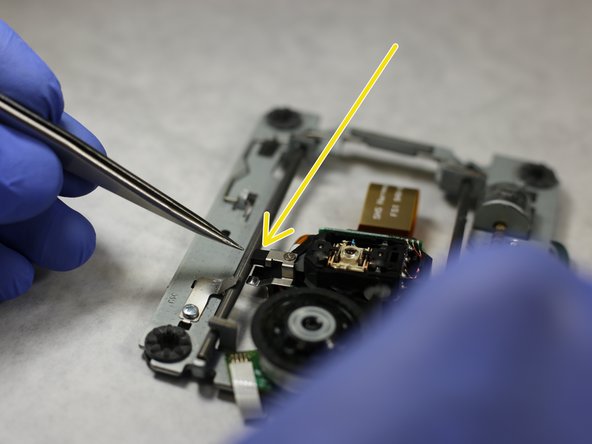
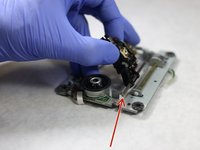
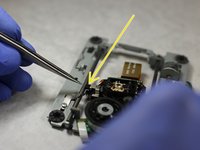
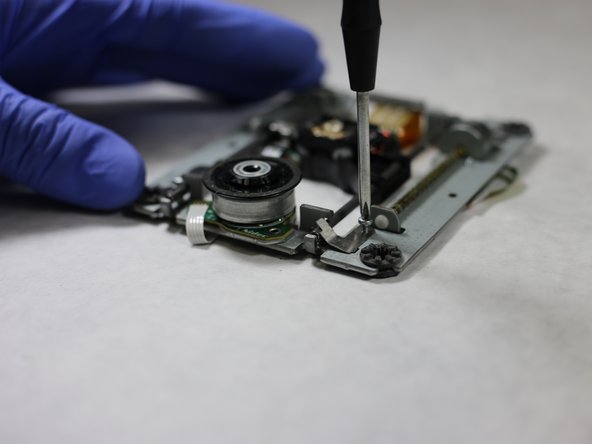
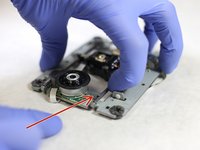
    • Slide the unsecured right rail back under the metal latch. (metal latch is pointed to by the arrow)

    • Place the metal fastener removed from the rail previously back in position and secure it with the screw that was removed.

    Ask FixBot

    Add Comment

  19. Xbox 360 S Laser Lens Replacement: step 20, image 1 of 2 Xbox 360 S Laser Lens Replacement: step 20, image 2 of 2
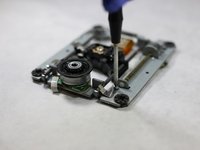
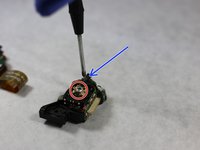
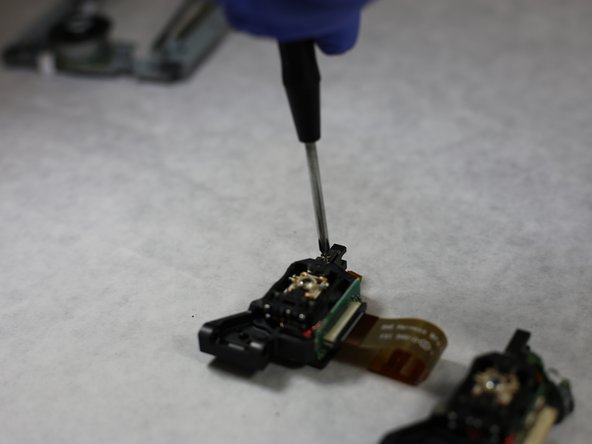
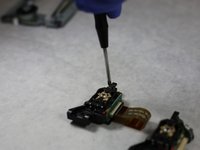
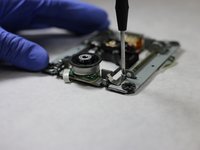
    • Retrieve the plastic fastener and the accompanying screw.

    • Reattach the plastic fastener to the laser lens and use your philips head screw driver to re-secure the screw. The lens should now be attached to the rail.

    Ask FixBot

    Add Comment

  20. Xbox 360 S Laser Lens Replacement: step 21, image 1 of 3 Xbox 360 S Laser Lens Replacement: step 21, image 2 of 3 Xbox 360 S Laser Lens Replacement: step 21, image 3 of 3
    • Position the rail assembly within the disk drive

    • Use the 4 previously removed screws to secure the position.

    Ask FixBot

    Add Comment

  21. Xbox 360 S Laser Lens Replacement: step 22, image 1 of 2 Xbox 360 S Laser Lens Replacement: step 22, image 2 of 2
    • Place the motherboard back in position.

    • Use the plastic pins to resecure the motherboard back to the disk drive.

    • Refer to steps 8 & 9 if more pictures for assistance are needed.

    • Just work backwards starting with only the first picture in 9, securing the wires into their enclosure using their pin.

    • Then work backwards through the pictures in step 8.

    Ask FixBot

    Add Comment

  22. Xbox 360 S Laser Lens Replacement: step 23, image 1 of 3 Xbox 360 S Laser Lens Replacement: step 23, image 2 of 3 Xbox 360 S Laser Lens Replacement: step 23, image 3 of 3
    • Reattach the 3 ribbon wires to the motherboard.

    • These are the 3 wires that were detached in steps 5 & 6

    • If more assistance is needed work backwards completely through steps 6 and then 5.

    • Reattach the screw removed from the motherboard in step 7. This is the only screw that'll completely secure the motherboard to the disk drive.

    Ask FixBot

    Add Comment

  23. Xbox 360 S Laser Lens Replacement: step 24, image 1 of 2 Xbox 360 S Laser Lens Replacement: step 24, image 2 of 2
    • Replace the cover remove the cover

    • Flip the disk drive over and reattach the four screws removed from the cover in step 4.

    Ask FixBot

    Add Comment

  24. Xbox 360 S Laser Lens Replacement: step 25, image 1 of 2 Xbox 360 S Laser Lens Replacement: step 25, image 2 of 2
    • Flip the disk drive and reattach the elastic band.

    • You are done with replacing the laser lens.

    • Nice Job!

    Ask FixBot

    Add Comment

Conclusion

If you followed all the steps you should have a working XBOX 360 S.

Cancel: I did not complete this guide.

8 other people completed this guide.

KEB

Member since: 07/31/17

371 Reputation

1 Guide authored

1 Guide Comment

Thanks, took me around 30 min to do this. Everything is written in detail. I like that.

GetToHellOut - Reply Share
Add Comment

View Statistics:

Past 24 Hours: 6

Past 7 Days: 60

Past 30 Days: 356

All Time: 14,517