
Xbox 360 E CD Drive Replacement

George and 4 other contributors
Last updated on May 7, 2024
Views: 29K
View statistics:
- Past 24 Hours:
- 10
- Past 7 Days:
- 77
- Past 30 Days:
- 353
- All Time:
- 28,894
Comments: 23
11 comments on steps, 12 guide comments.
Go to guide commentsCompleted: 28 29
28 people have marked this guide "completed." Will you be next?
29 people have marked this guide "completed." Including you — great job!
Favorites: 28 29
28 people have favorited (and subscribed to) this guide. Will you be next?
29 people have favorited (and subscribed to) this guide — including you!
Featured Guide
This guide has been found to be exceptionally cool by the iFixit staff.
Featured Student Guide
This guide has been the hard work of our awesome students and is found to be exceptionally cool by the iFixit staff.
Introduction
Go to step 1 ↓Following this guide involves opening the Xbox 360 E and is somewhat more involved than replacing other parts of the Xbox.
What you need
Tools
-
Spudger4.9

-
-
-
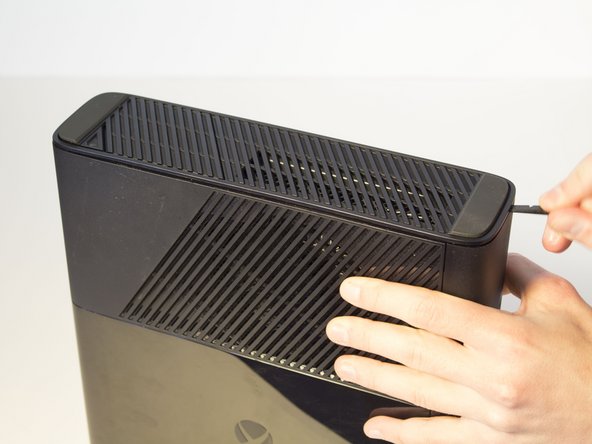
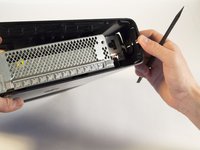
Push the Spudger into the crevice between the grated top panel of the Xbox and the bottom body with the rubber feet.
-
Pull back on the spudger like a lever, keeping it pressed firmly into the crevice.
 Ask FixBot
-
-
-
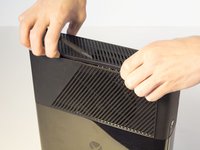
Slide the spudger along the separation you have created between the grated panel and the bottom body of the Xbox.
-
Periodically pull back on the spudger like a lever, keeping it pressed firmly into the crevice.
-
-
-
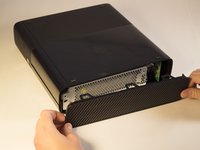
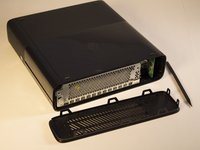
Continue sliding the spudger along the perimeter of the left grated face of the Xbox.
-
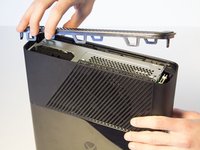
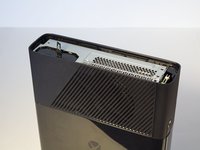
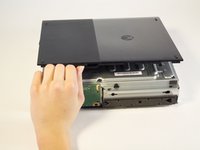
Pull the top panel off.
-
-
-
-
-
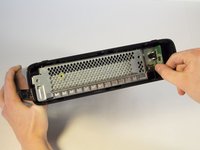
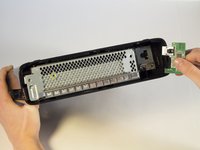
Remove the 11 mm screw left of the green wifi-card using the T9 Torx screw bit.
-
-
-
-
-
Push the spudger into the crevice between the right grated face and the top body of the Xbox. It's easier to begin away from the vent.
-
Pull up on the spudger like a lever, keeping it pressed firmly into the crevice.
-
-
-
Slide the spudger along the crevice to separate the grated face and the top body.
-
-
-
Wiggle the spudger in the crevice as you slide the spudger to loosen the bottom plate.
-
Slide the spudger along the crevice, going completely about the perimeter of the bottom panel.
-
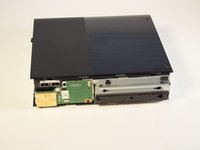
Pull the bottom panel off.
-
-
-
-
-
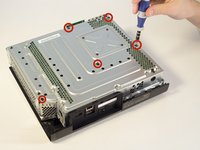
Remove the five long black 55 mm screws labeled C2-5 and C7 with a T9 Torx screwdriver.
-
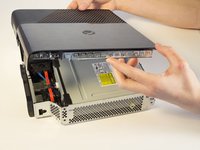
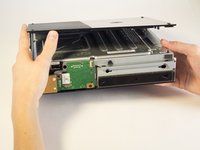
Carefully flip the device and pull off the body by lifting from the metal section that is attached to the plastic exterior.
-
-
-
-
-
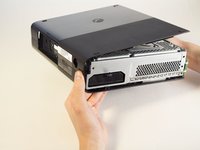
Orient the Xbox so the bottom body is facing upwards. Make sure you see the rubber feet to know you have the correct side of the device.
-
Lift the bottom body slightly away from the core at a 45 degree angle.
-
-
-
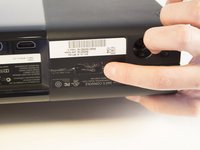
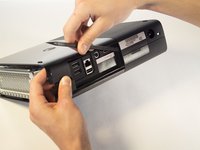
Rotate the Xbox so you are now looking at the back of the device.
-
Remove the sticker from the back of the Xbox.
-
-
-
-
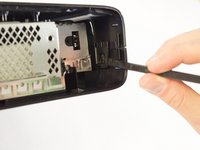
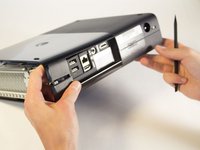
Turn the Xbox to the left to locate the clip holding the body together.
-
With a spudger, press up on the clip like a latch. Move to the far end to undo the other clip the same way.
-
-
-
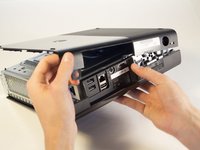
Push the spudger into the crevice. Slide the spudger along the vertical crevice to detach the last clip. The bottom body should slide off after this.
-
-
-
-
-
Use your fingers to unplug the blue ribbon cable from the CD drive.
-
-
Tool used on this step:Tweezers$4.99
-
Use tweezers to unplug the blue and pink wires.
-
-




















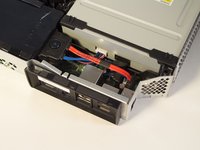
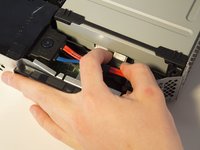


To reassemble your device, follow these instructions in reverse order.
Cancel: I did not complete this guide.
28 other people completed this guide.

Team

Cal Poly, Team 2-11, Amido Winter 2014 Member of Cal Poly, Team 2-11, Amido Winter 2014
CPSU-AMIDO-W14S2G11
4 Members
132 Guides authored
12 Guide Comments
screws are actually C1- C5 one is incorrectly labelled - C7 = C1 also in step 8.5 there are 3 clips holding back edge of bottom cover to top one. one on each end and one just to right of I/O area. can get 2 of them with a spudger (ends) and the middle one with a isesamo.
Several steps missing between 8 and 9
Like remove wifi adaptor.
