Free Shipping on Domestic Orders $75+

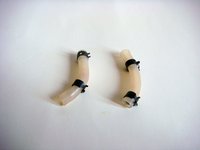
XQ-673H Water Tubes Replacement

What you need

    1. XQ-673H Water Tubes Replacement, Water Tubes: step 1, image 1 of 1
      • Make sure the device is unplugged before continuing.

      • Turn the Kitchen Gourmet upside down.

      Ask FixBot

      Add Comment

    2. XQ-673H Water Tubes Replacement: step 2, image 1 of 3 XQ-673H Water Tubes Replacement: step 2, image 2 of 3 XQ-673H Water Tubes Replacement: step 2, image 3 of 3
      • Using a Phillips #1 screwdriver, remove the six 10mm screws found on the bottom of the device.

      • Remove the bottom cover.

      Ask FixBot

      Add Comment

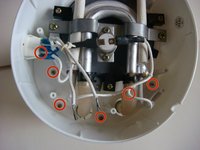
    3. XQ-673H Water Tubes Replacement: step 3, image 1 of 2 XQ-673H Water Tubes Replacement: step 3, image 2 of 2
      • Using a Phillips #1 screwdriver, remove the six 12mm screws.

      • Some screws are not visible from this photo, but their location is highlighted by the circles.

      Ask FixBot

      Add Comment

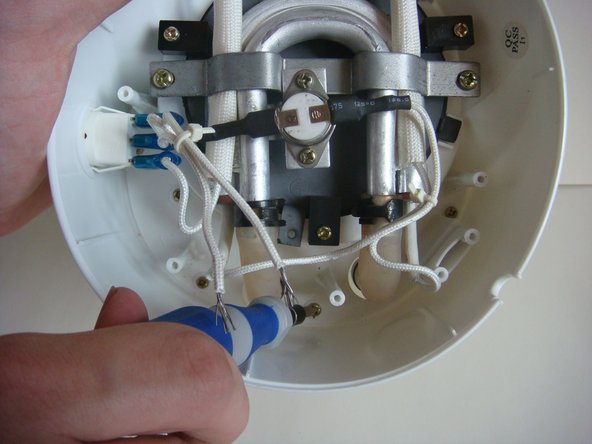
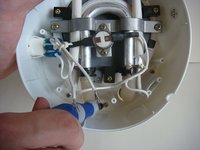
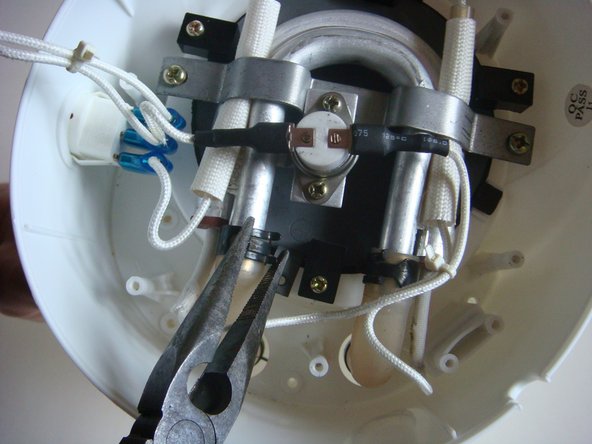
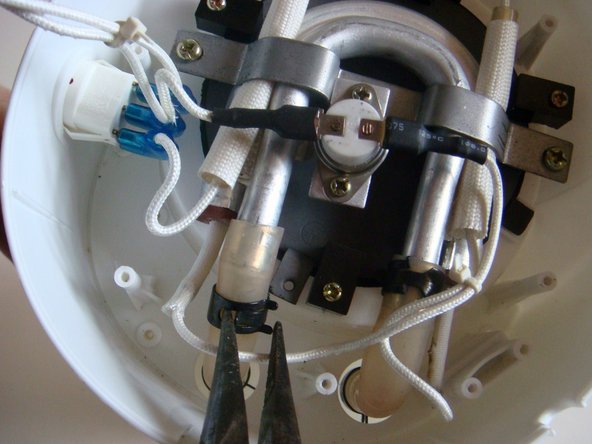
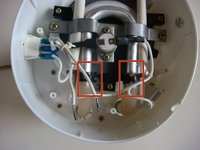
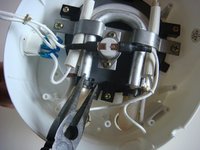
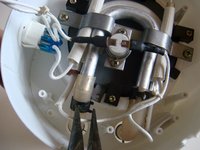
    4. XQ-673H Water Tubes Replacement: step 4, image 1 of 3 XQ-673H Water Tubes Replacement: step 4, image 2 of 3 XQ-673H Water Tubes Replacement: step 4, image 3 of 3
      • Using small needle nose pliers, squeeze the metal that is covering the tube.

      • Carefully slide down the metal covering.

      • Repeat this step for the other tube.

      Ask FixBot

      Add Comment

    5. XQ-673H Water Tubes Replacement: step 5, image 1 of 2 XQ-673H Water Tubes Replacement: step 5, image 2 of 2
      • Using your fingers, gently slide off the Water Tubes.

      Ask FixBot

      Add Comment

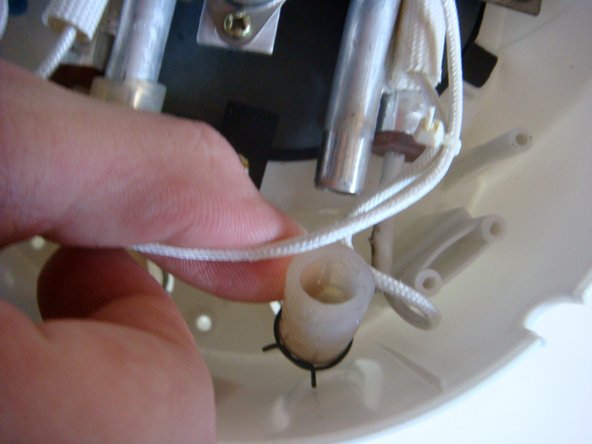
    6. XQ-673H Water Tubes Replacement: step 6, image 1 of 2 XQ-673H Water Tubes Replacement: step 6, image 2 of 2
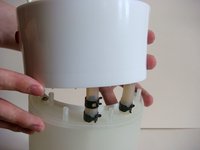
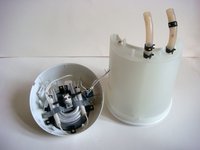
      • Carefully lift the bottom section off the device.

      Ask FixBot

      Add Comment

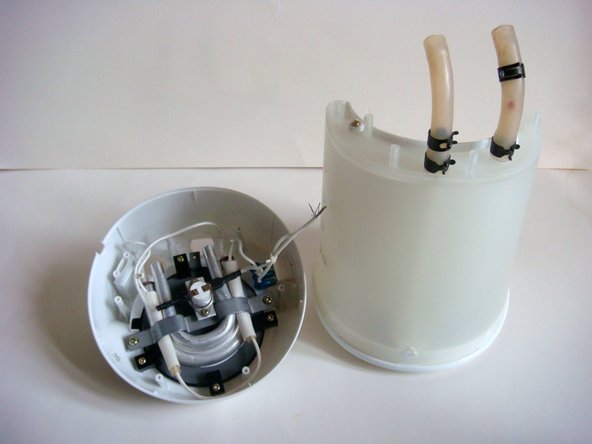
    7. XQ-673H Water Tubes Replacement: step 7, image 1 of 2 XQ-673H Water Tubes Replacement: step 7, image 2 of 2
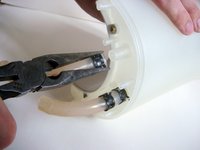
      • Using small needle nose pliers, squeeze the metal that is covering the tube.

      • Carefully slide down the metal covering.

      • Repeat this step for the other tube.

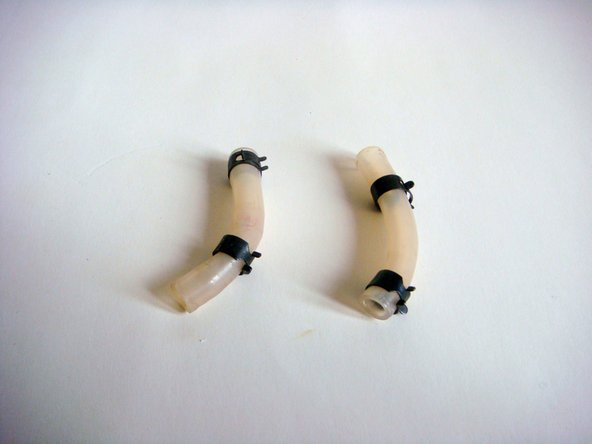
      • Remove both of the Water Tubes completely.

      Ask FixBot

      Add Comment

Conclusion

To reassemble your device, follow these instructions in reverse order.

Cancel: I did not complete this guide.

One other person completed this guide.

Sean Perry

Member since: 01/31/15

452 Reputation

4 Guides authored

0 Guide Comments

Add Comment

View Statistics:

Past 24 Hours: 1

Past 7 Days: 3

Past 30 Days: 28

All Time: 1,115