Introduction
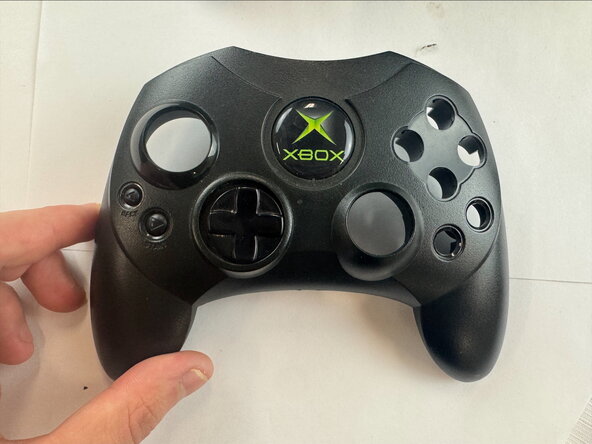
If your Xbox Controller S joystick isn't working due to stick drift or no response, use this guide to replace the joystick (also known as the analog stick).
The joystick lets you look and move around while playing the game. Over time, these joysticks can develop stick drift, where the joystick moves in one direction even when you aren't touching it. It can also break over time due to wear and tear.
Before using this guide, if you think your controller might have stick drift, redirect yourself to our troubleshooting page.
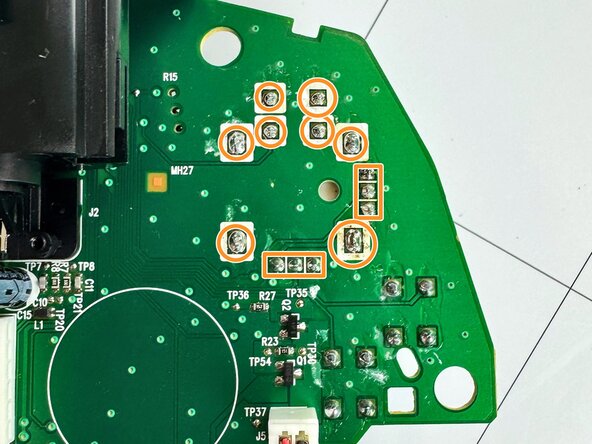
Steps 2, 3, and 5 require you to use a soldering iron to remove the joystick from the circuit board.
This video link will be helpful in your device repair.
What you need
-
-
-
Remove the seven 9.4 mm screws on the back of the controller using a Phillips #00 screwdriver.
 Ask FixBot
-
-
-
-
-
Remove the motherboard from the back shell.
-
Desolder the three points to the right of the joystick on the top of the motherboard.
-
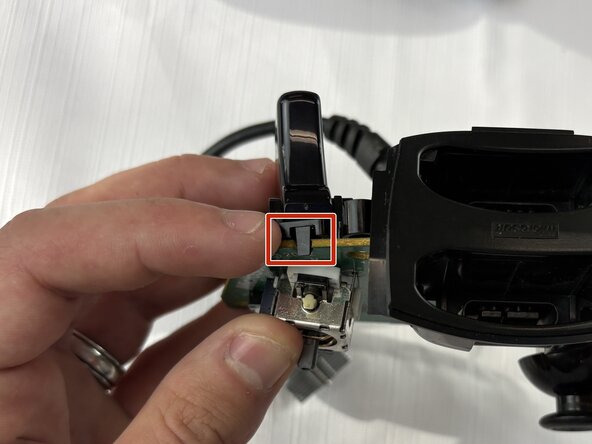
Pry the trigger clip away from the top, then lever it downward to remove the trigger.
-
-
-
-
Remove the joystick from the circuit board.
-
Carefully clean the surfaces and pads with 99% isopropyl alcohol to remove any excess flux.
-
-
-
Slide the new joystick into position and make sure it is fully seated against the circuit board.
-
Solder one or two of the larger legs of the analog stick first to hold it securely in position.
-
-
-
Reinstall the trigger assembly by snapping it back into place.
-
Then fill in the three solder pads.
-
-








To reassemble your device, follow these instructions in reverse order.
Cancel: I did not complete this guide.
One other person completed this guide.

Team

Texas Tech, Team 46-5, Johansen Fall 2025 Member of Texas Tech, Team 46-5, Johansen Fall 2025
TTU-JOHANSEN-F25S46G5
4 Members
48 Guides authored
