
Wooting 60HE Keycap Replacement

Aryav Balia and 2 other contributors
Last updated on May 7, 2024
Views: 1.9K
View statistics:
- Past 24 Hours:
- 2
- Past 7 Days:
- 28
- Past 30 Days:
- 124
- All Time:
- 1,856
Comments: 0
No one has left comments on this guide. Will you be first?
Go to guide commentsCompleted: 0 1
No one has marked this guide "completed." Will you be the first?
1 person has marked this guide "completed." It's you — great job!
Favorites: 0 1
No one has favorited (and subscribed to) this guide. Will you be the first?
1 person has favorited (and subscribed to) this guide — and that's you!
Introduction
Go to step 1 ↓Often times with many keyboards, especially this one, certain keys may experience a lag, or may just not register at all. The majority of the time, it is due to debris being present inside the keyboard, preventing the proper connection when a key is pressed. In this guide, we will be going through a detailed step-by-step process on how to replace a Wooting 60HE keycap.
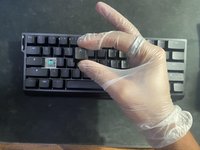
Wear gloves at all times during this replacement to help prevent the oils from your skin coming into contact with the keyboard's lubricant.
What you need
Tools
-
-
-
-
-
Isopropyl Alcohol 70%$12.99
-


-
-
-
Use a small, soft bristle brush to remove small hairs or dust from the keyboard.
 Ask FixBot
-
-
-
Hook the two metal brackets of the keycap puller at a slight angle on the corners of the key.
-
Slightly tug upwards, and the key should come out smoothly. Place the key to the side.
-
-
Tool used on this step:Tweezers$4.99
-
Using tweezers, carefully extract debris from the exposed backboard of the keyboard.
-
-
-
Hold a multi-purpose electronics duster three inches away and at an angle from the exposed key.
-
Press the trigger in short bursts.
-
-
-
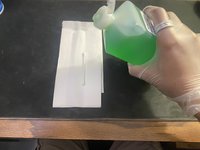
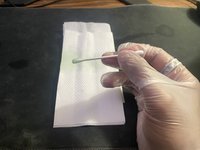
Place a cotton swab on a napkin and lightly coat the head of the swab with 70% isopropyl alcohol.
-
-
-
-
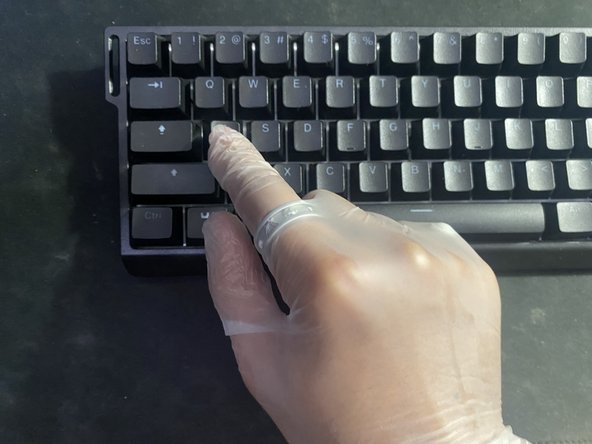
Line the keycap in the upright position above the nub and press down lightly.
-
-






Team

CSU Los Angeles, Team 1-1, Briggs Fall 2023 Member of CSU Los Angeles, Team 1-1, Briggs Fall 2023
CSULA-BRIGGS-F23S1G1
6 Members
60 Guides authored
