
Wooden Toolbox Hinge Replacement

Jesse Chabolla and 2 other contributors
Last updated on Jun 25, 2025
Views: 554
View statistics:
- Past 24 Hours:
- 1
- Past 7 Days:
- 18
- Past 30 Days:
- 102
- All Time:
- 554
Comments: 0
No one has left comments on this guide. Will you be first?
Go to guide commentsCompleted: 1 2
1 person has marked this guide "completed." Will you be next?
2 people have marked this guide "completed." Including you — great job!
Favorites: 0 1
No one has favorited (and subscribed to) this guide. Will you be the first?
1 person has favorited (and subscribed to) this guide — and that's you!
Introduction
Go to step 1 ↓This guide will show you how to replace the hinges on a small wooden toolbox. The original hinges came off, and we’ll be attaching new ones in the same spot using the existing holes. By the end, the toolbox lid will be fully reattached and able to open and close properly again. This guide will be quick and simple only requiring either some steady hands or some patience.
What you need
Parts
-
×8
Tools

-
-
-
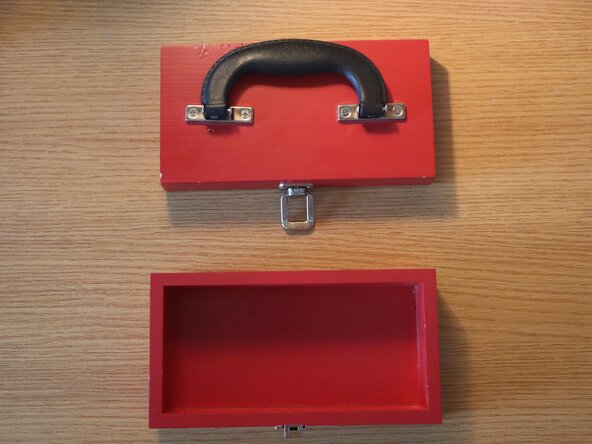
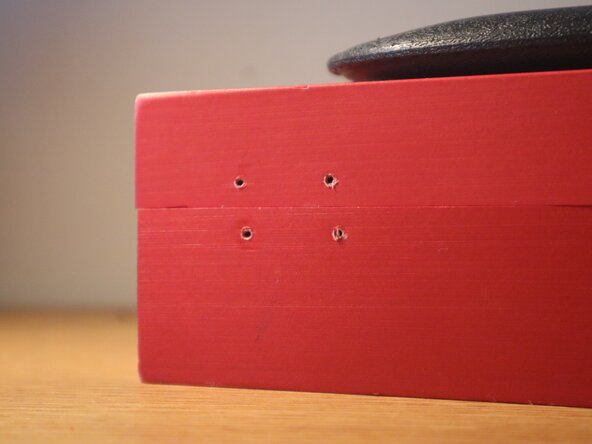
Remove the lid and note where the old hinges used to be.
-
Remove any remaining hardware.
 Ask FixBot
-
-
-
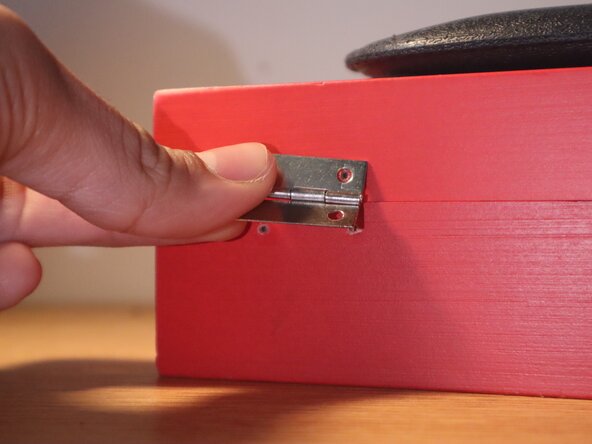
Position the hinges in the same spots as the old ones, aligning them with the existing holes on both the lid and the base.
-
-
-
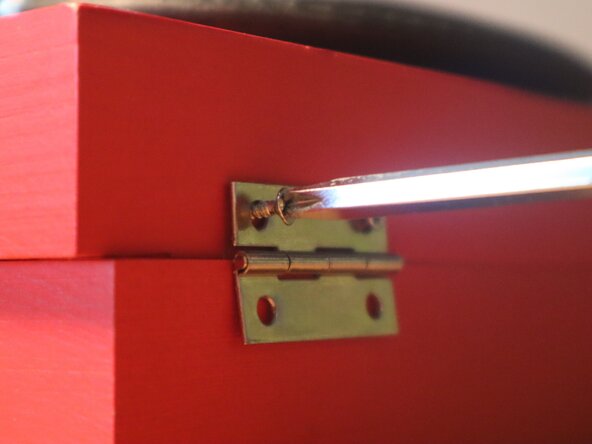
Hold the lid in place and use a Phillips #00 screwdriver to secure four screws into each hinge on the back of the lid.
-
-
-
-
Tighten any screws that feel loose.
-
Your toolbox is now fixed and ready to use.
-
-





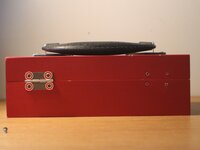
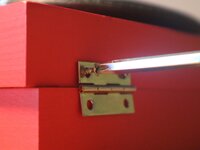

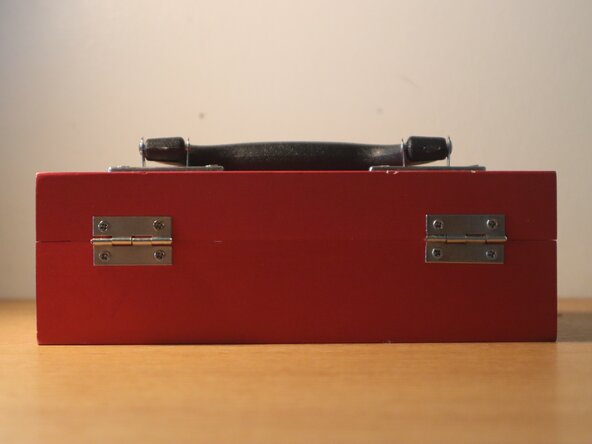
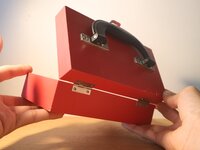

By replacing the broken hinges and reattaching the lid, this small wooden toolbox is now fully functional again. This quick and simple fix helps extend the life of the toolbox and prevents unnecessary waste. With just a few tools and some patience, you can restore your own toolbox too.
Cancel: I did not complete this guide.
One other person completed this guide.

Team

CSU Los Angeles, Team 2-2, Ribeiro Spring 2025 Member of CSU Los Angeles, Team 2-2, Ribeiro Spring 2025
CSULA-RIBEIRO-S25S2G2
3 Members
12 Guides authored
